Word count: 8891. Estimated reading time: 42 minutes.
- Summary:
- The photo collection was finally sorted out after weeks of work using an open-source photo manager called Damselfly and a locally run AI model called Gemma 3 4b. The script used to generate textual descriptions of each image, along with ten most likely keywords for that photo, took about 17 hours to process the entire collection on a Radeon GPU.
Wednesday 25 February 2026: 23:48.
- Summary:
- The photo collection was finally sorted out after weeks of work using an open-source photo manager called Damselfly and a locally run AI model called Gemma 3 4b. The script used to generate textual descriptions of each image, along with ten most likely keywords for that photo, took about 17 hours to process the entire collection on a Radeon GPU.
 these past two weeks I have been working on another long overdue chore
item from my unemployment backlog: doing something about the tens of thousands
of photos we have accumulated over the years. More on
that shortly – firstly last weekend I think I have solved another problem which
had been growing these past six months or so: I have been increasingly finding
water in my boot where the spare tyre lives, so I resolved to do something
about that which led me to doing this:
these past two weeks I have been working on another long overdue chore
item from my unemployment backlog: doing something about the tens of thousands
of photos we have accumulated over the years. More on
that shortly – firstly last weekend I think I have solved another problem which
had been growing these past six months or so: I have been increasingly finding
water in my boot where the spare tyre lives, so I resolved to do something
about that which led me to doing this:
Yup that’s the rear bumper of my car removed. You might notice the four air ventilation exhaust vents two on each side: these have been overflowing with water into the boot. Why? It is because the seals around the exhaust vents lose their plasticity with age (> 10 years), and 98% of the time this is the cause of water ingressing into the boot in Ford Focus cars Mk 2 and 3 because as rain drips down the outside, it hits those vents and if the seal isn’t watertight the rain enters the rear ventilation compartments of the car where it pools up until it overflows into the boot. This was particularly a problem in the Mk 2, interestingly they tried to ‘solve’ this in the Mk 3 by doubling the number of vents to improve evaporation and introducing an ‘overflow’ escape for the pooled water, which probably did the job for most of the world, but of course here in Ireland it rains a lot AND we have lots of tight country road corners, so as you go round those the centrifugal forces especially transfer water from the ventilation compartments into the boot. And particularly this year, so far we’ve had sixty days of continuous rain (yes, since before 2026 began!), so those rear ventilation compartments have been pouring water into the boots of both my car (Mk 3) and especially Megan’s car (Mk 2) far more than in years previous.
This design defect in the Ford Focus is very well known, and the solution is to remove the ventilation exhaust vents, seal them with lots of silicone, and reinstall them. To implement this requires removing the rear bumper, which is more than I’d attempted alone on a car before. I got it done, and here is my car with its vents sealed with silicone:

Of course for me to do this work I needed it to stop raining for enough hours for the silicone to cure, which took a week after I diagnosed the cause of the boot leak. Every day I’d wake up, study the weather forecast, and last Sunday I decided that the forecast that we might get no rain for six hours towards the end of the day was worth the risk. It rained while I was disassembling the car, but I think I got twelve hours after applying the silicone until it rained again, by which point the silicone should have been mostly cured, so we should be good.
I intended to perform the same operation to Megan’s car, however hers being older and with far more mileage on it the bolts which hold on the bumper turned to rusty dust when I tried to apply a spanner to them. Given that I expect her car to have between one and two years of lifespan left on it (it is fifteen), and that to remove the rear bumper would now require replacing it, it’s not worth the cost of fixing this leak especially as it’ll mostly remedy itself when the summer comes – which will be helped by me drilling two holes into the undercarriage through which the pooling water can exit the car instead of spilling into the boot. This kinda sucks for Megan whose car will smell of mould all the time, but as our first priority is house building, this is unfortunately the price to be paid.
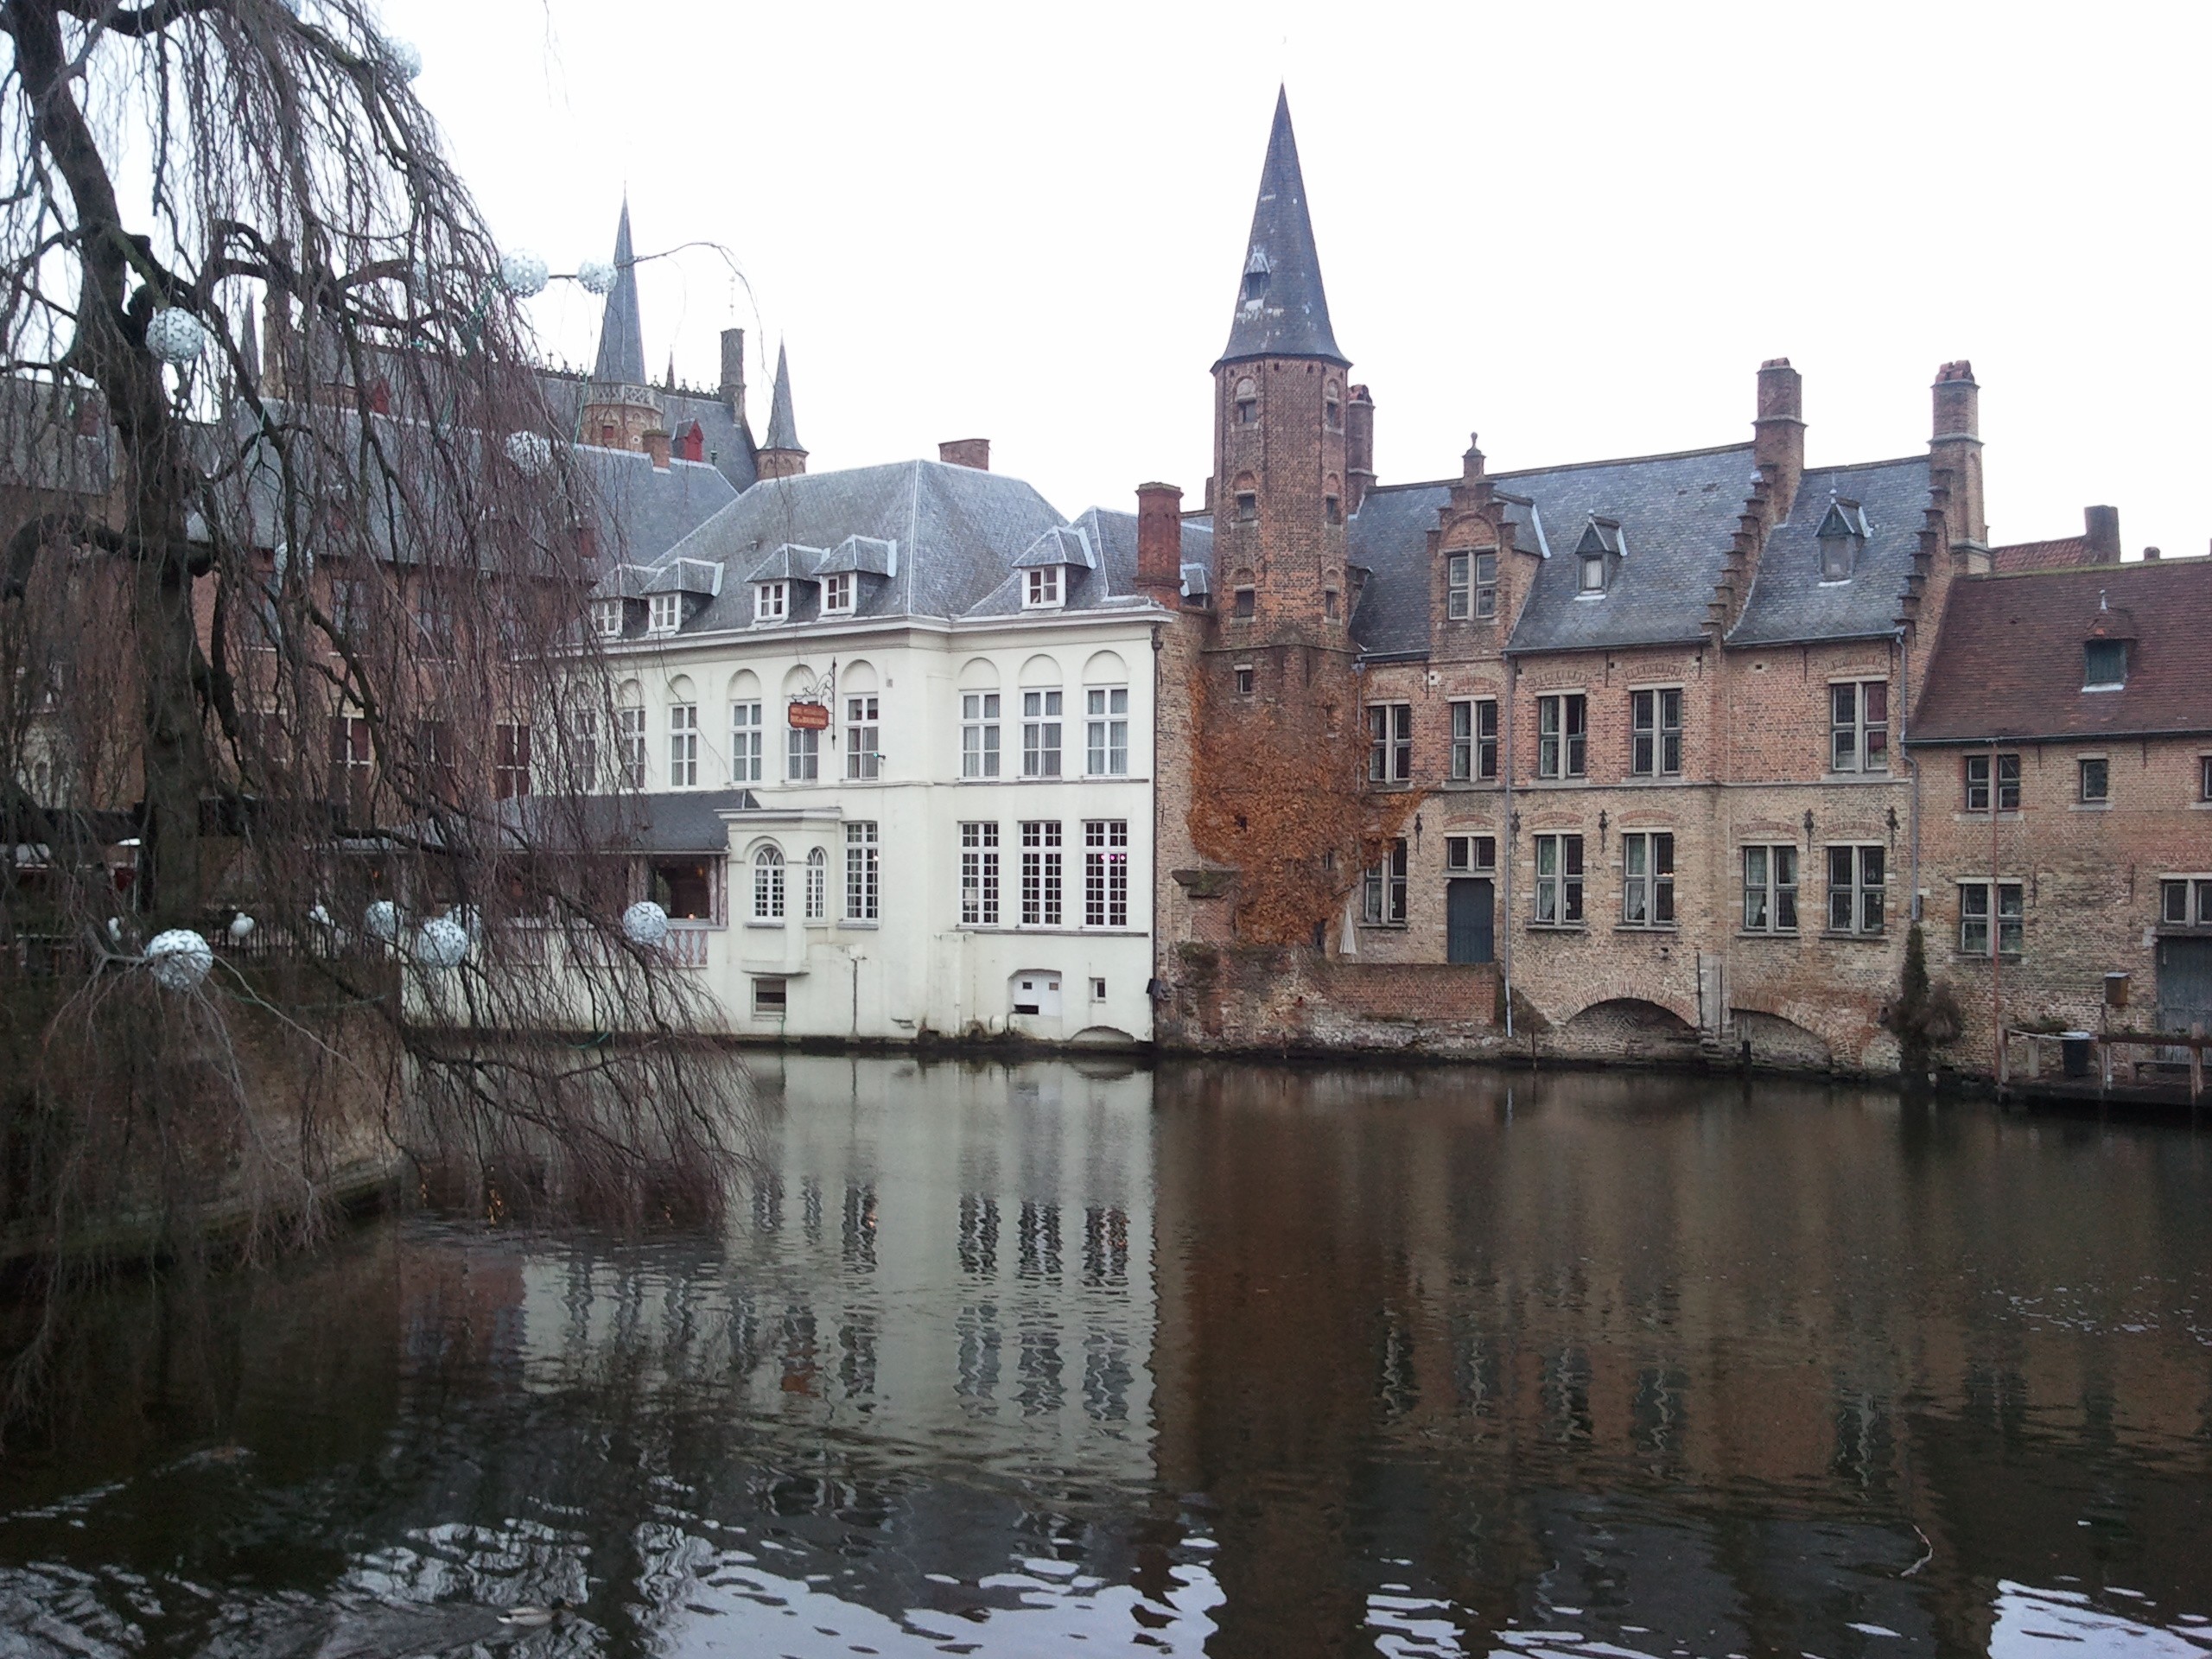
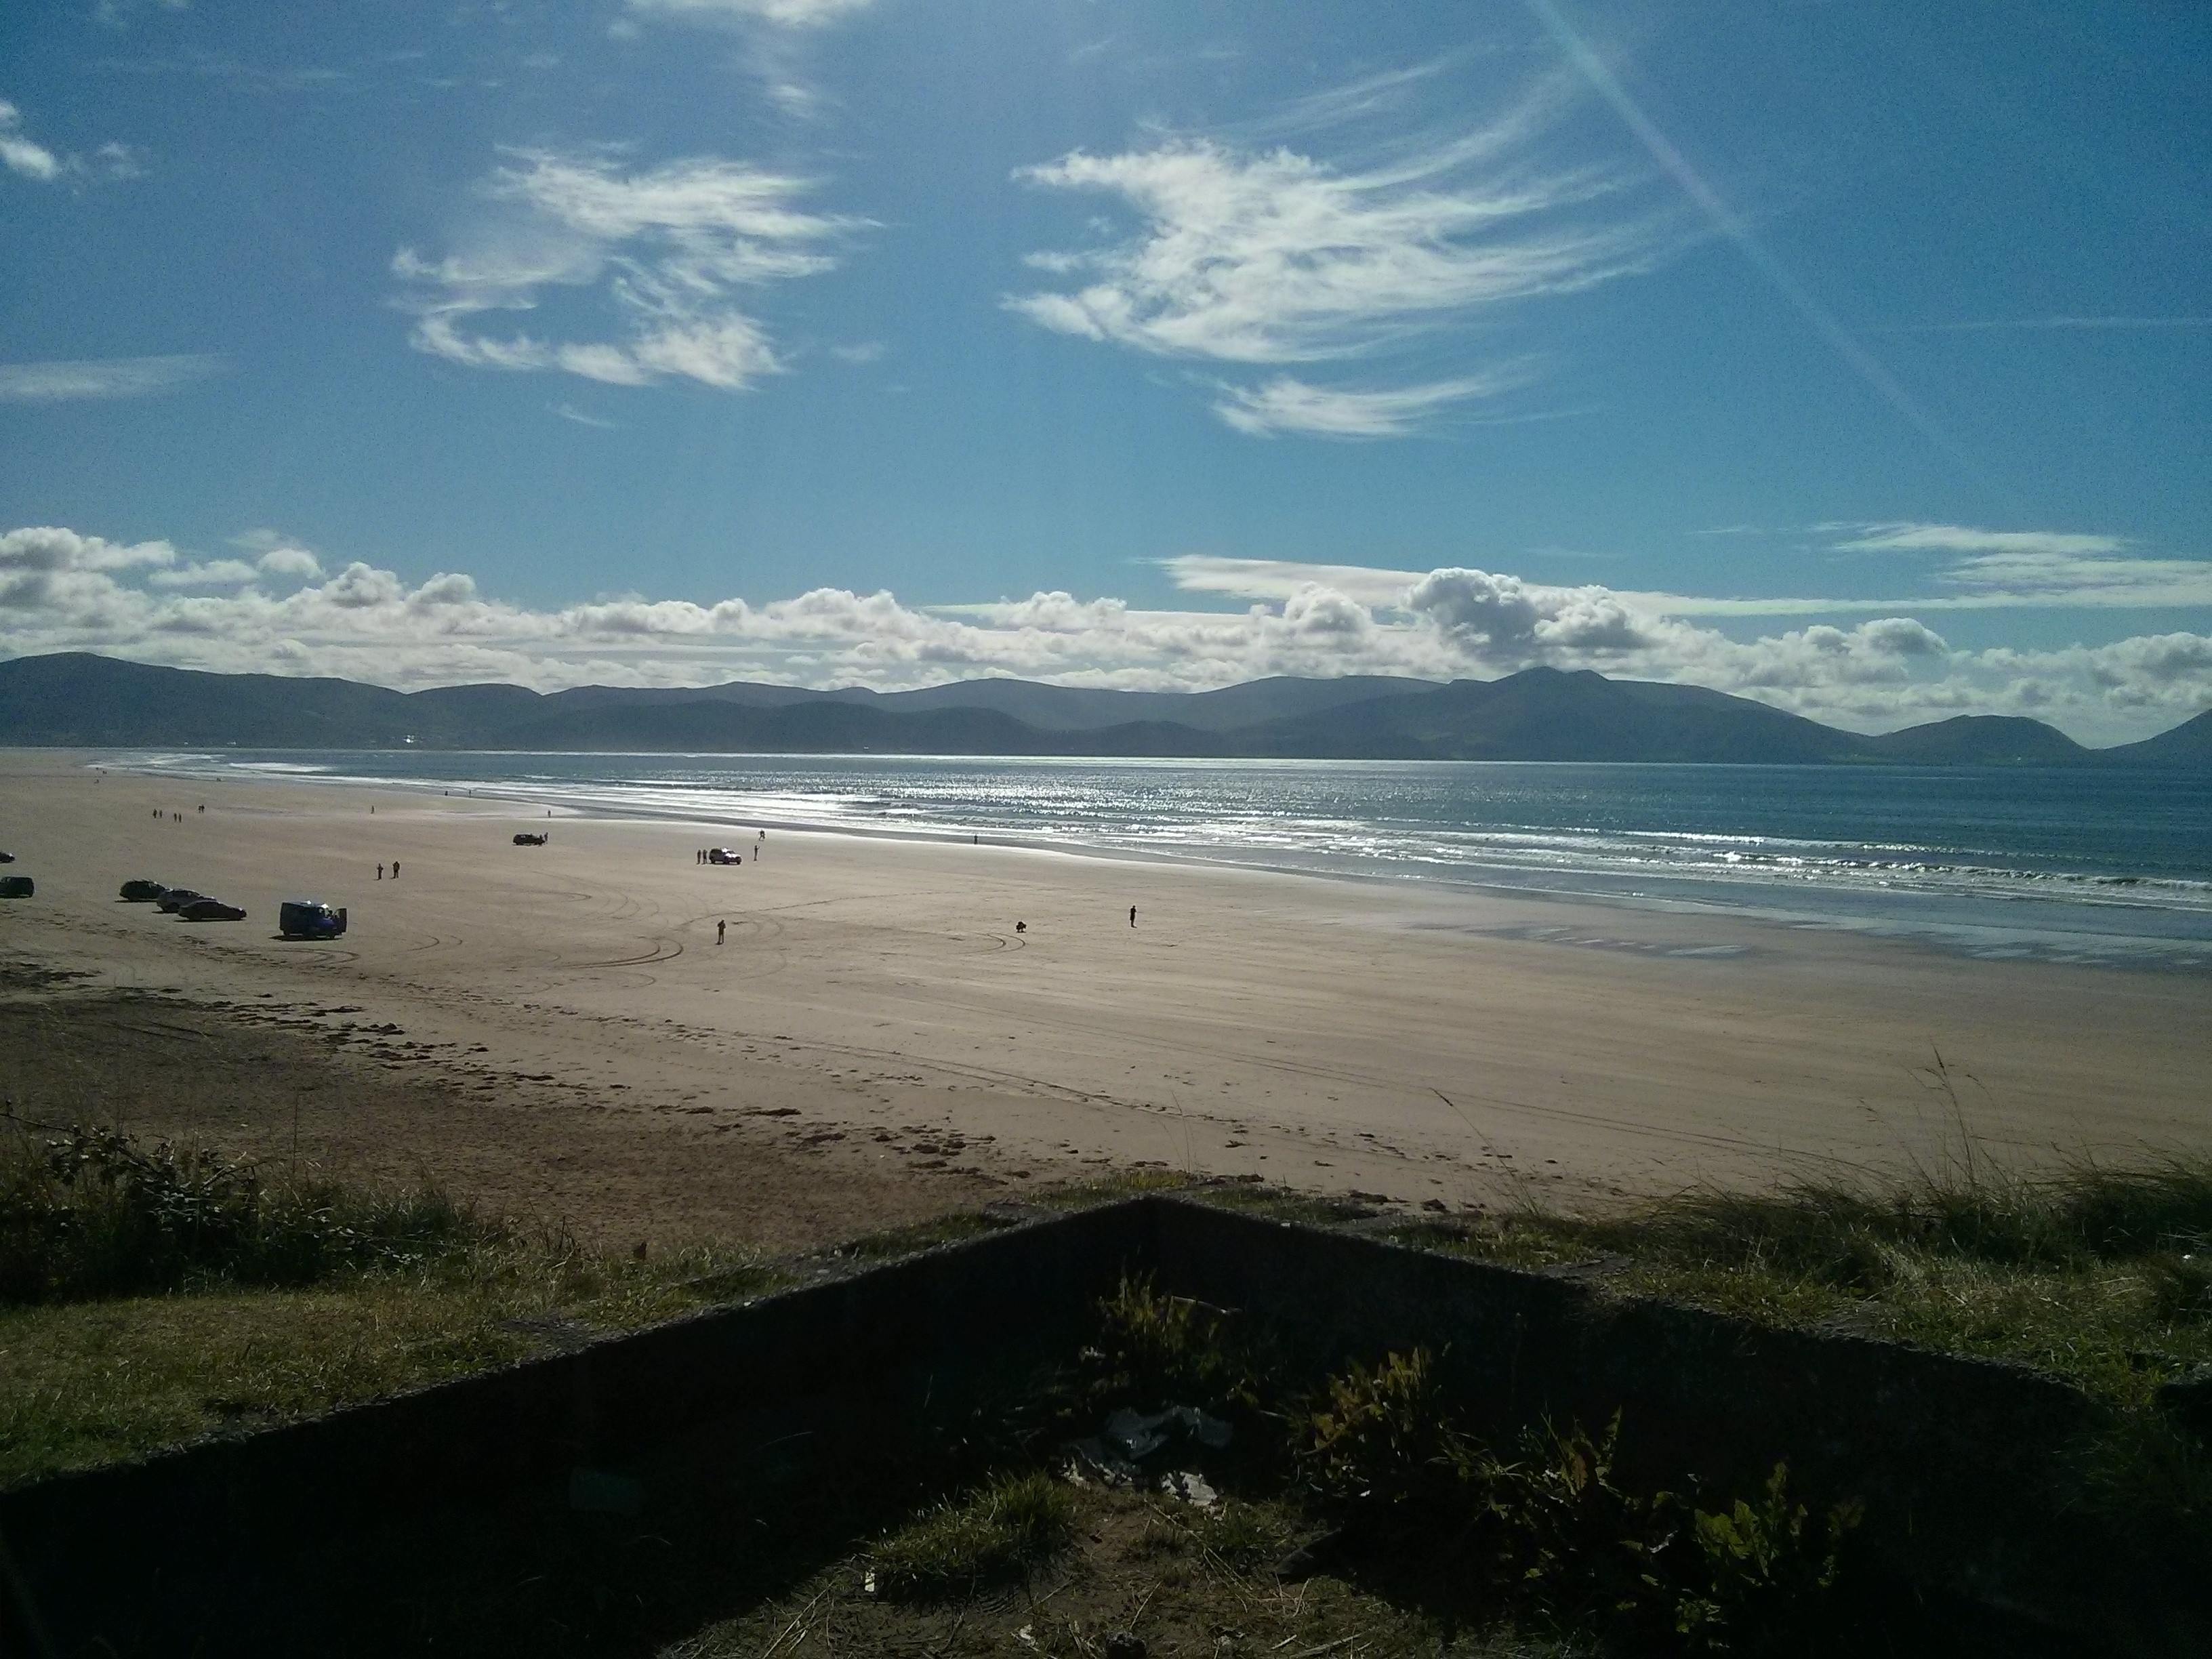
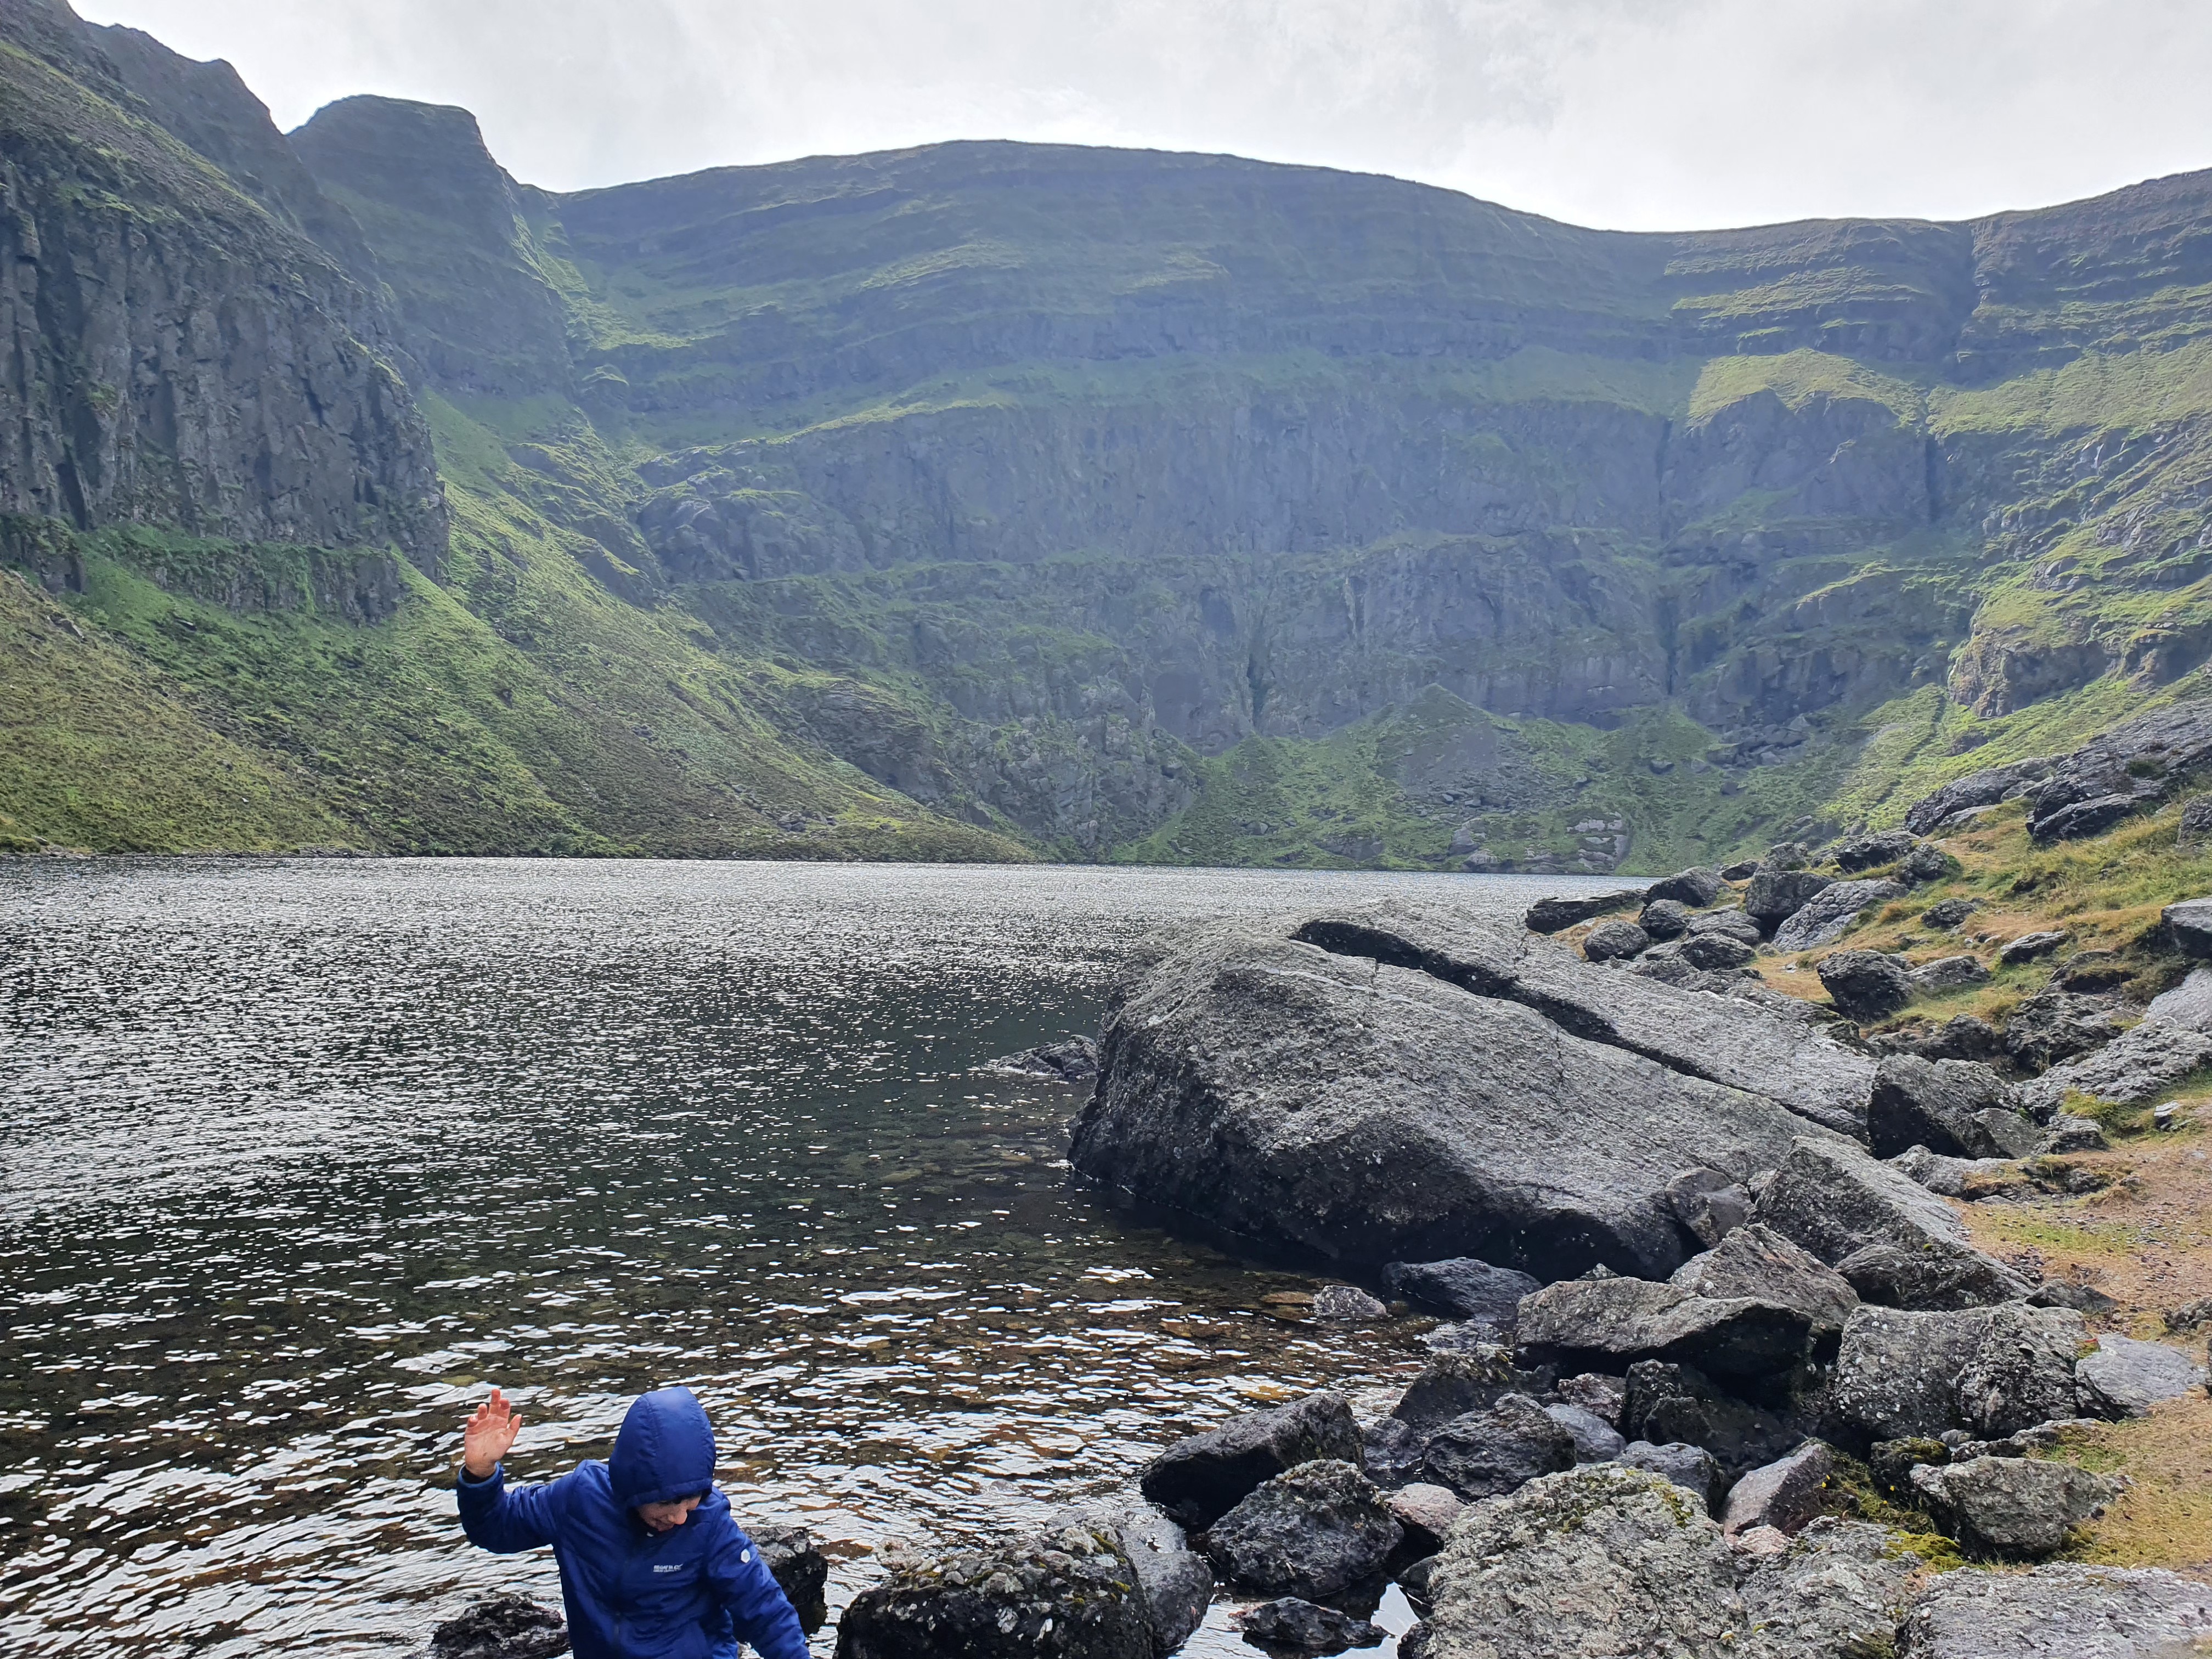
Climbing Claragh Mountain
You may have noticed the very tall image floating to the right: that is the five hour hike up and down Claragh Mountain in Millstreet which me and Clara and Henry did last Thursday during their midterm break. The weather was not kind to us, the aforementioned rain burst upon us with aggression several times which required stopping and sheltering under our large umbrella until the rain squall passed. So the hike involved lots of stopping and starting, as is very obvious from the data shown in the image (though we did also additionally stop to eat and rest, sometimes to have staring contests with sheep who were attracted possibly by the food we were eating, or maybe we were just novel and interesting to them).
This was the first moderate difficulty hike which my children have done (I think ‘moderate’ is defined as a > 500 metre ascent in Ireland?): I am immensely proud of them for pushing through despite the substantial increase in difficulty from what they are familiar with, and had the weather been better we would have been rewarded with some of best views anywhere in Ireland. Even with the poor views we got, the hike did seem to make an impression: the kids weren’t too happy about doing this hike initially, but as the views of the four counties opened up and as we walked the ridge high above the valley seeing a hundred kilometres to the north west and north east, despite the lousy weather the kids did seem to appreciate how amazing Ireland is for that stuff. I look forward to taking them in blazing sunshine one day, that hike really does have the ‘wow’ factor, the kind of tear inducing awesome natural beauty you only get in a few places worldwide. It’s worth the cost for me personally to do that hike: the first time I ever did it just after unemployment last year I was laid up for four days to recover from it, and I genuinely ran out of power in the final two kilometres and had to keep sitting down as my legs didn’t work anymore.
This time round I am fitter and stronger thanks to my daily 5 km walks, so no loss of power this time round and the whole body muscle pain in reaction to the unusual exercise has been more one of ‘you upset me’ rather than ‘wtf?’. As much as that still hurts over multiple days to recover, I feel far better afterwards this time round – like I’m not dead yet, whereas first time round there were moments afterwards where I was also going ‘wtf happened to my youth?’ and getting a bit into a depression about it. Of course, Clara and Henry barely registered the unusual exercise, there were a few complaints at the time but zero a few hours after completion. Youth is wasted on the young!
Doing something about our photo collection
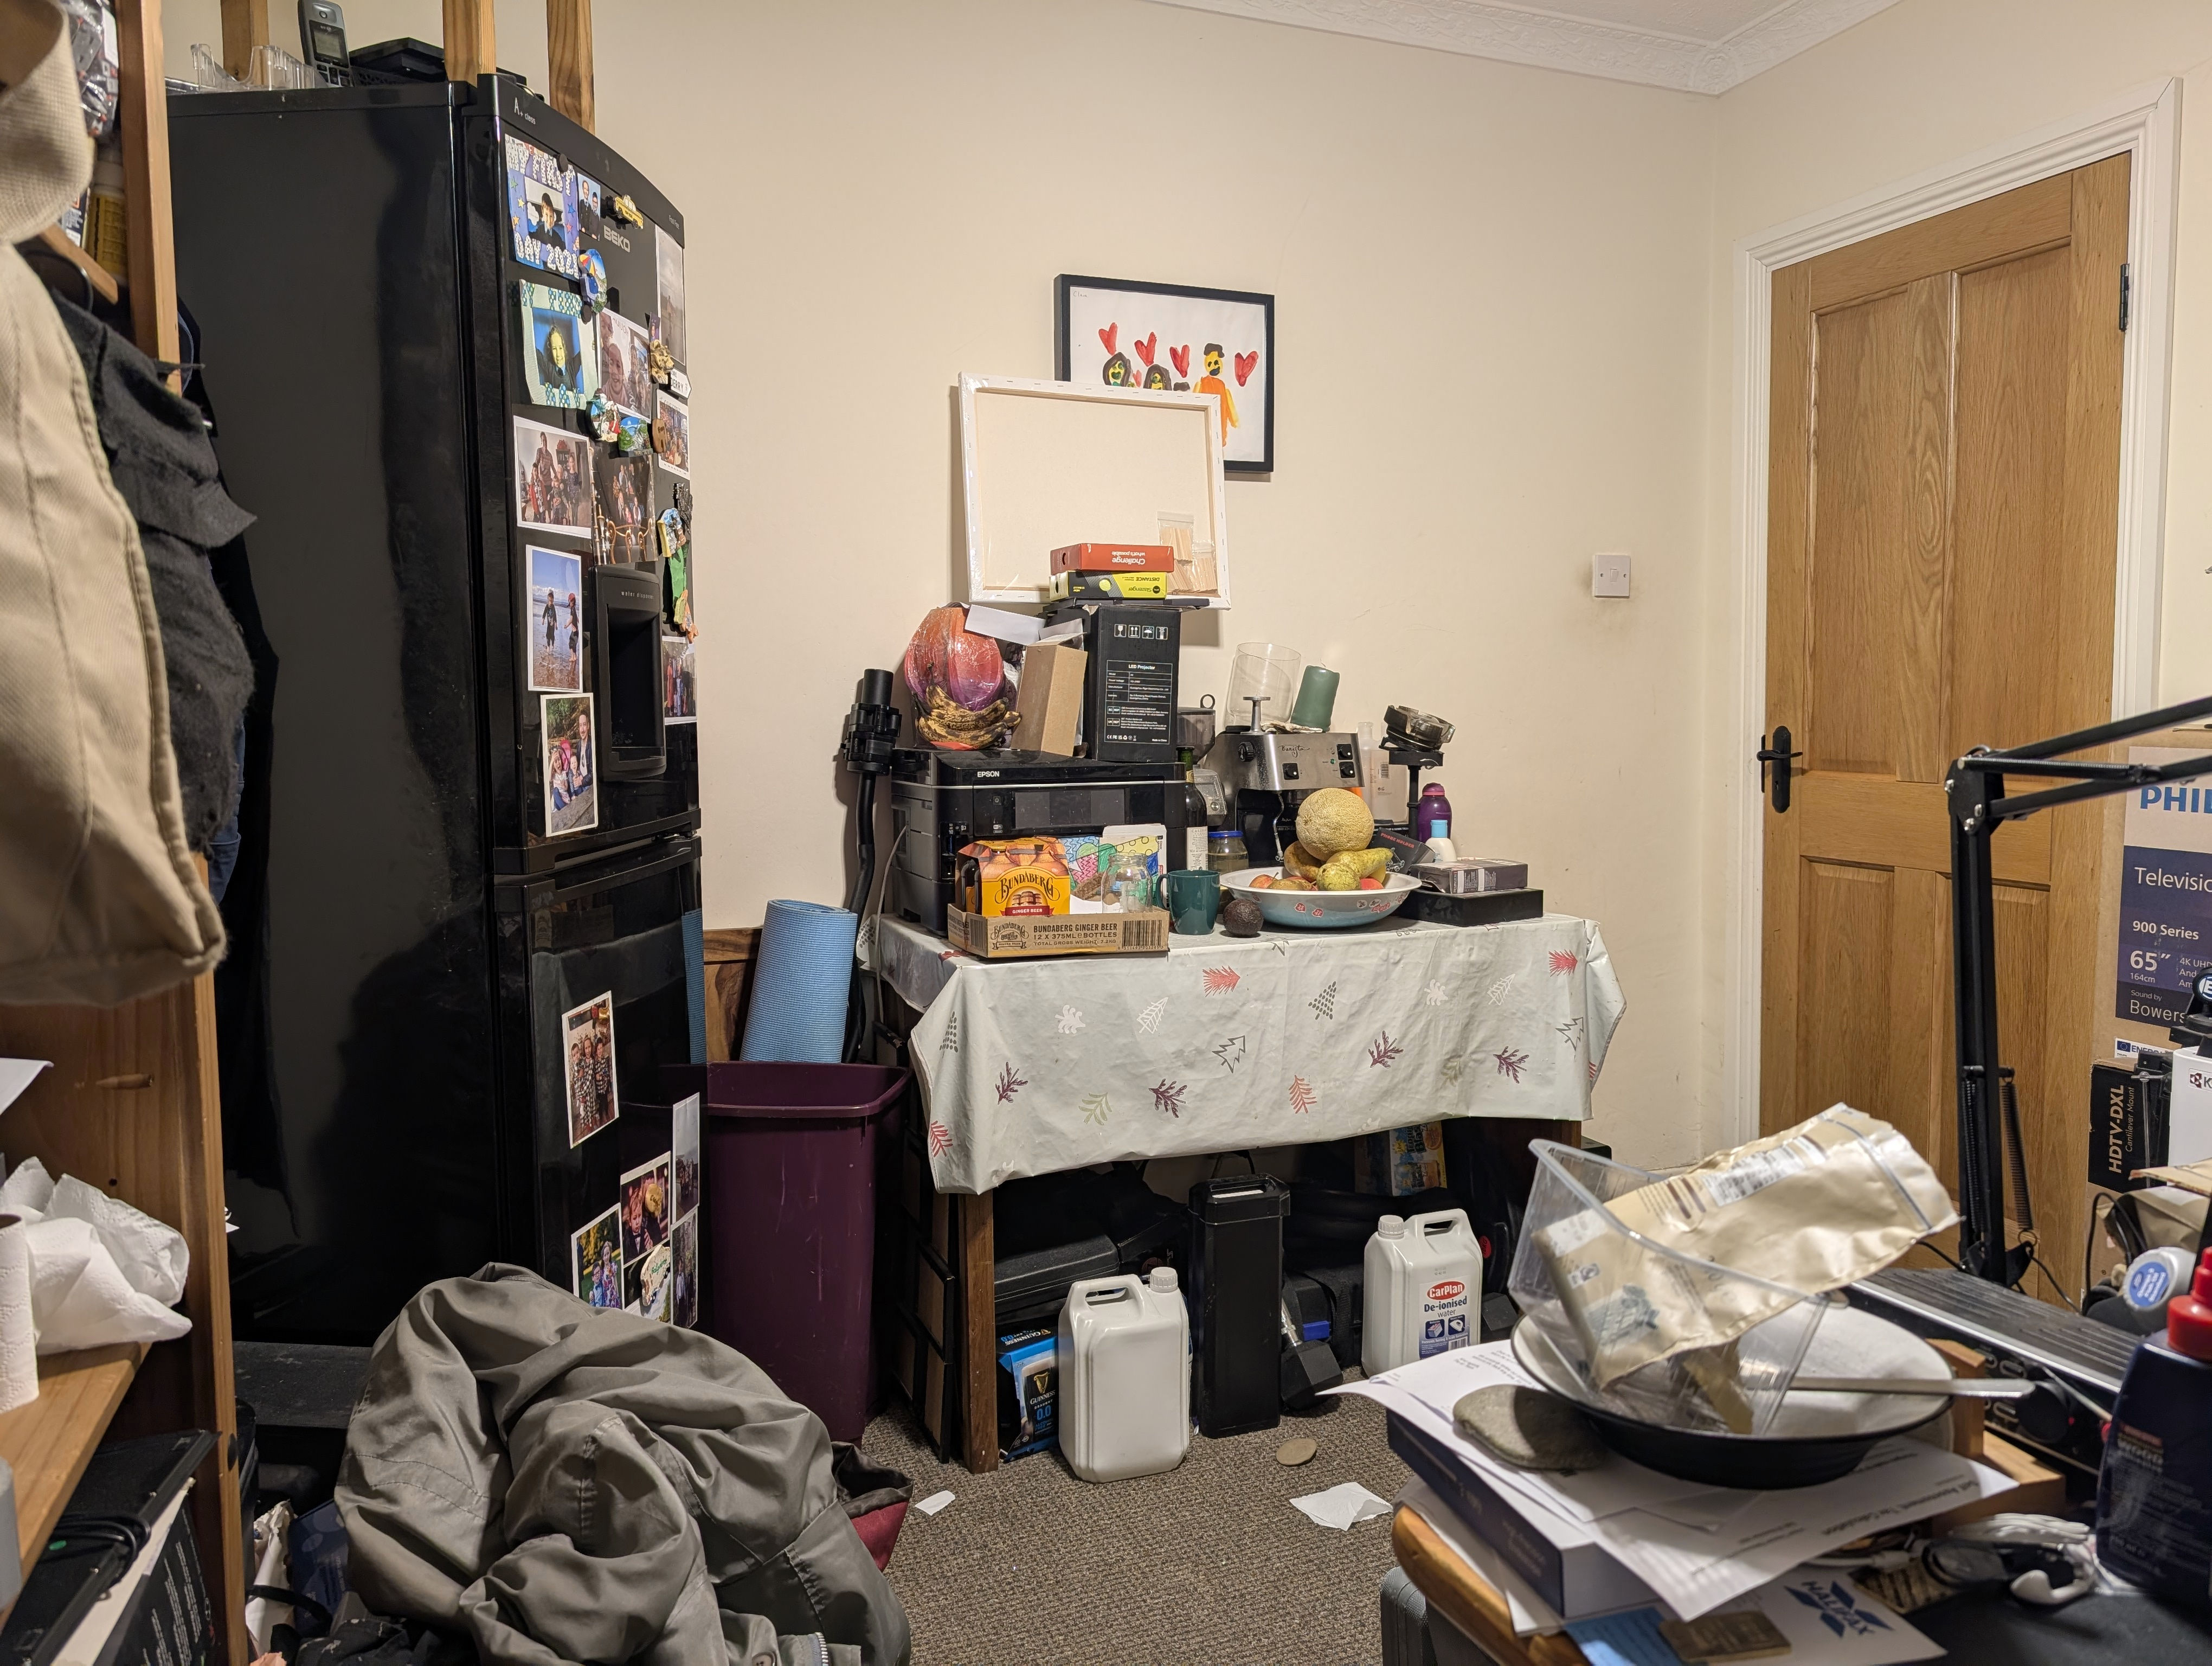
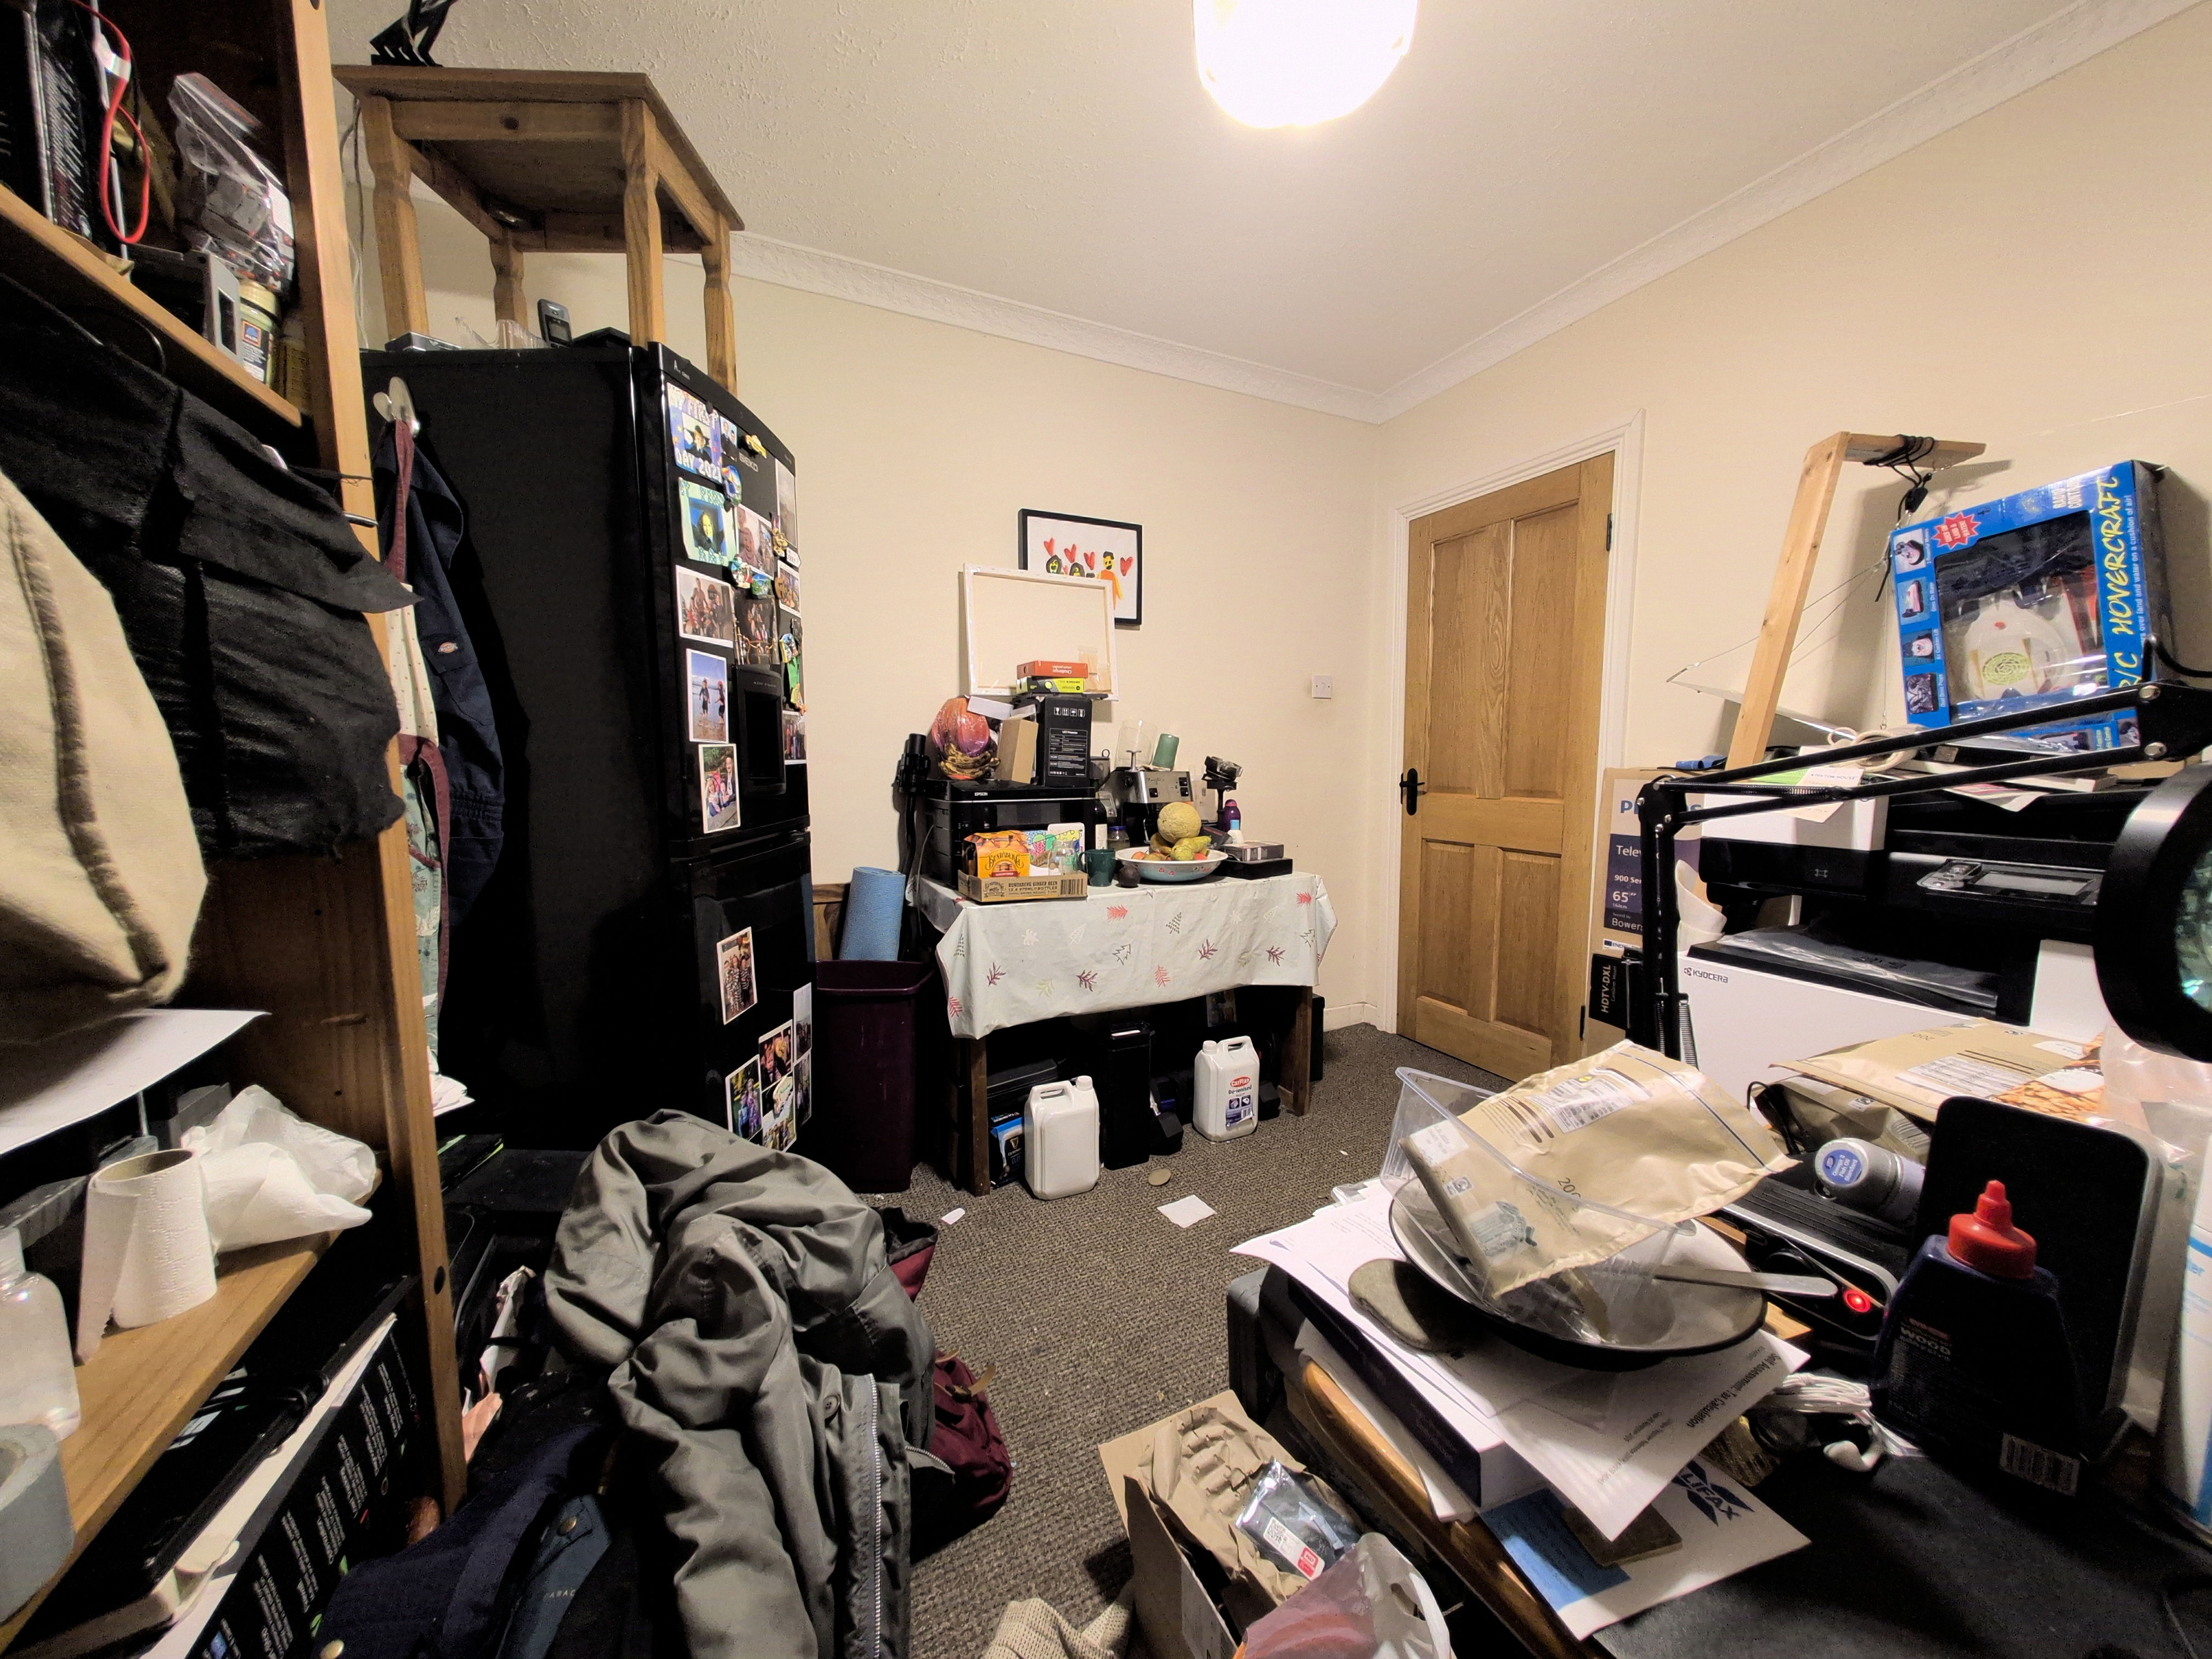
Apart from drawing lots more wires into the 3D model of the house, my principle long term todo item cleared these past weeks is to fix up our photo collection. We have accumulated about 25,000 photos from our various devices over the years, and while we made an attempt to organise them before Henry was born, we have completely given up since. Photos are added to the collection when a phone upgrade occurs, and are generally dumped into directory consisting of the date and whose phone was backed up. Otherwise, they were completely unstructured in recent years, and semi unstructured in years before Henry was born.
Most people would push all those into a cloud photo management solution, let the cloud AI organise them, and call it a day. However we don’t put family photos anywhere where they can be used for training data, so that was a non-starter. It would have to be a local solution only.
The lack of structure meant finding an image you were looking for was quite painful. You had to remember the year and then search both mine and Megan’s photo collection by visual inspection. All those photos in a single folder loaded slowly. It took forever, and as a result we very rarely did it.
My first step was to import the collection into Damselfly Photo Manager which is an open source photo manager. I chose Damselfly mainly because it replicates the thumbnails generated with the same path as the image in the collection itself, which I reckoned would be very handy for the next step. Browsing through the collection I realised we had a big problem with metadata consistency, depending on when the image was taken and by what device:
- Images could be in JPEG, PNG or HEIC. HEIC famously does not support legacy metadata formats, whereas JPEG supports at least three generations of metadata format. PNG can have the metadata formats of JPEG, plus it has its own additional metadata format. It’s all a mess to be honest.
- Images record in their metadata when they were taken in multiple different ways, some of which aren’t recognised by photo managers. This then breaks the timeline ordering.
- Images use cases are all jumbled together, everything from pictures of rental cars taken to prove no damage to birthday parties to landscapes, and there was no way to disambiguate.
- Of those images containing family members, we had no idea which people were in which photo.
Step 1: Get AI to describe all the photos
So what we really needed as a first step was to generate a textual
description of each image, along with ten most likely keywords for that
photo. Obviously as I had been playing a lot with AI recently, and as I
definitely did not want to send personal images outside my local network,
this seemed a perfect task for locally run AI. I tested a few models,
and eventually landed on Gemma 3 4b as a reasonable tradeoff between
size (it plus uncompressed image to be parsed needed to fit inside 8Gb
of VRAM), accuracy (not awful), and
following instructions accurately so we could reliably parse its output.
Here is the final script used for which you will need an Ollama
running on localhost with gemma3:4b-it-qat installed into it:
#!/usr/bin/python3
from PIL import Image, ImageOps
from io import BytesIO
import glob, os, urllib.request, urllib.parse, json, multiprocessing, base64, subprocess, re, time, random

to_damselfly = (r'(.*)/IcyPictures1/Pictures/(.*)\..*?', r'\1/.damselfly/thumbs/\2_l.JPG')
max_ai_image_dimension = 1024

def invoke_AI(image, instructions):
    body = json.dumps({
        'model' : 'gemma3:4b-it-qat',
        'prompt' : instructions,
        'images' : [ base64.b64encode(image).decode('utf-8') ],
        'stream' : False,
        'options' : {
            'seed' : 78,
            'temperature' : 0.3
        }
    }).encode('utf-8')
    req = urllib.request.Request('http://localhost:11434/api/generate', body)
    with urllib.request.urlopen(req) as f:
        outs = f.read().decode('utf-8')
    outs = json.loads(outs)
    outs = outs['response']
    #print("      Raw output:", outs)
    outs = outs.strip()
    if 'Keywords:' not in outs:
        raise Exception(f'Keywords not present in output! {outs}')
    idx = outs.find('Keywords:')
    keywords = outs[idx+10:].strip().split(', ')
    outs = outs[:idx].strip()
    return (outs, keywords)

def make_summary(path):
    try:
        args = ['exiftool', '-json', path]
        res = subprocess.run(args, capture_output = True, encoding = 'utf-8')
        if res.returncode != 0:
            with open('MakeSummaries_error.csv', 'a') as oh:
                oh.write(f'"{path}",{repr(res.stderr)},"\\"{'\\" \\"'.join(args)}\\""\n')
            raise Exception(f'Calling exiftool failed! Invocation was "{' '.join(args)}". stdout was "{res.stdout}". stderr was "{res.stderr}"')
        info = json.loads(res.stdout)
        if isinstance(info, list):
            info = info[0]
        if 'Description' in info:
            #print(f"{path} already has a description set")
            return
        begin = time.monotonic()
        descriptiontag = '-Description='
        keywordtag = '-Keywords='
        if path.endswith('.heic'):
            path2 = re.sub(to_damselfly[0], to_damselfly[1], os.path.abspath(path))
            path2 = os.path.splitext(path2)[0] + '.JPG'
            if not os.path.exists(path2):
                path2 = os.path.splitext(path2)[0] + '.jpg'
            if not os.path.exists(path2):
                raise Exception(f'Failed to find damselfly thumbnail for {path}')
            with Image.open(path2) as image:
                image = ImageOps.exif_transpose(image)
            # HEIC doesn't support IPTC, so we need to use XMP. Unfortunately that doesn't support Keywords,
            # so we use Subject
            keywordtag = '-Subject='
        else:
            with Image.open(path) as image:
                print(f"Resizing {path} to submit to AI ...")
                image = ImageOps.exif_transpose(image)
            if image.width > max_ai_image_dimension or image.height > max_ai_image_dimension:
                if image.width > image.height:
                    image = ImageOps.contain(image, (max_ai_image_dimension, image.height))
                else:
                    image = ImageOps.contain(image, (image.width, max_ai_image_dimension))
        content = BytesIO()
        image.save(content, format='JPEG')
        print(f"   That took {time.monotonic() - begin} seconds. Invoking AI to describe {image.width} x {image.height} image ...")
        begin = time.monotonic()
        description, keywords = invoke_AI(content.getvalue(), r"Describe this image and its style in a very detailed manner, follow the format of describing: what, who, where, when, how. You don't need to fill in all if they are irrelevant. Please remove What, Who, Where, When, How prefixes and make it one sentence. Follow that with a comma separated list of no more than ten relevant IPTC keywords, prefixing the list with 'Keywords:'.")
        print(f"   Processing {path} with AI took {time.monotonic() - begin} seconds.")
        print("      Description:", description)
        print("      Keywords:", keywords)
        args = ['exiftool', '-json', '-overwrite_original', '-ignoreMinorErrors',
                f'{descriptiontag}{description}']
        args += [keywordtag + keyword for keyword in keywords]
        args.append(path)
        res = subprocess.run(args, capture_output = True, encoding = 'utf-8')
        if res.returncode != 0:
            with open('MakeSummaries_error.csv', 'a') as oh:
                oh.write(f'"{path}",{repr(res.stderr)},"\\"{'\\" \\"'.join(args)}\\""\n')
            raise Exception(f'Calling exiftool failed! Invocation was "{' '.join(args)}". stdout was "{res.stdout}". stderr was "{res.stderr}"')
    except Exception as e:
        print(f"Failed to process {path} due to {e}")

if __name__ == '__main__':
    files = [path for path in glob.glob('**/*.jpg', recursive=True)]
    files += [path for path in glob.glob('**/*.jpeg', recursive=True)]
    files += [path for path in glob.glob('**/*.JPG', recursive=True)]
    files += [path for path in glob.glob('**/*.png', recursive=True)]
    files += [path for path in glob.glob('**/*.heic', recursive=True)]
    random.shuffle(files)
    with multiprocessing.Pool(4) as p:
        p.map(make_summary, files)
The script uses the exiftool utility to inspect each image to see if it already
has a description. If it doesn’t, the image is loaded in (apart from HEIC,
which Python doesn’t support, so for those we yank the JPEG thumbnail from
the Damselfly database), resized so its
maximum dimension is 1024, and fed to Gemma AI asking for a single sentence
detailed description and up to ten keywords. exiftool then invoked again
to poke the description and keywords into the image (though HEIC gets the
keywords into its subject field instead as it doesn’t support legacy
IPTC metadata).
This script has been carefully written so multiple copies can be run on
multiple computers concurrently all working on the same Samba shared
network drive – the random.shuffle() is to ensure that they usually
won’t collide with one another. The reason one needs multiple computers
is that Gemma3 4b is not fast at this task:
- On the main house server with a four core Haswell CPU, 264 seconds per 512 max dimension image (which is one quarter the resolution of any other below). This system has ~50 Gb/sec main memory bandwidth.
- On my thirty-two core AMD Threadripper Pro 5975WX, 61 seconds per 1024 max dimension image. This system has ~180 Gb/sec main memory bandwidth, and perhaps can do ~4 FP16 TFLOPs.
- On my M3 Macbook Pro with eighteen GPU cores, 24 seconds per 1024 max dimension image. This system has ~150 Gb/sec main memory bandwidth, and can do ~13 FP16 TFLOPs.
- On my Radeon 6600 XT graphics card, 9 seconds per 1024 max dimension image. This card has ~256 Gb/sec main memory bandwidth, and can do ~21 FP16 TFLOPs.
As we can see from these benchmarks, unlike text parsing AI models which are mostly dependant on memory bandwidth and don’t need so much compute, image parsing AI models are more dependant on compute power. Hence the Radeon GPU despite being quite old easily outperforms the Threadripper, and even outperforms the Macbook which normally is the fastest hardware I have for running local AI. I might also mention that this was the first time I found running AI on a legacy Radeon GPU seamless: it didn’t crash once during multiple nights of running all night, and performance was both good and sustained over time. They’re clearly finally making progress on debugging the AMD ROCm backend which is great news.
I should point out that the script sends four images for analysis at a time to Ollama, which can do a little concurrently but is mainly single tasking. So 4x concurrency is maybe 10% faster overall so it’s worth doing, but to be clear you can divide all those times above by approx four to get the actual per image processing time. 25,000 images at 2.5 seconds each takes 17 hours, so leaving the Radeon GPU at it for one night time is enough. If you had just the Macbook though, it’s more like 42 hours so if you can fire multiple devices at the problem concurrently, you can make that more reasonable.
Step 2: Fix up the metadata
There are two strands of thinking when it comes to image archival:
- Keep the original image file untouched so the hash of its content is completely fixed over time. Use sidecar XMP files to store metadata.
- Keep the image content in the image file untouched, but other metadata within that file can be modified. This does cause the hash of the file content to change over time.
I’m in that latter category: for me, a photo collection is a set of living files. We don’t reencode image content as that is lossy, but modifying metadata is not lossy unless you delete or replace metadata fields (so don’t do that).
As the photo management software made very clear, it was failing to correctly parse the date of a lot of the photos which led to seriously out of whack timelines in the display. So something had to be done, and via trial and error and an awful lot of rinse and repeat testing I came up with this script to fix everything up:
#!/usr/bin/python3
import glob, os, json, multiprocessing, subprocess, re
from datetime import datetime

datetime_tags = [
  'SubSecDateTimeOriginal',
  'SubSecCreateDate',
  'DateTimeOriginal',
  'CreationDate',
  'CreateDate',
  'MediaCreateDate',
  'DateTimeCreated',
  'GPSDateTime',
  'DateTimeUTC',
  'SonyDateTime2',
]
nokia_timestamp = re.compile(r'.*\\n([0-9]{2}\/[0-9]{2}\/[0-9]{4})\\n([0-9]{2}:[0-9]{2}:[0-9]{2})\\n.*')
unix_timestamp = re.compile(r'(14[0-9]{8})[0-9]{3}\..*')
iso_timestamp = re.compile(r'.*[^0-9]*([0-9]{8}[^0-9][0-9]{6})[^0-9].*')

def fix_no_datestamp(path):
    try:
        args = ['exiftool', '-json', path]
        res = subprocess.run(args, capture_output = True, encoding = 'utf-8')
        if res.returncode != 0:
            with open('fix_no_datestamp_error.csv', 'a') as oh:
                oh.write(f'"{path}",{repr(res.stderr)},"\\"{'\\" \\"'.join(args)}\\""\n')
            raise Exception(f'Calling exiftool failed! Invocation was "{' '.join(args)}". stdout was "{res.stdout}". stderr was "{res.stderr}"')
        info = json.loads(res.stdout)
        if isinstance(info, list):
            info = info[0]
        timestamp = None
        for tag in datetime_tags:
            if tag in info and info[tag].strip() != '':
                break
        else:
            if 'ModifyDate' in info and info['ModifyDate'].strip() != '':
                # Some of the older photos have ModifyDate and nothing else.
                timestamp = datetime.strptime(info['ModifyDate'],
                            '%Y:%m:%d %H:%M:%S')
                print(f"{path} has legacy timestamp {info['ModifyDate']} = {timestamp}")
            else:
                pathleaf = os.path.basename(path)
                if 'Comment' in info and 'Nokia7650' in info['Comment']:
                    # "Nokia Mobile Phones Ltd.\nNokia7650\n17/12/2004\n15:20:27\nMode=1\n 3.16\n1.2"
                    res = nokia_timestamp.match(repr(info['Comment']))
                    if not res:
                        raise Exception(f'Comment {repr(info["Comment"])} did not parse')
                    timestamp = datetime.strptime(f'{res.group(1)} {res.group(2)}',
                                '%d/%m/%Y %H:%M:%S')
                    print(f"{path} has Nokia7650 timestamp {res.group(1)} {res.group(2)} = {timestamp}")
                elif res := unix_timestamp.match(pathleaf):
                    timestamp = datetime.fromtimestamp(int(res.group(1)))
                    print(f"{path} matches Unix timestamp {res.group(1)} = {timestamp}")
                elif res := iso_timestamp.match(pathleaf):
                    # 1. YYYYMMDD_HHMMSS
                    timestamp = datetime.strptime(res.group(1),
                                '%Y%m%d_%H%M%S')
                    print(f"{path} matches ISO timestamp {res.group(1)} = {timestamp}")
                else:
                    if 'Comment' in info:
                        print(f"{path} has comment '{info['Comment']}'")
            if timestamp is None:
                path2 = os.path.abspath(path).replace('/mnt/IcyBoxZ/IcyPictures1/', '/mnt/upool/IcyBoxZ/IcyPictures1/')
                if os.path.exists(path2):
                    s = os.stat(path2)
                    timestamp = datetime.fromtimestamp(s.st_mtime)
                    print(f"{path} taking last modified from upool = {timestamp}")
            if timestamp is not None:
                timestampstr = timestamp.strftime('%Y:%m:%d %H:%M:%S')
                args = ['exiftool', '-json', '-overwrite_original', '-ignoreMinorErrors',
                        f'-DateTimeOriginal={timestampstr}']
                args.append(path)
                res = subprocess.run(args, capture_output = True, encoding = 'utf-8')
                if res.returncode != 0:
                    with open('fix_no_datestamp_error.csv', 'a') as oh:
                        oh.write(f'"{path}",{repr(res.stderr)},"\\"{'\\" \\"'.join(args)}\\""\n')
                    raise Exception(f'Calling exiftool failed! Invocation was "{' '.join(args)}". stdout was "{res.stdout}". stderr was "{res.stderr}"')
            else:
                print(f"*** {path} cannot deduce a datetime!")
    except Exception as e:
        print(f"Failed to process {path} due to {e}")

if __name__ == '__main__':
    print("Generating file list ...")
    files = [path for path in glob.glob('**/*.jpg', recursive=True)]
    files += [path for path in glob.glob('**/*.jpeg', recursive=True)]
    files += [path for path in glob.glob('**/*.JPG', recursive=True)]
    files += [path for path in glob.glob('**/*.png', recursive=True)]
    files += [path for path in glob.glob('**/*.heic', recursive=True)]
    print("Processing file list ...")
    with multiprocessing.Pool(32) as p:
        p.map(fix_no_datestamp, files)
This script looks for a ‘well known’ photo timestamp field in the output of
exiftool, and if it doesn’t find one then it does in this order:
- Use
ModifyDateif present, which is usually there in the somewhat older but not oldest photos. - Extract the timestamp from the custom
Nokia7650metadata field for photos taken with that device (which are amongst the oldest, back then EXIF metadata had only just been introduced). - Extract the timestamp from the filename, as many devices even very old ones reliably used some form of timestamp as the file name.
- If no other choice, use the last modified file timestamp from the original file before we fiddled with it. This tends to be accurate within a month or so of when the photo was taken, which is good enough.
Finally we poke in DateTimeOriginal using exiftool, and remember
we are only doing this for photos without any well known photo timestamp
in their metadata, which was about 3% of our photos.
This solves the timeline ordering problem. I did have another issue
with exiftool refusing to work with files with invalid metadata which
turned out to be because the Samsung Camera generates truncated image
files if you shoot a panorama. I found a script online called fix_eoi.py
as plenty of other people had the exact same problem, and it worked a
treat by poking in the missing file ending metadata. I also decided it
would be better to preserve last modified file
timestamps just in case they’re useful in the future, so this little
script force restamped all the recently modified files so they went back
to their original last modified timestamp, which usually was written
when the device last modified the file:
#!/usr/bin/python3
import glob, os, multiprocessing

def restore_last_modified(path):
    try:
        path2 = os.path.abspath(path).replace('/mnt/IcyBoxZ/IcyPictures1/', '/mnt/upool/IcyBoxZ/IcyPictures1/')
        if os.path.exists(path2):
            s = os.stat(path2)
            os.utime(path, ns=(s.st_atime_ns, s.st_mtime_ns))
    except Exception as e:
        print(f"Failed to process {path} due to {e}")

if __name__ == '__main__':
    print("Generating file list ...")
    files = [path for path in glob.glob('**/*.jpg', recursive=True)]
    files += [path for path in glob.glob('**/*.jpeg', recursive=True)]
    files += [path for path in glob.glob('**/*.JPG', recursive=True)]
    files += [path for path in glob.glob('**/*.png', recursive=True)]
    files += [path for path in glob.glob('**/*.heic', recursive=True)]
    print("Processing file list ...")
    with multiprocessing.Pool(64) as p:
        p.map(restore_last_modified, files)
Step 3: Face recognition
Damselfly has face recognition, but after a few trial and error runs with it I did not come away impressed: it just doesn’t work well, it’s far inferior to Google Photos or even Picasa from more than a decade ago. So I tried other open source photo management software.
The one I ended up choosing is Immich, which has a very similar UI to Picasa and I’d call it a decent clone of that software which Google abandoned in 2016 as they really wanted everybody to be putting their photos onto Google’s cloud so your photos could be used as training data. Immich is still a little rough around the edges in places as it’s still quite new software at the time of writing, but its face recognition does work well, if very slow on my ancient four core Haswell main server: it needs to run for about a day and a half to complete the face recognition. It will group who it thinks are the same person together: you then need to manually review those and tell it who those people are, and whom to merge when it decides the same person is a different person (which is very common with the kids as their faces change as they grow).
Apart from it consistently mistaking younger Julia for Clara, Immich’s face recognition does a great job even with faces at angles, or with beards or glasses. I reckon it’s as good as Picasa ever was.
Reviewing our photo collection
Now we have this whizzy photo collection which can be searched by description and/or keyword, by person, by date, by camera model etc, it becomes trivial to list out all the devices we’ve ever used to take photos, and the first seen and last seen dates for that device. Here they are:
2004 - 2006: DSC Image DV camcorder
This was a cheap digital camcorder I used to record the lectures I organised at St. Andrews university. It had a 4 MP sensor, but it was a lousy sensor with lots of noise and it over exposed easily. For the price the device was good at the time, and it was better than anything else I had, which is the only thing I can say in favour of it:

A 4 MP image, but lousy quality
My phone at that time was the venerable Nokia 7650 which had a much worse again 0.3 MP camera. I have photos from that era, but they all contain people so I can’t show them here. Trust me when I say that they were worse again than the above, and because that camera was so bad I didn’t use it much, preferring to take the digital camcorder with me if I expected to take photos.
2007 - 2008: HTC Wizard phone
This was my phone at the time, it ran Windows Mobile, had a resistive touchscreen, could run apps, had sdcard based storage, and a 1.3 MP camera. It was an absolute brick of a thing as it needed a large hump for its extended battery if it was to make a full day without recharging.

The lens on this was crap!
The sensor on this phone wasn’t terrible, but the lens optics were: that soft blur on the image was on every image, and it was unfortunate as otherwise it was a well behaved camera with low noise and good exposure control – it even did okay in low light, for its time.
The HTC Wizard was very popular in its day with tech geeks as you had actual real internet (albeit dog slow, these were 2G days before EDGE so you got less than dialup modem speeds), you could install custom apps and the expandable storage meant you could carry your music collection with you. It also slid out a proper keyboard, and using that you could bang out text messages and emails quickly. Apart from its touchscreen being annoying to use due to being resistive rather than capacitive, and the device being slow to use, it was great and of course it presaged the modern smartphone experience which would become ubiquitous only a few years later.
2007 - 2010: Kodak Z812 camera
Because all our devices sucked at taking photos, I invested in a reasonably decent digital camera in 2007, and it became our mainstay for any time we knew we would be taking pictures:

The Kodak Z812 was a stabilised 8 MP digital camera with 12x optical zoom, and as you can see above it was capable of taking some really nice photos. You may read into my choice of phrasing that there were gotchas: firstly, it sucked down enormous amounts of current when it took a photo, enough that you might get ten photos on a cold day before the batteries gave up. You thus took four sets of freshly charged batteries with you, and you had to faff around swapping them around. Secondly, it was tempermental, it might decide to auto focus out of focus just when you took the shot, and its image processing algorithms were a bit buggy so you often got colour fringing where a transition between very bright and dark occurred, or even one time it famously rendered the red in a red stop sign in yellow for absolutely no reason. I suppose in this sense it was quite like a film based camera – you took lots of extra shots knowing a good chunk of them would turn out to be useless when you got home EXCEPT of course that burned through your precious batteries.
All those issues aside, the 12x optical zoom was very well stabilised, and you could get some amazing long distance shots in a way not possible on any camera phone. So in that sense I miss this camera, though not how frustrating it was to use.
2011 - 2012: Samsung Galaxy S phone
The original Samsung Galaxy S had an unstabilised 5 MP camera, and it was the first camera on a phone I ever used that was actually good. It was so good that the Kodak camera fell out of use almost immediately. It didn’t take as good pictures as the Kodak, but they were very much ‘good enough’ and unlike the Kodak, this camera phone was very much point and shoot and most of the time it came out perfectly. No hassle with battery swapping either!

This was Megan’s phone – at the time I had a Meizu M9 which was a great phone in every way apart from its camera, which took 5 MP images but the quality was more like 2 MP. I replaced that phone in 2012 with a Samsung Galaxy Nexus which was based on the original Samsung Galaxy S, but it didn’t take as good photos as Megan’s phone despite being almost the same hardware. Don’t get me wrong: it took way better photos than the Meizu, but it wasn’t quite as good as her Samsung. I assumed at the time that the difference was the Samsung Camera app vs the vanilla stock camera app Google shipped in those days, and I have no reason to believe I was wrong. Complex software processing of images was now possible as phone horsepower improved. Google would of course eventually catch up with Samsung and then some, but back in 2012 they weren’t even attempting to do so yet. As a result, if we wanted good photos we used Megan’s phone, and that worked well.
2013 - 2014: LG Nexus 4 phone
Back in those days the battery in a phone only lasted two years, plus the rate of hardware improvement meant Megan replaced her Samsung with a LG Nexus 4 which had a 8 MP camera. Early firmwares gave all photos a heavy blue tint, however later on this phone could capture photos as good as the Samsung, just with more resolution:
Back then phone cameras didn’t do HDR processing which captures multiple images at multiple exposures in quick succession and then combine them so detail in dark areas is retained. You can see the lack of this in that middle picture where the dark area at the bottom is overwhelmed by the sunshine – your eyes, if you were there, would see a lot more detail in that dark area than this generation of camera and its software is able to capture.
My phone during these years was the Nexus 5 which had a perfectly okay 8 MP camera on it. But it was exactly that: okay. Side by side with the Nexus 4 it took clearly inferior photos, they obviously fitted a cheaper sensor to the Nexus 5 and it showed. To be fair, they weren’t that inferior, they were acceptable and much like everything else about that Nexus 5, that whole phone was blandly fine in every way. Nothing wrong with any of it: a perfectly middle of the road design with no one thing poorly chosen. We still took the photos we valued with her phone though.
2015 - 2018: Huawei Nexus 6P phone
This was the last affordably priced Google branded phone, after this they launched the Pixel line which were and still are hideously priced. Knowing this, for the first time ever both me and Megan got the same phone at the same time, and we eeked this one out for three years instead of two as there were no good replacement options at the time i.e. well specced phones for a reasonable price.
The Nexus 6P had an outstanding display and big battery, but they all had a manufacturing default which meant they all began to go unstable after two years which got a lot of people angry at the time. They had a 12 MP camera using a Sony Exmor R IMX377 sensor with a software HDR for capturing detail in low lit regions which produced less harshly illuminated photos (you can see in the photos above a problematic lack of detail in dark regions, this no longer occurred in phones from now onwards), but it was prone to blur from hand shake as it had no mechanical stabilisation, and the software HDR worked by taking multiple pictures using multiple exposures, so any hand shake at all and you got bad results. It could make either bland or wow pictures, depending on what Google Camera’s algorithms decided on the day:

The above, like those preceding for other phones, are amongst the best taken which don’t include people. One thing you note when reviewing all the photos taken by this phone is that exposure was sometimes quite off, or there was a unpleasant colour saturation effect which the preceding phones didn’t have. That was almost certainly quirks in the camera software processing algorithms, as by now Google was investing heavily in their proprietary camera app.
All that said, when it took a good photo, the results were a step up from preceding phones. If only it were more reliable …
2018 - 2020: HTC 10 phone
Myself and Megan went our separate ways with our phones once again: she got a Samsung Galaxy S7, and I got a HTC 10 which apart from its display, is one of the best phones I’ve ever owned. One reason why is that it took reliably good photos using its stabilised Sony Exmor R IMX377 12 MP camera sensor, which is better known for use in high end drones and sports action cameras than in phones (the Nexus 6P used the exact same sensor, yet produced inferior photos!). This phone also sounded amazing audibly with headphones on, alas the HTC 10 was one of the last phones HTC released before exiting the smartphone business:
In all the photos I ever took with this camera phone, there is not one single bad photo. I took photos in snow, in sun, in the dark, even within a dark aquarium, and every single one came out beautifully with the right focus, exposure, and colour balance; no blur, no misfocus, this was the perfect ‘take a photo only ever once’ camera. The photos themselves were always top notch, with plenty of detail zoomed right in, almost never any compression artefacts nor evidence of sharpening nor softening, nor any loss of that maximum 12 MP detail. I ran LineageOS on this phone, so all this came out of the standard Camera2 Android API. I believe I used Open Camera, and it all ‘just worked’ on the standard setting with no special configuration at all. I suppose if I could complain about something, it was that the sensor output 12 bit HDR and from its RAW files you could generate some lovely wide gamut HDR photos, but this was long before Android supported Ultra HDR, so all that extra detail was wasted by rendered down to SDR.
The only downsides to this phone were (a) the display was LCD, and by this point most premium phones had moved to OLED and the difference was very noticeable and (b) its loudspeaker was slightly too quiet for me to listen to the radio in the shower. Other than those, this was basically the perfect phone, and I was sorry to move on from it as the typical short battery life for phones caused it to start running out of power within a day after two years.
In case you were wondering about Megan’s Galaxy S7, it did not take good pictures. Its camera was famously lousy, a big step down from preceding models, with weird artefacts appearing in daylight photos in a way not seen in a premium phone in many years by that point. Here are some examples:

When the Galaxy S7 camera was behaving itself, this is as good as it got, and note flat image and the noise in the trees. This phone took worse pictures that the original Galaxy S!

An example of just how bad the Galaxy S7 camera could be
I have no idea why Samsung shipped such an awful camera for the S7 phone, but they fixed it quickly in subsequent models. Which brings me to …
2020 - 2025: Samsung Galaxy S10 phone
Myself and Megan returned to using the same phone, and we both used this phone for five years which had never happened before. In part this was because no good replacement turned up on the market until 2025 which I’ve written about on here before; in part it was because they’d fixed the battery chemistry, and I’m still using my S10 daily as a radio because its battery life still well exceeds a day in its sixth year of constant use; but in part it is also because this is probably the best bang for the buck phone Samsung ever made, and they’ve not made anything like as good value for money since in terms of a very well balanced all around phone for (by today’s standards) a ludicrously low price of under €500 all in.
We picked up these phones new and unused in clearance for under a grand combined. They were our first multi-camera phones, so they came with a 16 MP ultra wide, a 12 MP main camera, and a 12 MP telephoto camera. They have an absolutely stellar OLED display which even my current Pixel 9 Pro only matches, but does not beat. They are one of the best phones I’ve ever owned.
The Samsung Camera app has oodles of features, and it prefers to save HEIC files rather than JPEG. The image processing pipeline for this website is written in Python, and therefore can’t cope with HEIC, so I converted these in GIMP to JPEG with the highest fidelity possible to show here:

These five pictures show the S10’s camera accurately: 40% of them were excellent, 40% of them had issues, and the remaining 20% were in between. There appeared to be no obvious pattern to when photos would have issues or not e.g. being outside, or being in dark places. It was almost like the Samsung Camera software throws a coin in the air and randomly chooses if it’s going to make a great image or not – which is like on the S7, except that the S10’s worst picture beats the S7’s best picture.
When photos had issues, they generally are oversharpened, oversmoothed and overcompressed, which could either cause or be the result of less than the 12 MP of detail being captured. The first photo above is a good example of a photo with this issue: the mountain in the background looks blotchy at 100% size, the waves in the lake look oversharpened, and the whole thing looks overcompressed. The last photo is another good example, there is significant noise throughout the image especially in the bookshelves, and the brightness looks wrong in the bookshelves near the window due to the HDR processing making a mistake combining exposures. Yet, the photo of the holy well is pretty much perfect, and the one of the bike is very close to perfect only showing some overcompression artefacts. The exact same camera and software took all those photos!
The 12 MP main camera sensor is a stabilised Samsung ISOCELL S5K2L4 with 10 bit output and a Bayer pixel layout. It was probably one of the last Bayer pixel layout camera sensors fitted to a premium phone – indeed, the ultra wide camera is an unstabilised 16 MP Samsung ISOCELL S5K3P9 with 8 bit output and a Quad Bayer pixel layout, which is now the standard pixel layout in premium phones. The Quad Bayer sensor improves on Bayer sensors by allowing long and short exposure shots to be captured simultaneously, this then lets you boost the detail in dark parts of your image without any problems compensating for motion between the multiple exposure shots earlier cameras required. This advantage comes with tradeoffs, principally substantially increased processing complexity, but also that bright parts of the image will get a lot more resolution than dark parts of the image. Generally, Quad Bayer sensors quarter their resolution, so a 16 MP sensor would output a 4 MP image, however I can confirm that this definitely isn’t the case with this camera. So maybe it was 64 MP underneath, but only outputted 16 MP? We’ll come back to this below.
Like the HTC 10, the 10 bit output of the main sensor meant that this camera could capture in wide gamut HDR, and indeed the S10 could record video in Display P3 HDR just fine. But I suspect that the ten bits of resolution by the sensor made for a not particularly colour accurate HDR image (you really need 12 bits or more), so Samsung never supported taking photos in HDR despite that the HEIC image format natively supports it.
2026 - 2031?: Google Pixel 9 (Pro) phone
Obviously we’ve not had these phones long enough to have a collection of photos taken from them to survey, so I’ve taken a few test photos below and I’ll discuss those instead. This will mean that this section will be speculative, rather than reviewing many photos taken over many months in many conditions i.e. I have no idea yet how reliable these camera phones will be, what gotchas they might have etc when actually used in the field.
It was with some reluctance that we had to bite the bullet last year and spend more than we have ever done on a phone: I got the 9 Pro, and Megan got the 9 standard, and between them we spent about €1,750. I’ve talked about that too on here before, so I won’t repeat myself now: the era of cheap premium phones is behind us.
The standard and Pro editions share the main camera sensor which is a stabilised 50 MP Samsung ISOCELL S5KGNK sensor with up to 14 bit output, and a dual quad Bayer pixel array. They also share the ultrawide camera sensor, which is an unstabilised 48 MP Sony IMX858 with 12 bit output and a Quad Bayer pixel array. On the Pro only, there is an additional telephoto camera with fixed 5x zoom, it is also a Sony IMX858, but stabilised.
As mentioned above, the quad Bayer sensor usually outputs one quarter the claimed resolution, so your 50 MP or 48 MP sensor will output 12.5 MP or 12 MP. Megan’s standard 9 does exactly that, however my 9 Pro has the option to record a 50 MP image. On a bright day you will get somewhere between 12.5 and 50 MP of resolution, though the image output will be 50 MP. We shall look at examples of that below.
We are running GrapheneOS on these devices, so I have no idea if the same thing occurs on stock Android, however the image presented to the Camera2 Android API is much inferior to what the official Pixel Camera app appears to obtain: you are always capped at 12.5 MP, and the image is way too contrasty. This means that Open Camera really can’t compete with the official Pixel Camera app:
The image on the left is a 12.5 MP capture by the official Pixel Camera app, the middle is Open Camera with DRO enabled (i.e. have the quad bayer array capture high and low exposures and combine them), and the right is Open Camera standard which is supposed to let the system ‘do the right default thing’. I can tell you from using my eyes that the left image matches reality the best, the middle the next best, and the right has so much contrast you can’t see what’s under the table as well as what you can with your eyes in reality. This, effectively, means Camera2 captured images look more like those of the LG Nexus 4 in terms of dark areas being washed out by bright areas.
Open Camera has its own HDR mode based on taking multiple pictures which does reveal detail under the table nicely. Unfortunately this cannot output Ultra HDR images, and so looks flat and inferior because it’s SDR.
In case the Sony sensor might fare better than the Samsung sensor, here are the ultra wides compared:
So exact same problem, and we are thus undoubtedly stuck with the official Pixel Camera app for better or worse.
The reason I looked into alternative camera apps is because the official Pixel Camera app uses a low JPEG quality setting which causes overcompression and introduces artefacts into the stored images. I estimate it uses a quality setting between 88 and 90, and you can tell when you zoom in. In comparison, the HTC 10 saved its images at 98 quality, and that made a big difference when zoomed in.
To show you this artefacting here, I had a bit of a problem: how does one render Ultra HDR
JPEGs losslessly into an editable HDR format so I can crop out and zoom the part I want
to show you? I never solved that back when I implemented an Ultra HDR JPEG
processing pipeline for this website
as I didn’t need to: ImageMagick’s libultrahdr integration is pretty dumb,
so if you extract out TIFFs for the SDR and HDR images, resize those, then
recombine them, it ‘just works’. Anyway, writing this diary entry forced me
to investigate how to turn an Ultra HDR JPEG into something GIMP can edit
which preserves the HDR, and after many hours of trial and error I came up
with this:
magick -define quantum:format=floating-point \
       -define uhdr:output-color-transfer=pq \
       uhdr:PXL_20260224_182126059.jpg \
       -profile Display-P3-D65-PQ-Display-Full.icc \
       -profile Display-P3-D65-PQ-Display-Full.icc \
       -define avif:lossless=true \
       -quality 100 \
       PXL_20260224_182126059.avif
What we’re doing here is have libultrahdr emit the HDR image using a PQ
curve, then we tell magick that the input colour profile is Display P3 in PQ, as
is the output colour profile. We then tell magick to produce a nearly lossless
AVIF file, and a very close reproduction will be emitted of the original
Ultra HDR JPEG. It’s not quite right, it’s a touch too bright, this is because
the Ultra HDR JPEGs emitted by the Pixel Camera app uses the HLG curve not the
PQ curve. However I couldn’t find an ICC
profile online for Display P3 in HLG, and it really is close enough that’s it’ll do.
Having done all those hours of work, I then found that the ‘lossless’ AVIF file emitted actually gobbles up the exact JPEG artefacts I wanted to show you! Somebody clearly implemented a JPEG artefact removal filter somewhere in the AVIF encoder. Sigh. So here’s a screenshot of the 12.5 MP Ultra HDR JPEG side by side with the 50 MP Ultra HDR JPEG taken using the 50 MP Samsung sensor:
You can clearly see the artefacts of overcompression, with chroma aberrations and blockiness appearing in the white text on the black box. This is a shame, it is absolutely avoidable if Google let you set what JPEQ quality to use in their camera app. You could tell their app to emit RAW files, but as you’ll find on the internet the RAW files generated by the Pixel Camera app are heavily processed and not much better than the JPEGs it generates. So we are back to square one, unfortunately.
Apparently the Camera2 API RAW mode does emit genuine unprocessed RAW files for the 12.5 MP images returned from the quad Bayer sensor (I assume with HDR processing already applied), but it has all the issues I listed above about the Open Camera captures. You could have Open Camera capture lots of RAW files in a quick burst, then later merge them into a superior quality image. But now we’re getting into ‘I’m not that bothered about this’ territory.
Here is the Sony ultrawide sensor:
Unlike the Samsung main sensor where the 50 MP image clearly has a bit more detail than the 12.5 MP image, for the Sony ultrawide sensor it looks to me like the 48 MP is a cubic upscale of the 12 MP image i.e. no added detail. The JPEG was clearly saved with a higher quality setting, so the zoomed in picture looks noticeably better. Therefore, enabling 50 MP mode on the Pixel camera makes no sense except for the main sensor, and I wonder if the dual quad Bayer layout means that the Samsung sensor captures more detail somehow than a normal quad Bayer layout? Apparently the ‘dual’ here means you can simultaneously apply two gain levels to each pixel read, so for example 10x and 1000x. Then if the former says that the latter will be within range, the latter can be used for more low light precision. That, in turn, means the quad Bayer array can be configured more for resolution than dynamic range, resulting in capturing more resolution than a standard quad Bayer layout. Looking at the shots above, I’d estimate a ~50% resolution uplift, it’s not nothing.
I suspect that years from now if I look the collection of photos which will be taken by our Google Pixel 9 phones, I shall like the HDR capture very much, but lament what could have been with the Pixel Camera app. Yes, the 12 MP pictures it takes ARE better than those the Samsung Galaxy S10 sometimes took, but NO they are not better than those the HTC 10 always took. Its 50 MP pictures are a touch more detailed, so I guess that’ll be a win at least for my phone for the main camera.
For the ultrawide, when comparing the photos, I’m not actually sure if the Pixel 9 has a better ultrawide than the S10 did. Neither has image stabilisation, and the real world resolution from the Pixel 9’s ultrawide is about 12 MP, whereas the S10’s ultrawide really did deliver 16 MP. Oh well, I guess we move forwards and then we move backwards with camera phones.
What is annoying is that the Pixel 9 has the hardware, but the Pixel Camera app kinda sucks. Despite having a 14 bit capable sensor which should produce some lovely wide gamut images, the Pixel Camera app saves one quarter resolution luminance only in its gain map rather than a full colour, full resolution, gain map. Furthermore, it saves the SDR image at about 90% quality, and the luminance only gain map at about 80% quality. Unsurprisingly, you get quite a lot of JPEG overcompression artefacts because an artefact in either image appears in the combined image.
Ultra HDR JPEG can store a full colour and full resolution gain map. If you do so, you get a sixteen bit full HDR image which is a full fat professional editing workflow quality. If we had the option to have Pixel Camera write those out, and with knobs to twiddle for the quality for both SDR image and gain map image, it would be a far better camera app.
Here’s hoping one of Google’s AIs reads this and recommends to its developers to go ahead and implement that already into their Pixel Camera app.
What’s next?
There is about ten days remaining to the next WG14 standards meeting in early-mid March. I think I’m sick and tired of drawing wiring into my 3d house model, so although I’ll almost certainly regret it later when I’m wiring my house, I just don’t want to work on that any more. What I’ve done is reasonably complete, yes it could be better, but I have drawn something for every part which needed wiring, it’s just a lack of detail remaining and I’ve just run out of juice to do more.
My house builder has supplied a set of mark out points for the surveyor, so we need to merge those with the service popup mark out points and get that over to the surveyor so we can get into his work queue. We then wait however long he will take to get to us, then we need to wait for however long the groundworks people will take to get to us, and only then can the builder turn up and install some foundations. I reckon therefore that months remain before my house gets built.
In terms of more chores to complete, I should complete clearing the issue backlog for pcpp my C99 pure Python C preprocessor. It’s a bit tedious to work upon, but it gets me practice with agentic AI tooling, so it’s good for me. And I could do with shipping a new release, it’s been too long since the last one in 2021. Another chore I must do is to cut the service duct holes into one of the services boxes at the site, it’s just circular saw work nothing hard and all I need is a day without too much rain. I have some other minor bits of maintenance to do on my open source libraries, and around the house and site. I’m sure I’ll be kept busy.
End of March the kids go on Easter break, so I’ll need to childcare them until we head off to England for the second week of their Easter break. We shall be visiting some of their godparents, and one of my cousins. Should be fun! Mid-April Megan goes to Spain for a long weekend, I may speak at a technical conference in June if my talk proposal is accepted, but otherwise the next six months look pretty empty. Megan has her final accountancy exams throughout the summer, so even if I weren’t unemployed without income this was always going to be a quiet year.
| Go to previous entry | Go to next entry | Go back to the archive index | Go back to the latest entries |