Word count: 3098. Estimated reading time: 15 minutes.
- Summary:
- The sorry state of HDR photos in 2025 has been a long-standing issue, with various image formats being proposed but not widely adopted. AVIF is currently the best option for showing HDR photos on websites, but its support for gain map extended images is limited. The use of gain map extended JPEGs offers a compromise between file size and HDR quality, but their conversion to other formats can be problematic. A solution has been found using ImageMagick and libultrahdr, which preserves the HDR information in images.
Tuesday 9 September 2025: 21:19.
- Summary:
- The sorry state of HDR photos in 2025 has been a long-standing issue, with various image formats being proposed but not widely adopted. AVIF is currently the best option for showing HDR photos on websites, but its support for gain map extended images is limited. The use of gain map extended JPEGs offers a compromise between file size and HDR quality, but their conversion to other formats can be problematic. A solution has been found using ImageMagick and libultrahdr, which preserves the HDR information in images.
You might remember that this summer I was trialling a decade old PC running a decade old 8 Gb nVidia Tesla P4 AI inferencing accelerator card bought second hand off Aliexpress. Its purpose was to analyse the three security camera feeds on the site to see how much better a job it could do over the AI built into the cameras. I ran it for exactly two months, and my prediction that the 28 Tb hard drive would store a bit more than three months of video was spot on. I manually reviewed all the alerts the AI recognised during those two months and it is markedly less prone to false positives than the camera’s built in AI – which is to be expected. Still, the specific security camera specialist AI model I was running still got confused by ravens in particular – those like to flap around on the roof of the office in groups sometimes – and it regularly thought those were people (which the camera based AI also gets confused by). The PC AI did not get confused by cats – unlike the camera AI – and as expected it could see people much further away than the camera AI, whose internal resolution for the AI is surely quite coarse (and far below the camera’s 4k resolution). I think with a bit of tweaking and fiddling that this solution is a marked improvement, albeit with an added ~80w power cost, which is almost exactly double the site’s current power draw, and which is why I can’t afford to run it outside the long summer days. The watt meter that I fitted read 19.6 kWh before I turned everything off – that seems absurdly low when 80 watts should result in ~58.4 kWh per month, but maybe that watt meter wraps at 100 kWh and then it would make sense?
Last post I mentioned that there will be coming here soon a review of my new watch a Huawei Watch D2 and my new phone a Google Pixel 9 Pro. That won’t be this post – one of my big chores this week was to start replacing all the proprietary cloud solutions the site is currently using with my own infrastructure. This was greatly raised in priority because I intend to run GrapheneOS on the new phone, and that lets you segment Google Play Services off into its own enclosure along with only the apps which require Google Play Services. That enclosure is closed down every time you lock the phone, so it doesn’t run when the phone is locked, which means that anything Google Play Services based (including all of Google’s own stuff) can’t spy on you when it’s not being used. That, in turn, means that you won’t get any notifications through Google Firebase which is the Google infrastructure for pushing notifications to phones. So, you need to set up your own notification push infrastructure, and there are many ways to do that.
That will however be the next post here, because there is something else which needs doing to this website implementation before I can fully move onto my new Google Pixel 9 Pro: what to do about HDR photos.
The sorry state of HDR photos in 2025
Last October I transitioned the videos shown in posts on this website to self-hosted, rather than hosted on YouTube. This was made possible by enough web browsers in use supporting AV1 encoded video (> 95% at the time) that I could reencode HDR10+ videos captured by my Samsung S10 phone into 1080p Full HD in ten bit Rec.2020 HDR with stereo AAC audio at a capped bitrate of 500 Kb/sec with – to be honest – quite spectacular retention of fidelity for such a low bitrate. One minute of video is only 3.8 Mb, so I was in the surprising situation that most of the JPEG photos hosted here are larger than a minute of video!
Video got widespread wide gamut (HDR) support quite a long time ago now. Not long after DCI-P3 and Rec.2020 were standardised around 2012, HDR video became widely available from about 2016 onwards, albeit at the time with huge file sizes (one friend of mine would only watch Blu-ray HDR content or better, so every movie he stored was a good 70Gb each! That uses up a lot of hard drives very quickly …). Video games followed not long after, despite Microsoft Windows having crappy HDR support then and indeed still now today. Then, basically everybody hit pause for a while, because for some reason nobody could agree on how best to implement HDR photos. It didn’t help that for a long time, Google was pushing WebP files, Apple was pushing HEIC files, and creatives were very keen on JPEG XL which is undoubtedly the best technical solution to the problem (but in my opinion sadly likely to go the way of Betamax). Problem was – to be honest – none was sufficiently better than JPEG to be worth upgrading a website, and I like almost everybody else didn’t bother with moving on from JPEG, in the same way everybody still seems to use MP3 for music because portability and compatibility trumps storage consumption.
It didn’t help that implementations of WebP and HEIC only concentrated on smaller file sizes, which nobody cared about when bandwidth and storage costs kept exponentially improving. For example, the camera in my Samsung S10 does take photos in HDR, but you need to have it save them in RAW format, and then on a computer convert the RAW format into a Rec.2020 HDR image format to preserve the wide gamut. That was always too much hassle for me to bother, especially as for video it natively records video in Rec.2020 HEVC in the first place. What’s weird about that phone is that Samsung stores photos in HEIC format, which is HEVC compression under the bonnet and is absolutely able to use Rec.2020 gamut. But Samsung very deliberately uses a sRGB colour space, which at the time they claimed was for better compatibility (despite that almost nothing but Apple devices support HEIC format images natively). The Samsung phone does convert those HEIC files into JPEG on demand, so perhaps using the same SDR gamut as JPEG was just easier, who knows.
That Samsung S10 phone was launched in 2019, the same year as the AVIF format. The AVIF image format stores images using the AV1 video codec much in the same way as HEIC stores images using the HECV video codec. Like HEIC, if your device has hardware acceleration for AV1 video, this can accelerate the rendering of AVIF images, which is important as these formats are computationally expensive to decode. Unlike HEIC though, AVIF did see widespread take up by the main web browsers and platforms, with everybody supporting AVIF by the start of 2024. As of the time of writing, according to https://caniuse.com/avif 95.05% of desktop web browsers currently in use support AVIF and 97.89% of mobile web browsers do so. While WebP support is even more widely supported again, HDR in WebP support is not a great story. In short, AVIF is as good as it gets if you want to show HDR photos on websites.
Or is it? After many years of Google banging the WebP drum and not finding much take up, obviously another part of Google decided to upgrade the venerable JPEG format. Very recent Google Pixel Pro’s can now optionally save photos in ‘Ultra HDR JPEG’ format, which is a conventional SDR JPEG but with a second ‘hidden’ greyscale JPEG describing a ‘gain map’ so a Rec.2020 gamut image can be reconstructed from the SDR data. As the human eye isn’t especially sensitive to gamut at those ranges (which is why they were omitted from SDR in the first place), this does work for added file size, and it has the big advantage of backwards compatibility because they are absolutely standard JPEGs to code which doesn’t know about the gain map. The wide gamut is only used if your image processing pipeline understands gain map extended JPEGs.
Despite that the gain map extended JPEGs were standardised as ISO 21496-1 and all the major vendors have agreed to support them, due to being standardised only this year support in existing tooling for gain map extended JPEG is extremely limited. There is the official Google reference implementation library and the few bits of software which have incorporated that library. AVIF also supports gain map extended SDR images, but it is very hard currently to create one as tooling support is even worse than for JPEGs. Web browser support for gain map extended AVIF is also far more limited, with only year 2025 editions of Chrome based browsers supporting it. That said, in years to come gain map extended AVIF will be nearly as widely supported as AVIF, and with the claimed much reduced file size they could be the most future proof choice.
Why all this matters is that this website is produced by a static website generator called Hugo and as part of generating this website it takes in the original high resolution images, and generates many lower resolution images for each, and then emits CSS to have the browser choose smaller images when appropriate. There is absolutely zero chance that Hugo will support gain map extended JPEGs any time soon as somebody needs to write a Go library to support them. So image processing support for those is years away.
It’s not much better in the Python packaging space either – right now I can find exactly two PyPi packages which support gain map extended JPEGs. Neither seems to offer a lossless way of converting from gain map extended JPEG to gain map extended AVIF.
Converting losslessly between gain map extended image formats
It won’t be obvious until I explain it: rendering HDR as somewhat accurate SDR is hard at the best of times. Usually you have to supply a thing called a ‘tone map’ with your HDR video to say how to render this HDR as SDR. This is where colour profiles and all that complexity comes in, and if you’ve ever seen HDR video content have all wrong colours, that’s where things have gone wrong somewhere along the pipeline.
Something not obvious above is that gain map extended JPEG doesn’t come with a tone map, nor a colour profile. The software which creates the gain map extended JPEG chose as perfect as possible SDR representation and HDR representation. It emits the SDR image with a delta of how to approximate the HDR image from that SDR image.
The problem is that all the current image processing tooling thinks in terms of (a) here is your image content data (b) this is what the colours in that image content mean. If I render just the SDR portion of the gain map extended JPEG into a RAW format, I lose the HDR side of things. But the same goes if I render the HDR portion, then I lose what the device thought was the best SDR representation.
Therefore, if you want to convert between gain map extended image formats without losing information, right now you need to emit the gain map extended JPEG firstly in raw SDR and then in raw HDR. You then need to tell your AVIF encoder to encode that raw SDR with a gain map using the raw HDR to calculate the gain map.
The tool in libavif to do that wasn’t working right as of a few months
ago, and invoking all this tooling correctly is very arcane. Luckily,
this exact problem affects lots of people, and I found a fork of
Google’s libultrahdr which adds in AVIF emission.
That fork is literally being developed right now, its most recent
commit was two days ago.
Gain map extended JPEG to gain map extended AVIF via libultrahdr
Due to its immature state, right now that fork of libultrahdr
cannot create a gain map extended AVIF directly from a gain map
extended JPEG, so you need to traverse through a raw uncompressed
file.
That’s fine, but I was rather surprised to (a) see how very long it takes this tool to create a gain map extended AVIF – but let’s assign that to the ‘this is alpha quality code’ category – and (b) that the gain map extended AVIF file is twice the size of the original gain map extended JPEG.
That produced a ‘huh?’ from me, so I experimented some more:
- A gain map extended JPEG from an input gain map extended JPEG is also twice the size of the original.
- That suggested dropping quality settings would help, so I reduced the quality of the gain map to 75% leaving the SDR picture at 95%: now the AVIF file is the same size as the original JPEG.
- Dropping quality for both sides to 75% yields a file 60% smaller than the original JPEG.
I can’t say I’m jumping up and down about a 60% file size reduction. AVIF is normally a > 90% file size reduction over JPEG.
In any case, this fork of libultrahdr can’t do resizing,
so in terms of helping me solve my photo downsizing problem
for Hugo, this isn’t much help.
Gain map extended JPEG to gain map extended JPEG via ImageMagick
The traditional Swiss army knife for doing stuff with images
is ImageMagick, and if you’re
willing to compile from source you can enable a libultrahdr
processing backend. There is good reason why it isn’t turned
on by default, because the support for gain map extended images
is barely there at all.
I’m about to save you the reader many hours of trial and error
time on how to resize a gain map extended JPEG using ImageMagick
built from source, and I suspect had I not spent plenty of time
messing around with libultrahdr this wouldn’t have come to me
eventually.
Firstly, extract the SDR edition of the original gain map extended JPEG into a raw TIFF applying any resizing you want to do. Make SURE you turn on floating-point processing for all steps, otherwise you’ll see ugly gamut banding in the final output:
magick -define quantum:format=floating-point \
  PXL_20250908_164927689.jpg \
   -resize 10% test_sdr.tif
Now extract the HDR edition, but be aware that the raw TIFF generated is not even remotely correct, but it won’t matter because you’re preserving the original information in the gain map extended JPEG:
magick -define quantum:format=floating-point \
  -define uhdr:hdr-color-gamut=display_p3 -define uhdr:output-color-transfer=hlg \
  uhdr:PXL_20250908_164927689.jpg \
  -resize 10% test_hdr.tif
Now here comes the non-obvious part: here is how to tell ImageMagick
to feed the raw SDR and HDR TIFFs into libultrahdr to create a new,
reduced size, gain map extended JPEG:
magick -define quantum:format=floating-point \
  -define uhdr:hdr-color-gamut=display_p3 -define uhdr:hdr-color-transfer=hlg \
  -define uhdr:gainmap-quality=80% -quality 80 \
  \( test_sdr.tif -depth 8 \) test_hdr.tif \
  uhdr:test2.jpg
The 80% quality setting was found to produce an almost identically
sized output to the original if output at identical resolution.
My Macbook Pro M3 will display 100% of DCI-P3 but only 73% of
Rec.2020. Zooming in and out, the image detail at 80% is extremely close
to the original, but the colour rendering is very slightly off –
I would say that the output is ever so slightly more saturated than
the original. You would really need to stare closely at side by
side pictures to see it however, at least on this Macbook Pro
display. I did try uhdr:hdr-color-gamut=bt2100, but the colour
rendering is slightly more off again. libultrahdr supports
colour intents of (i) bt709 (i.e. SDR) (ii) DCI-P3 (iii) bt2100
(i.e. Rec.2020), so display_p3 I think is as good as it gets
with current technology.
So we are finally there: we now have a workable solution to the Hugo image processing pipeline which preserves HDR in images! I am a little disappointed that gain map extended AVIF with sufficiently smaller file sizes isn’t there yet, but I can surely revisit solving this in years to come.
Let’s see the money shots!
So, here we go: here are the first HDR photos to be posted on this site. They should retain their glorious HDR no matter what size the webpage is (i.e. the reduced size editions will be chosen, and those also have the HDR):
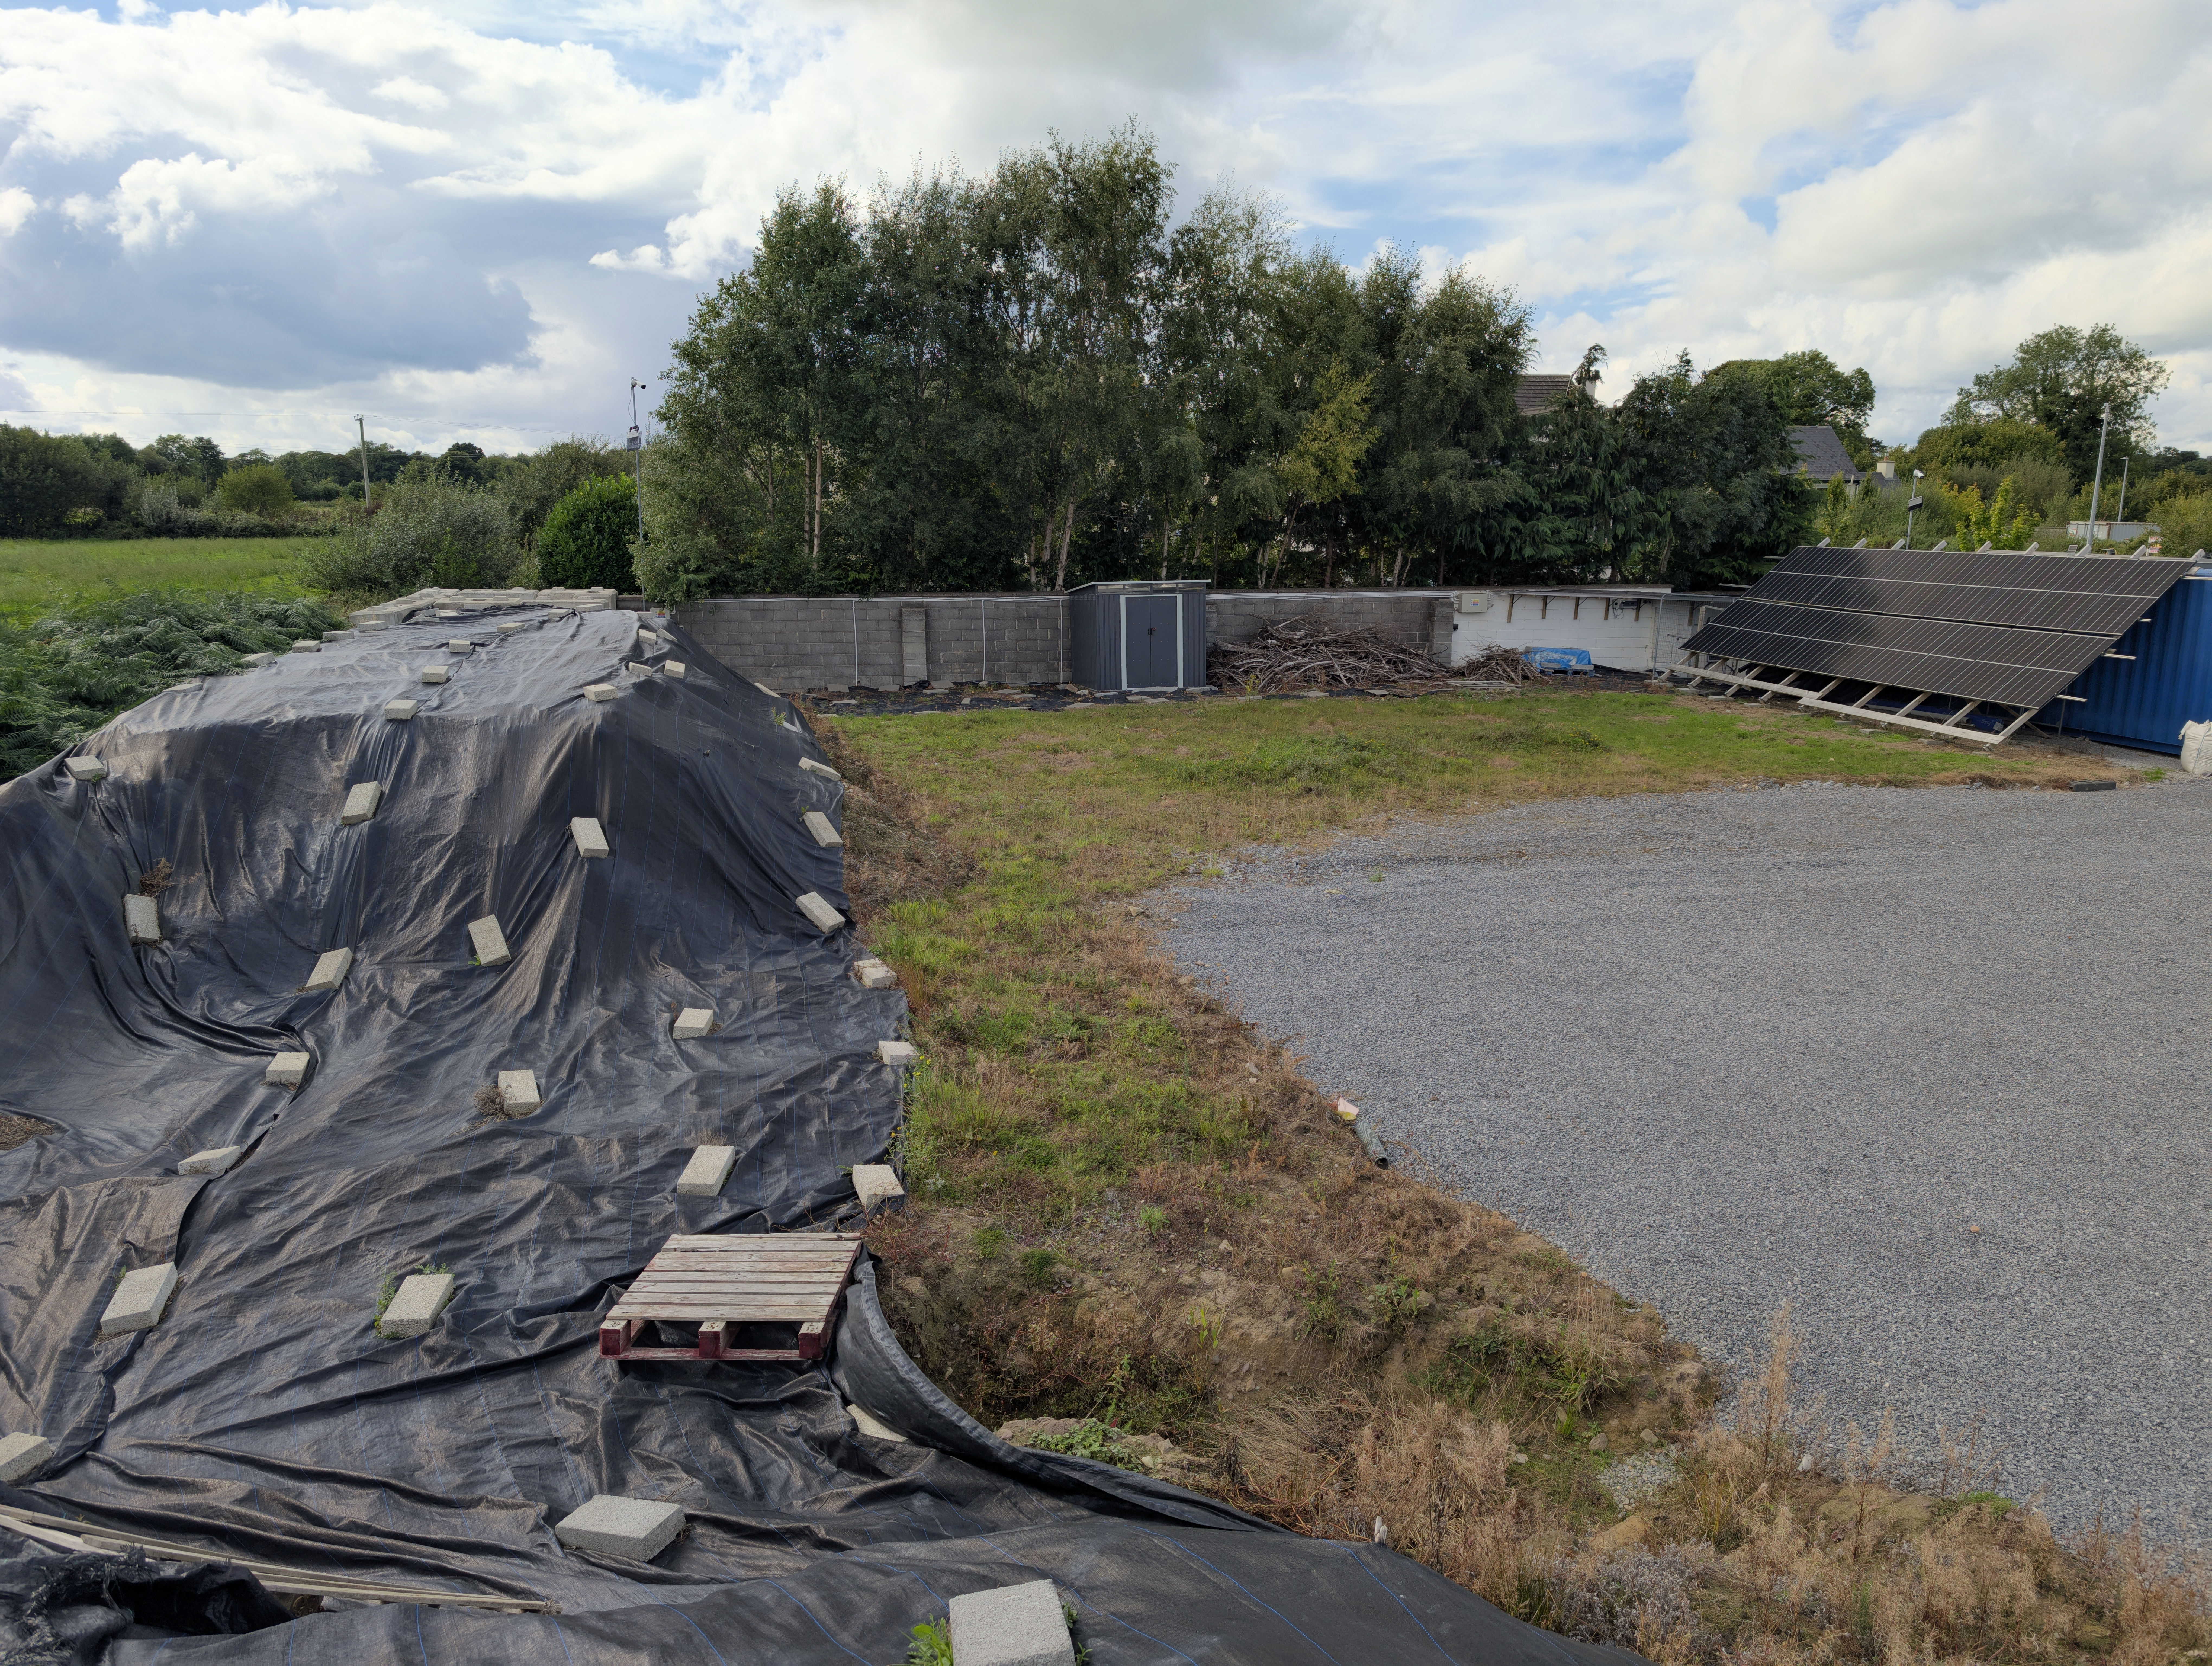
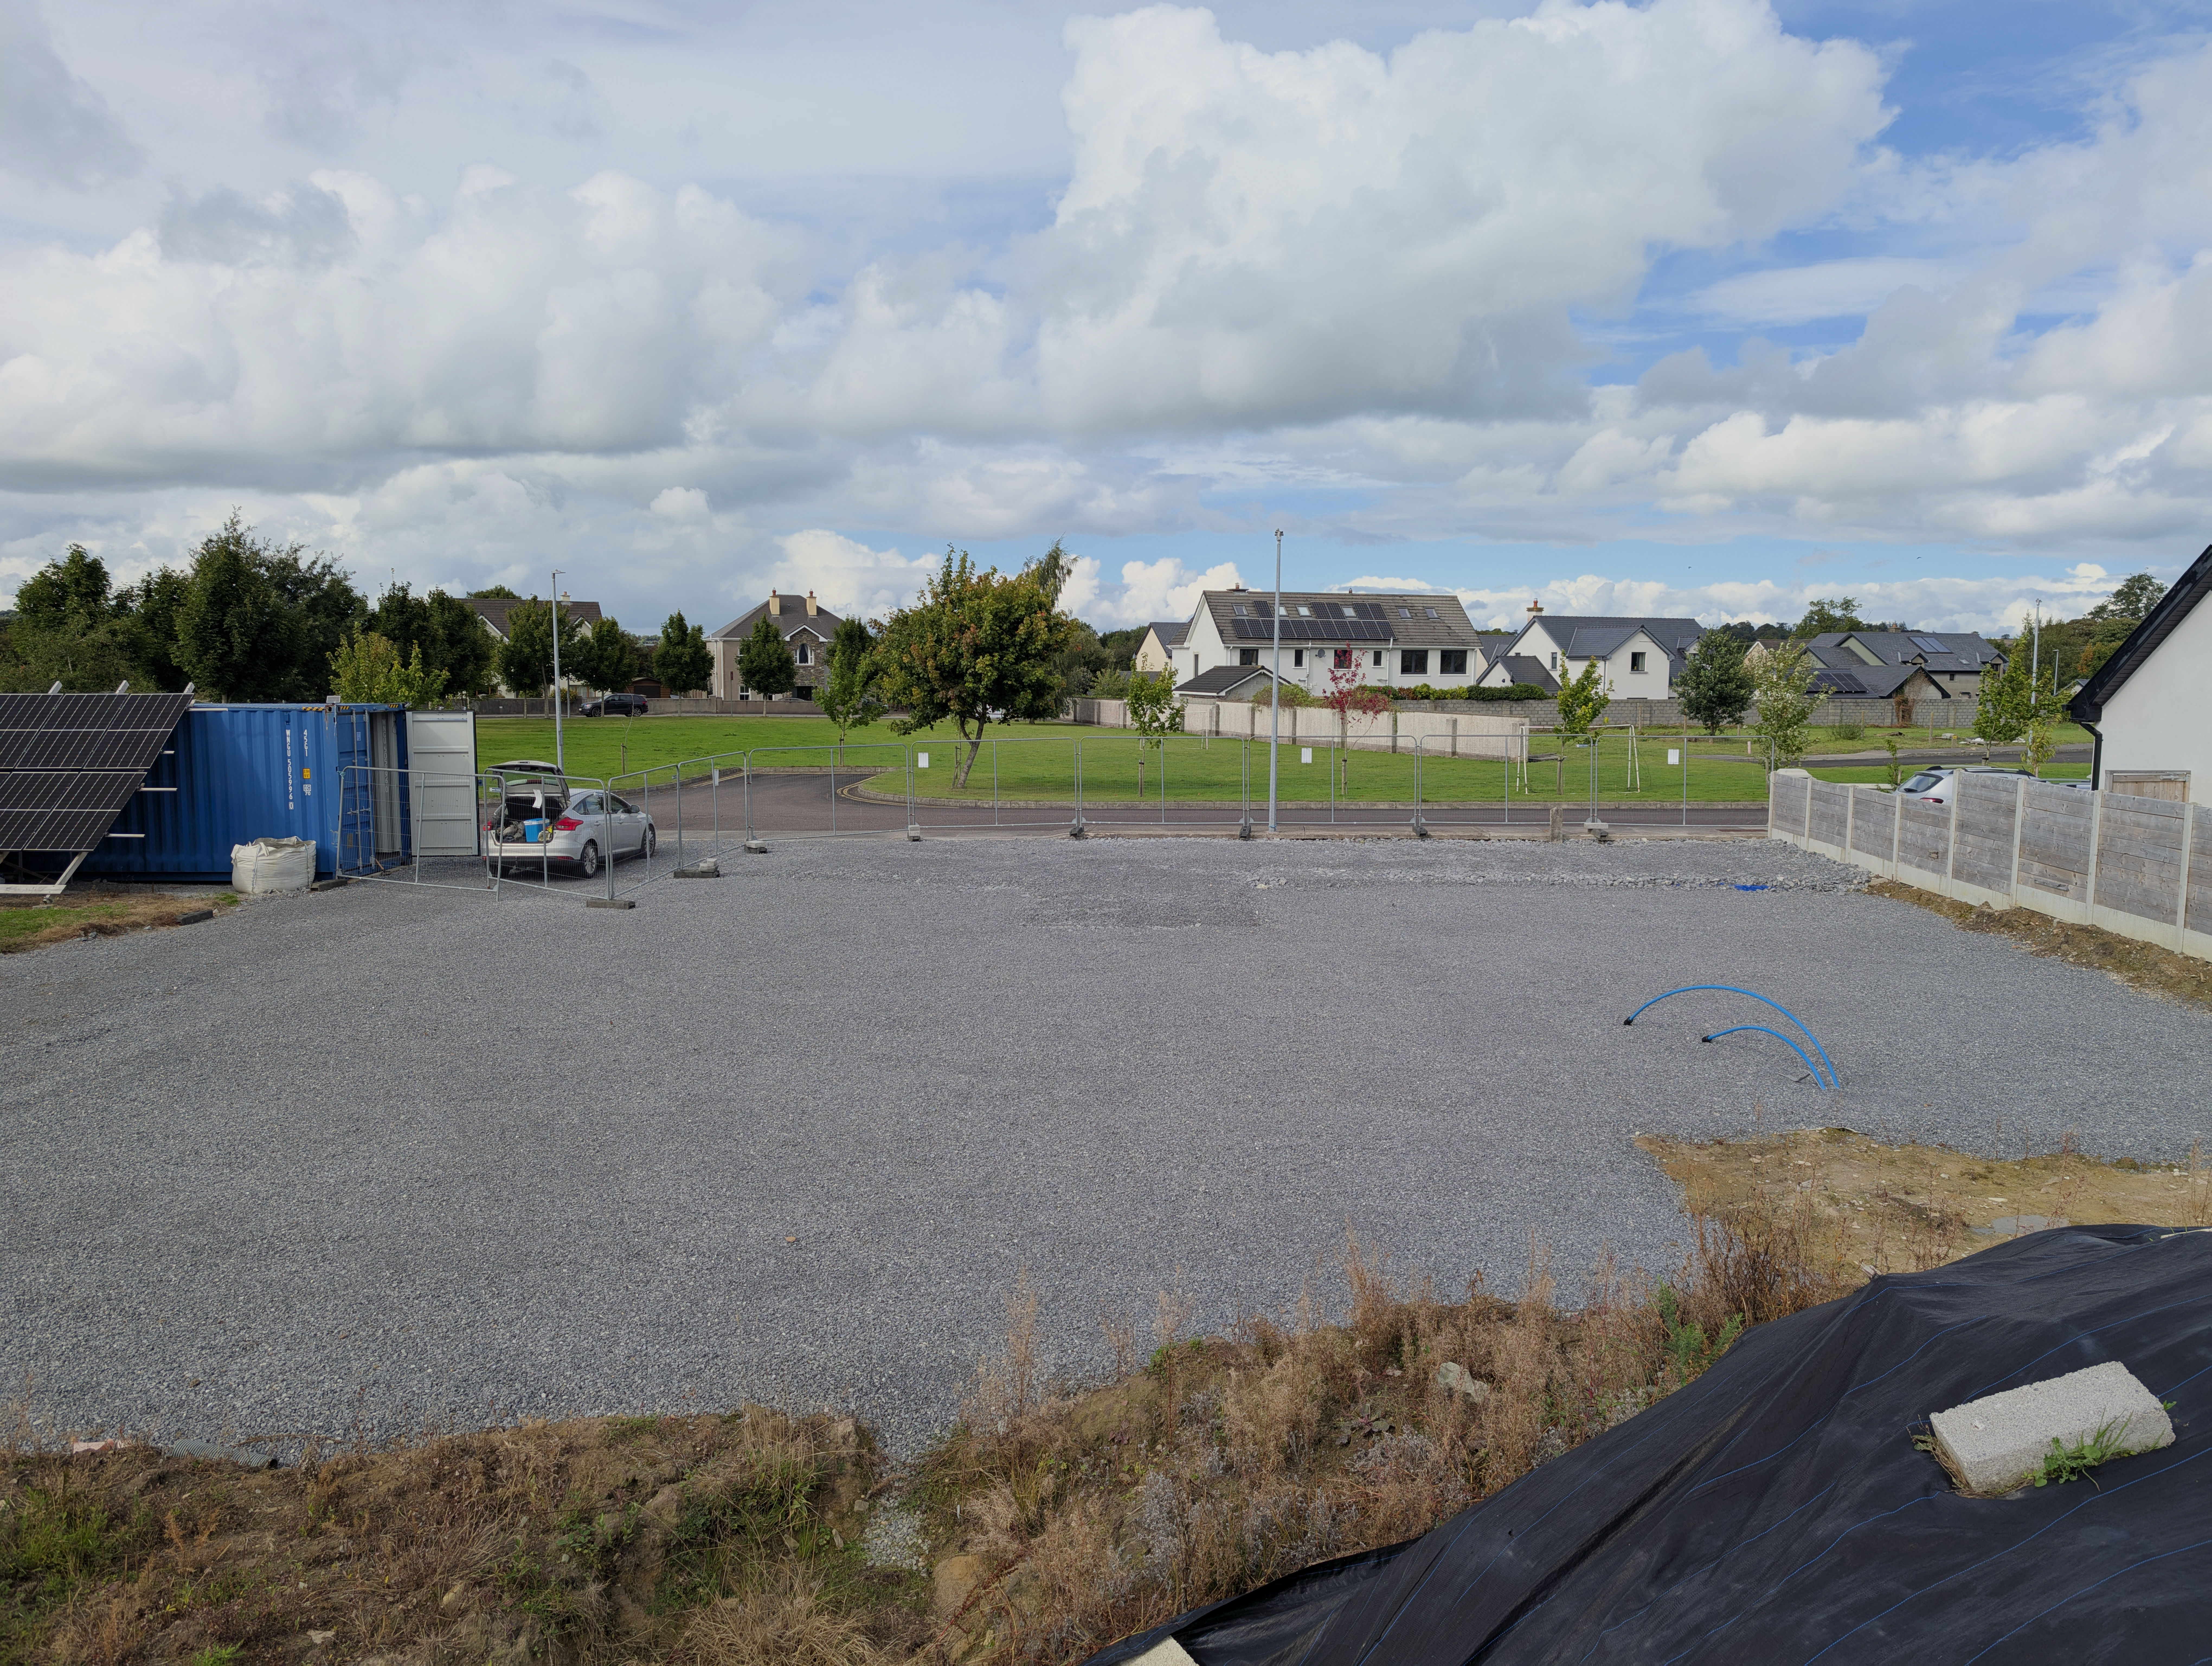
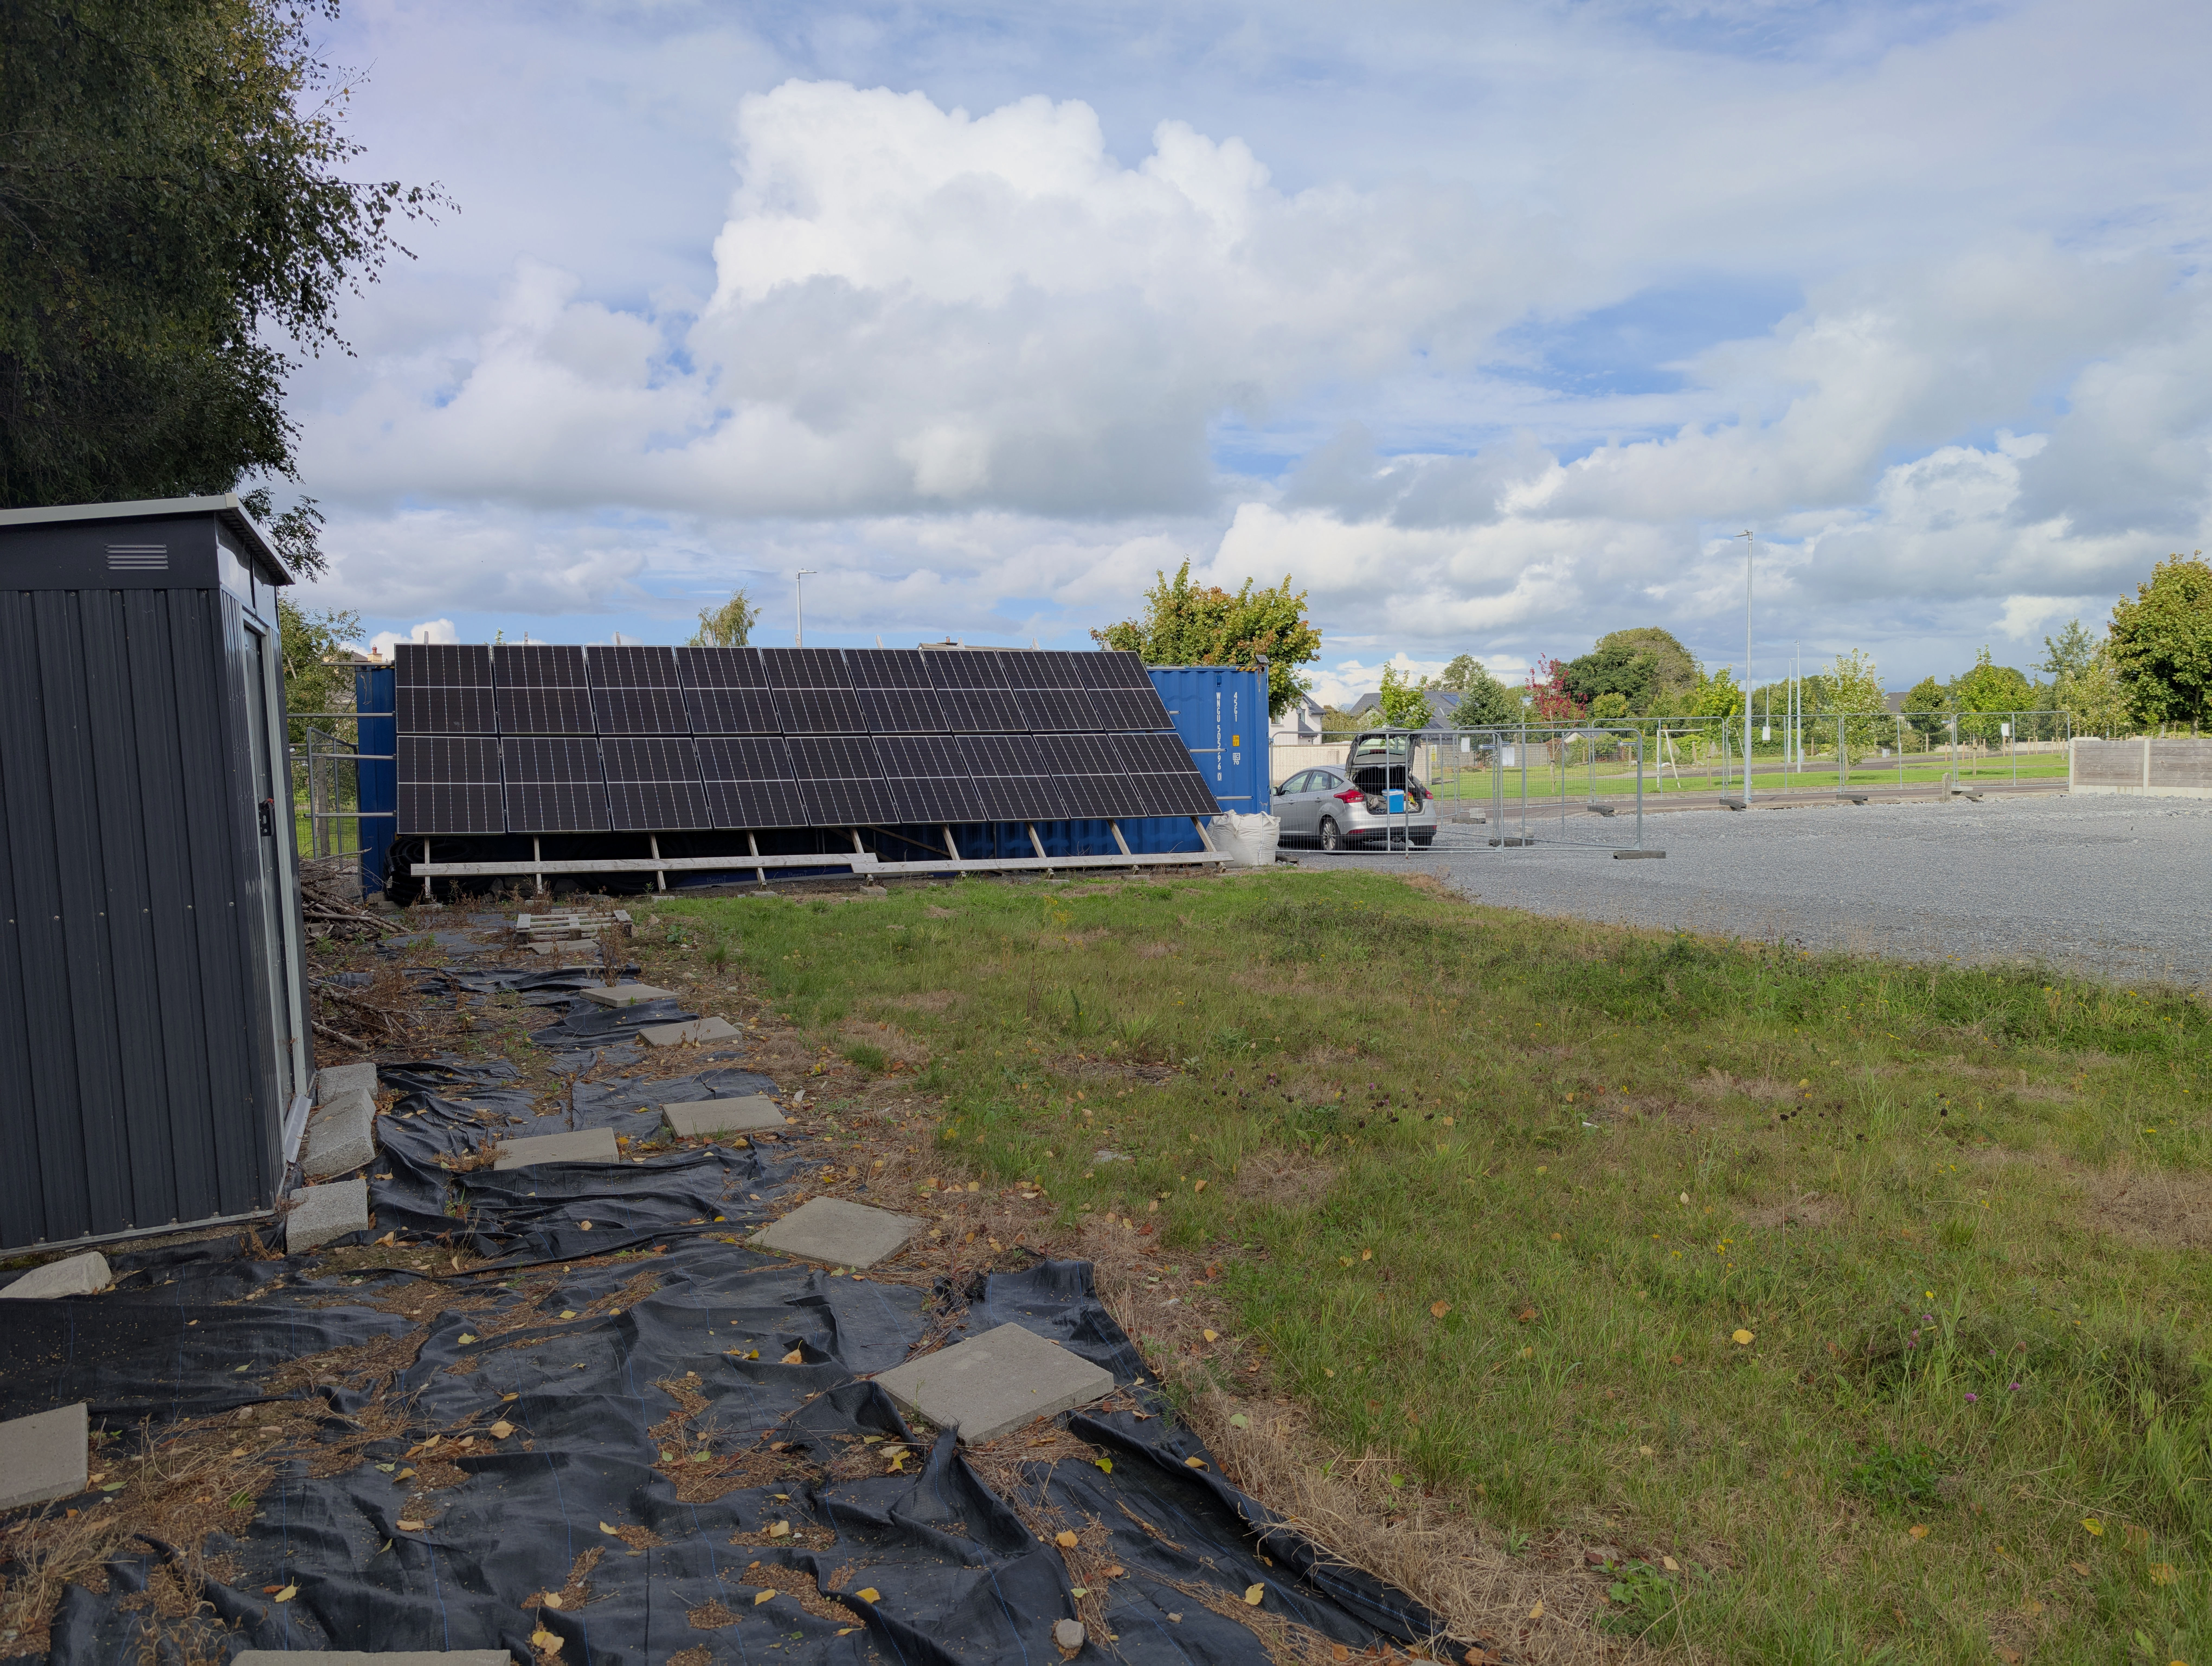
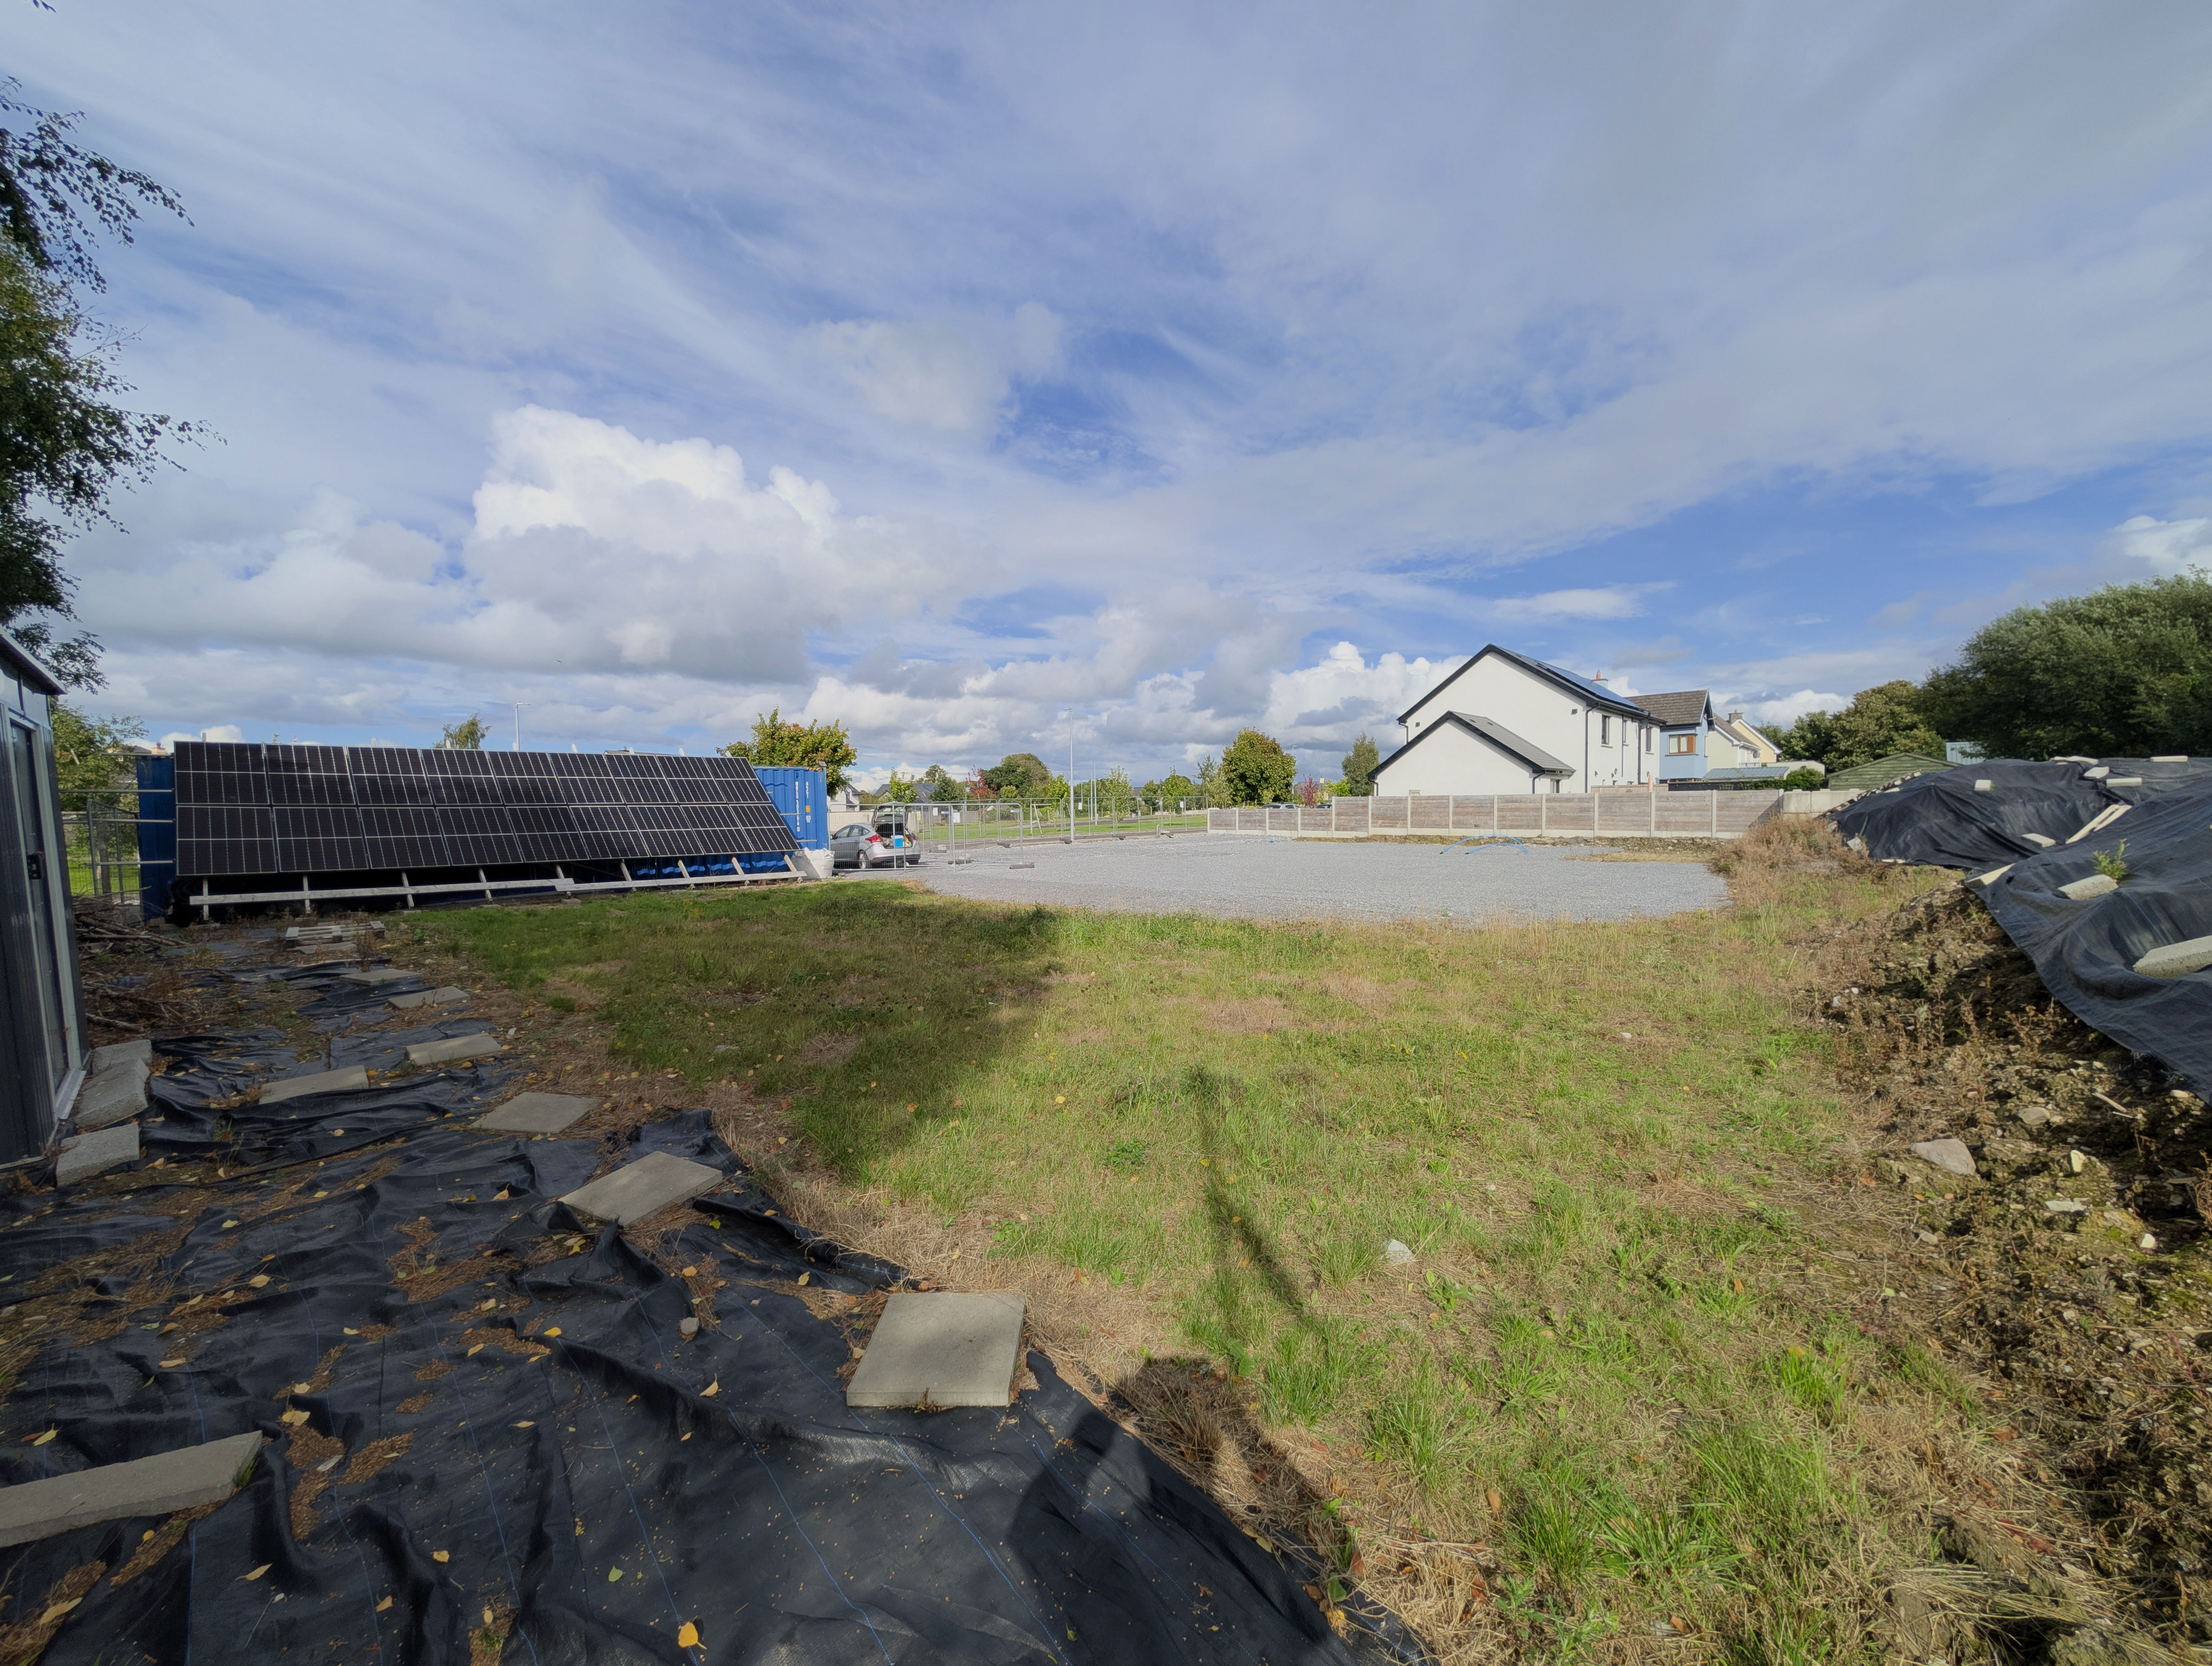
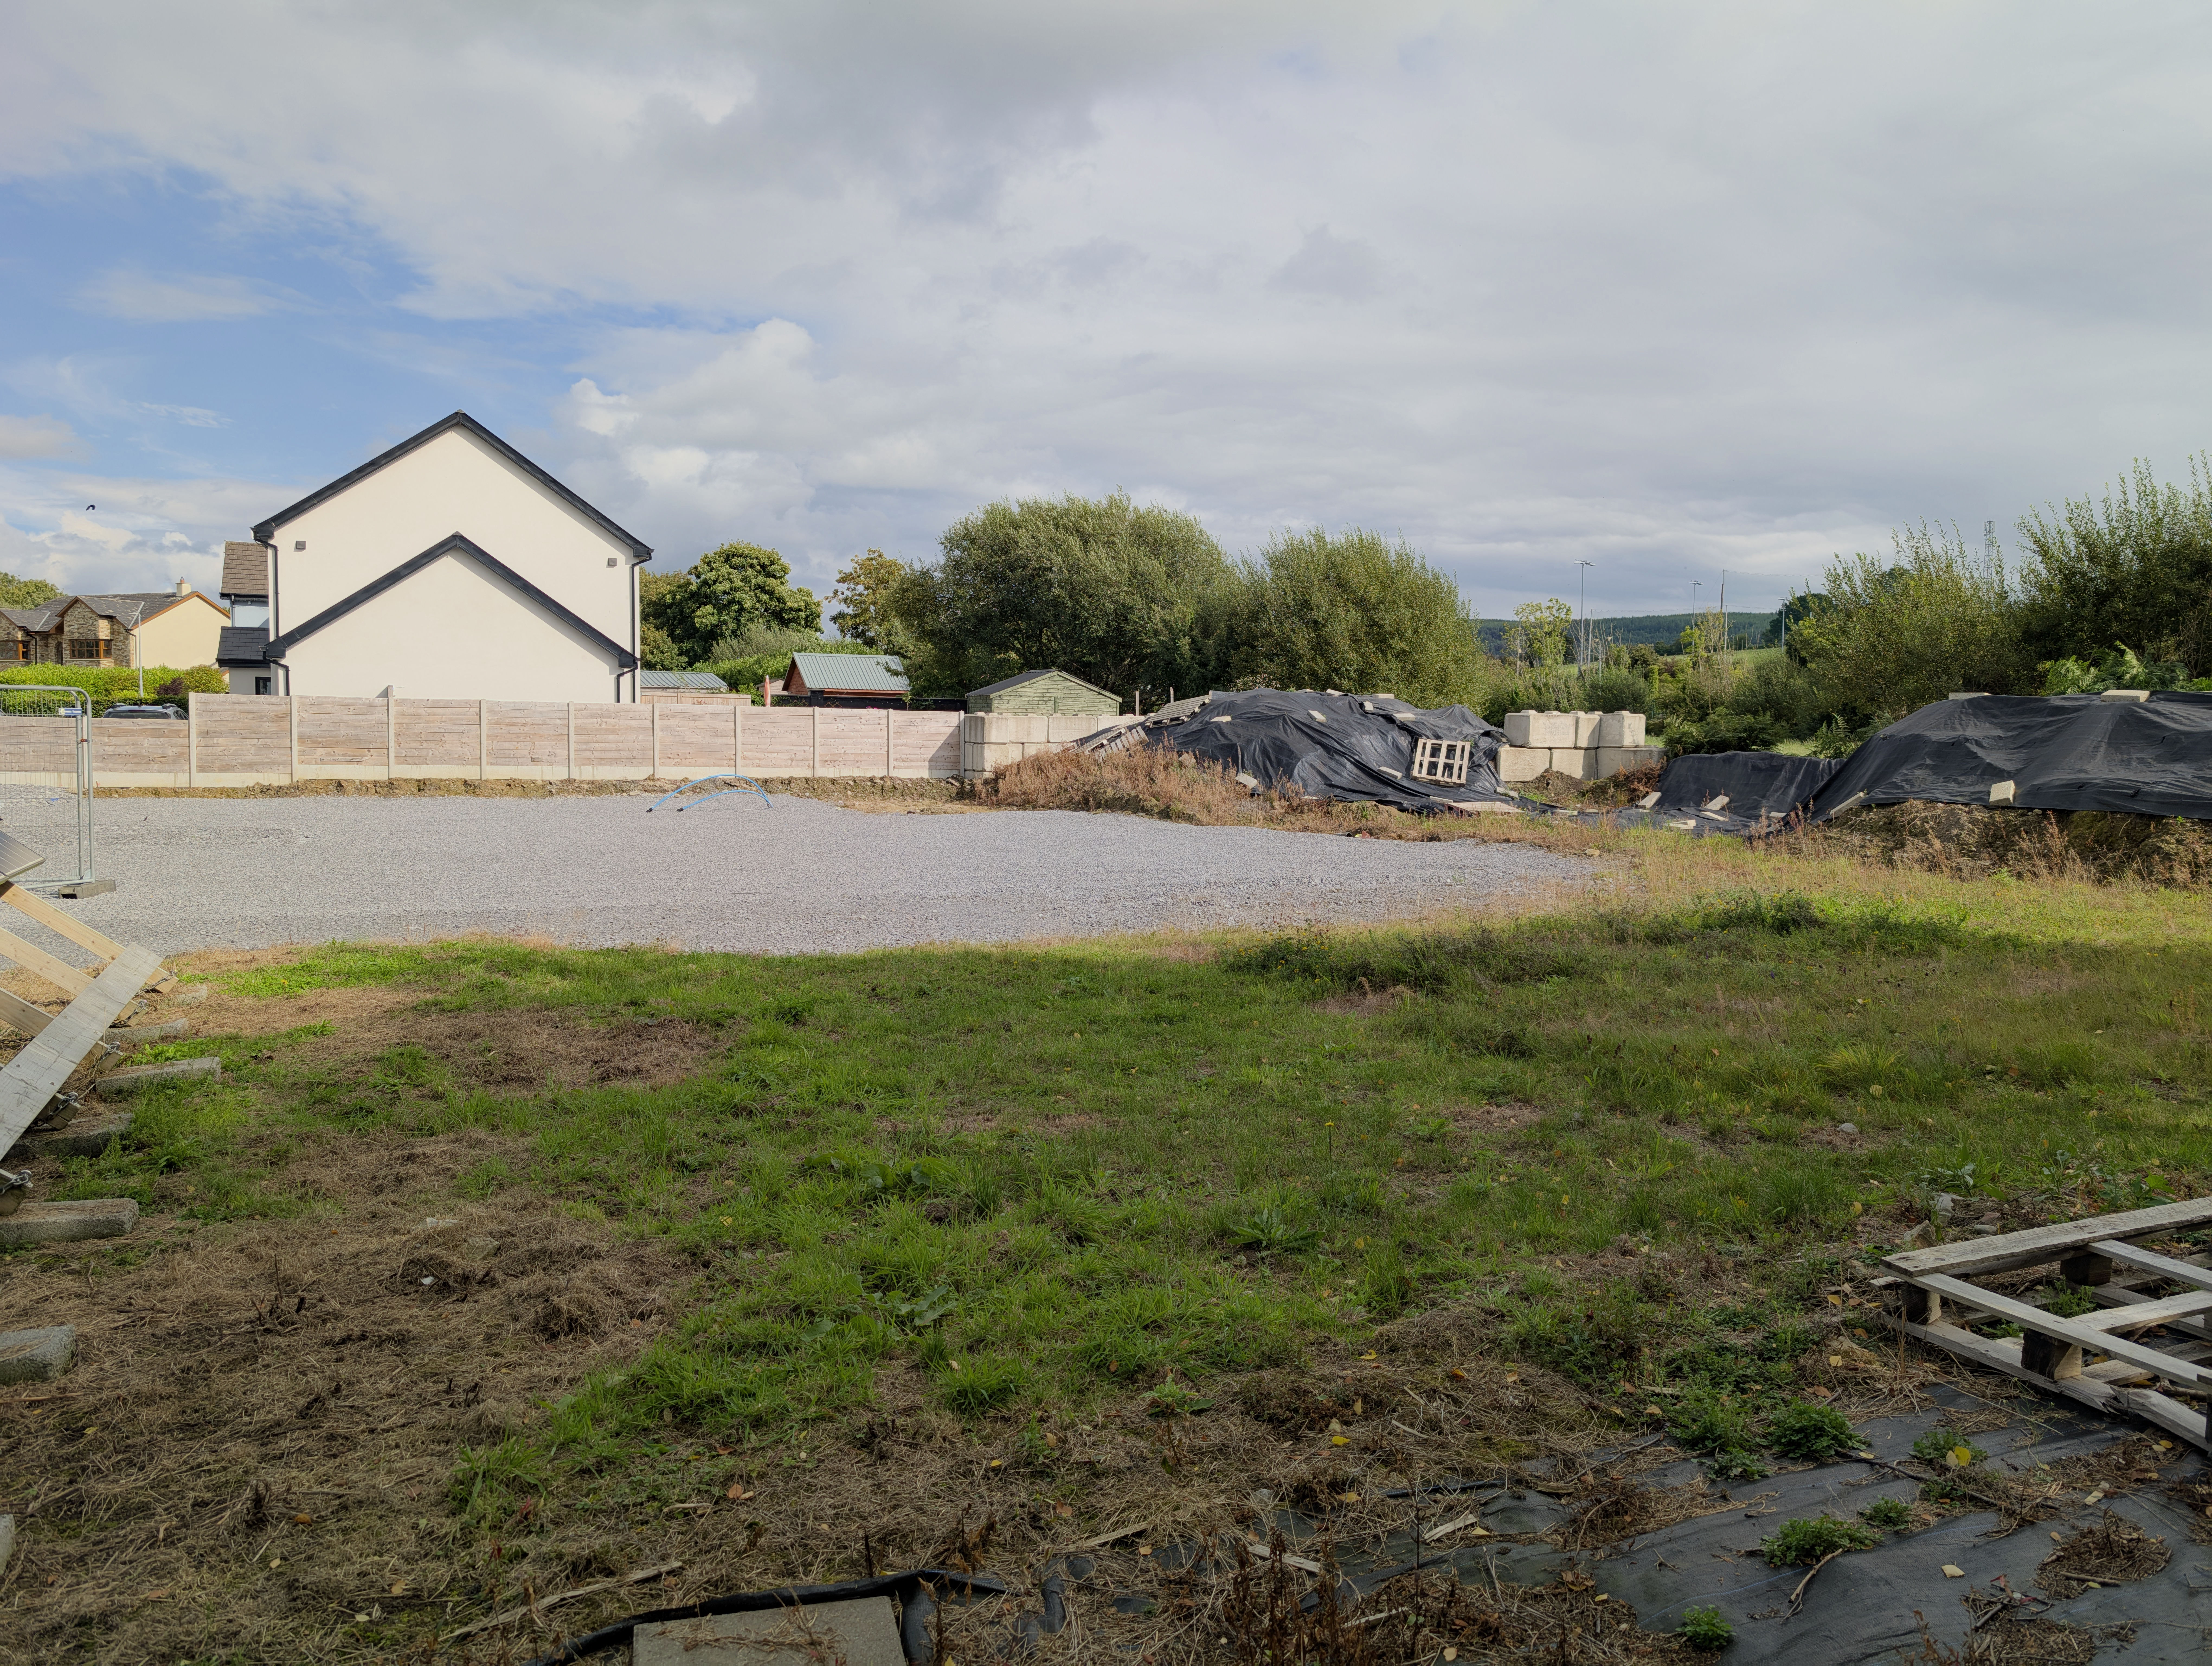
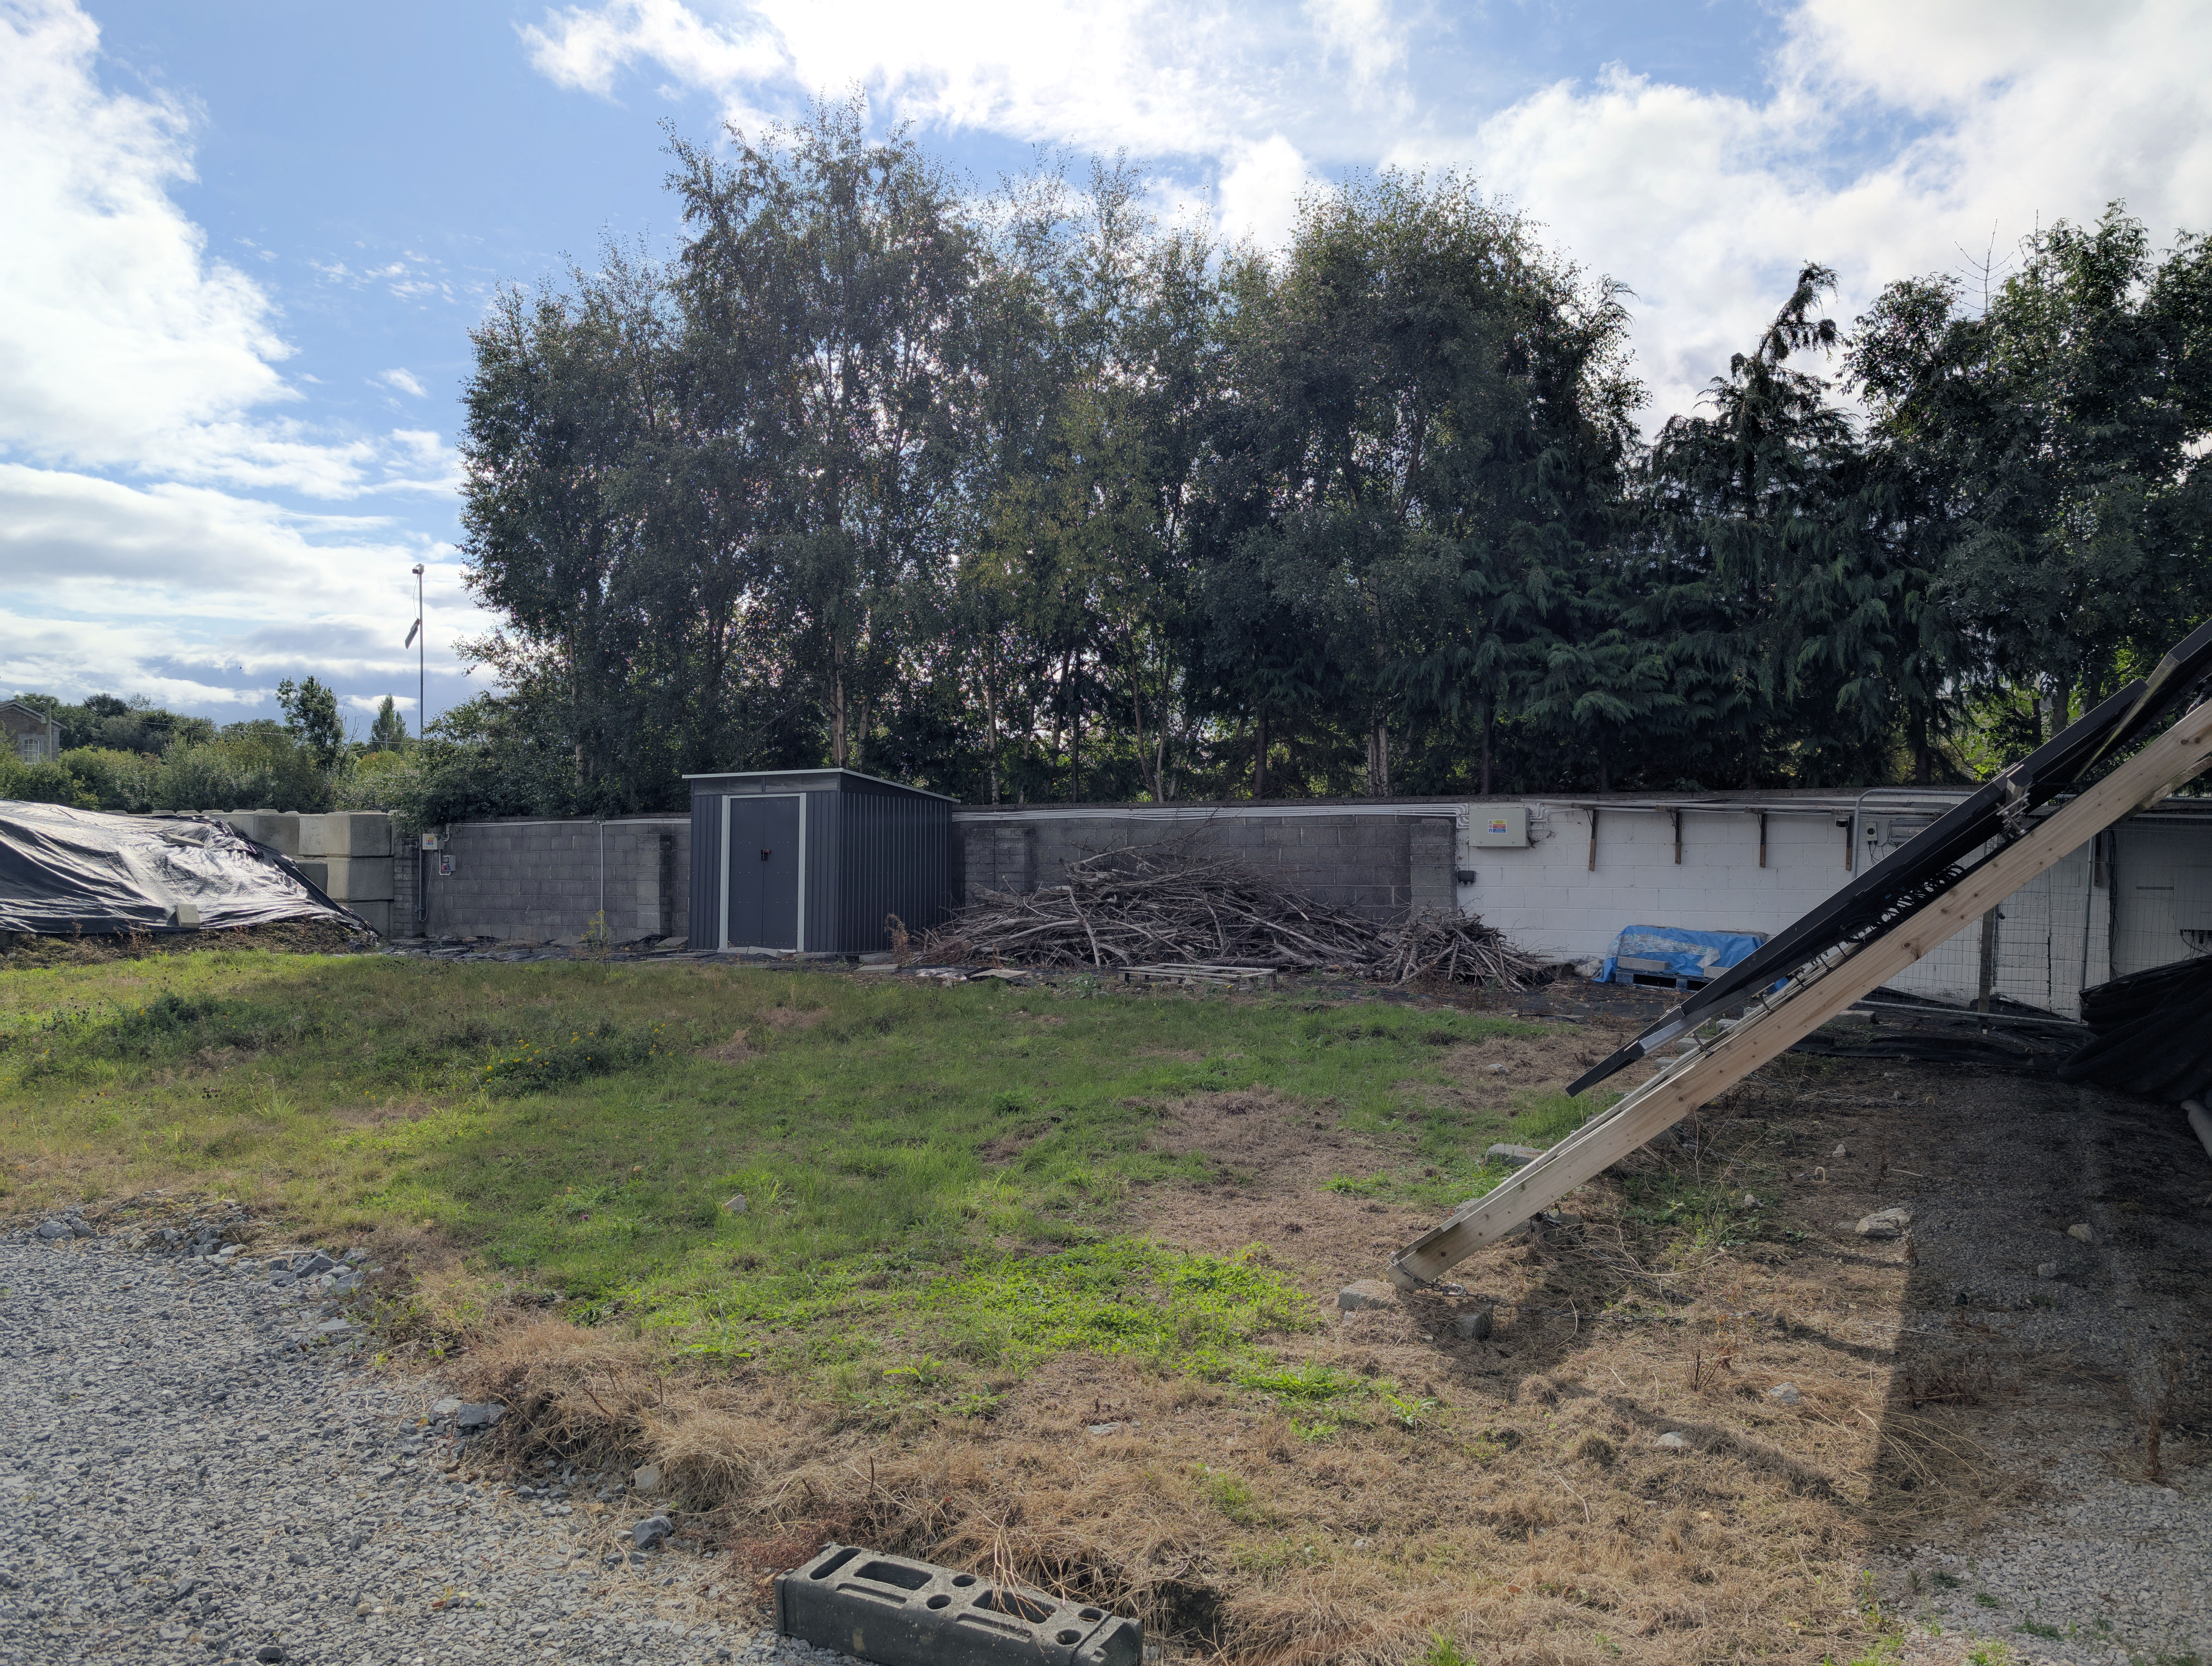
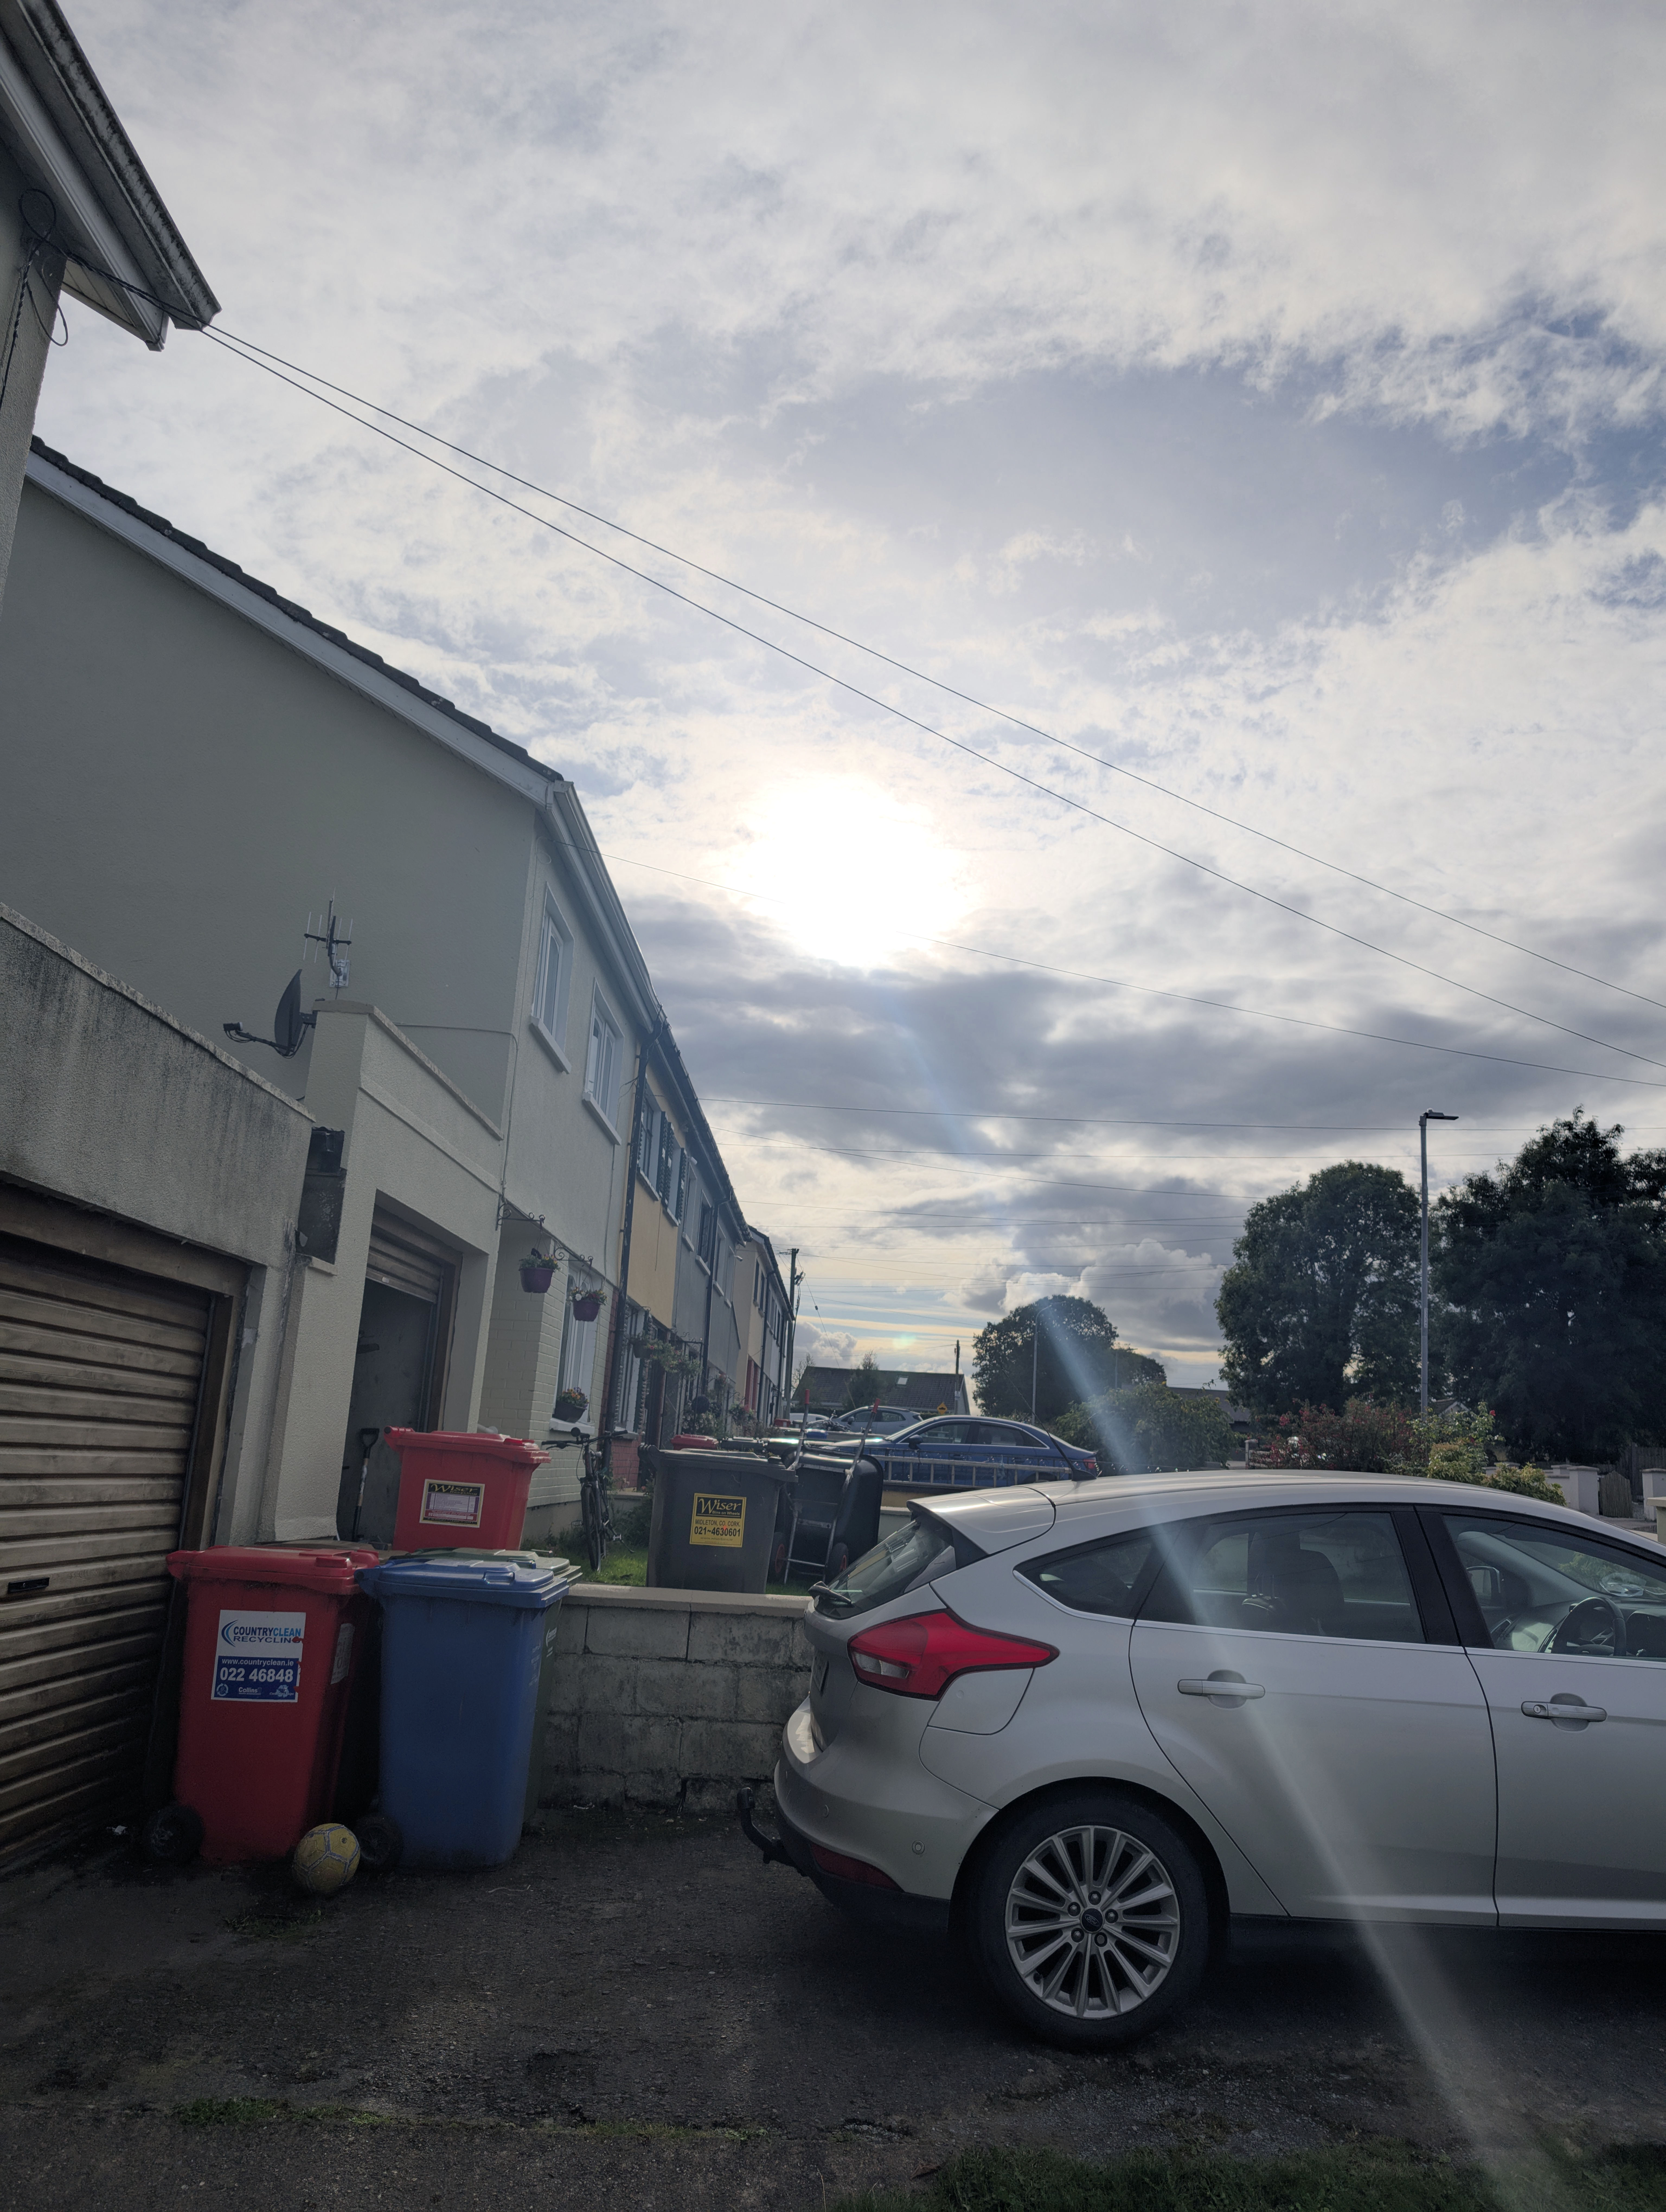
I thought lest the difference that the HDR makes isn’t obvious enough, here is a HDR and SDR edition side by side. If your display is able to render HDR, this should make the difference quite obvious:
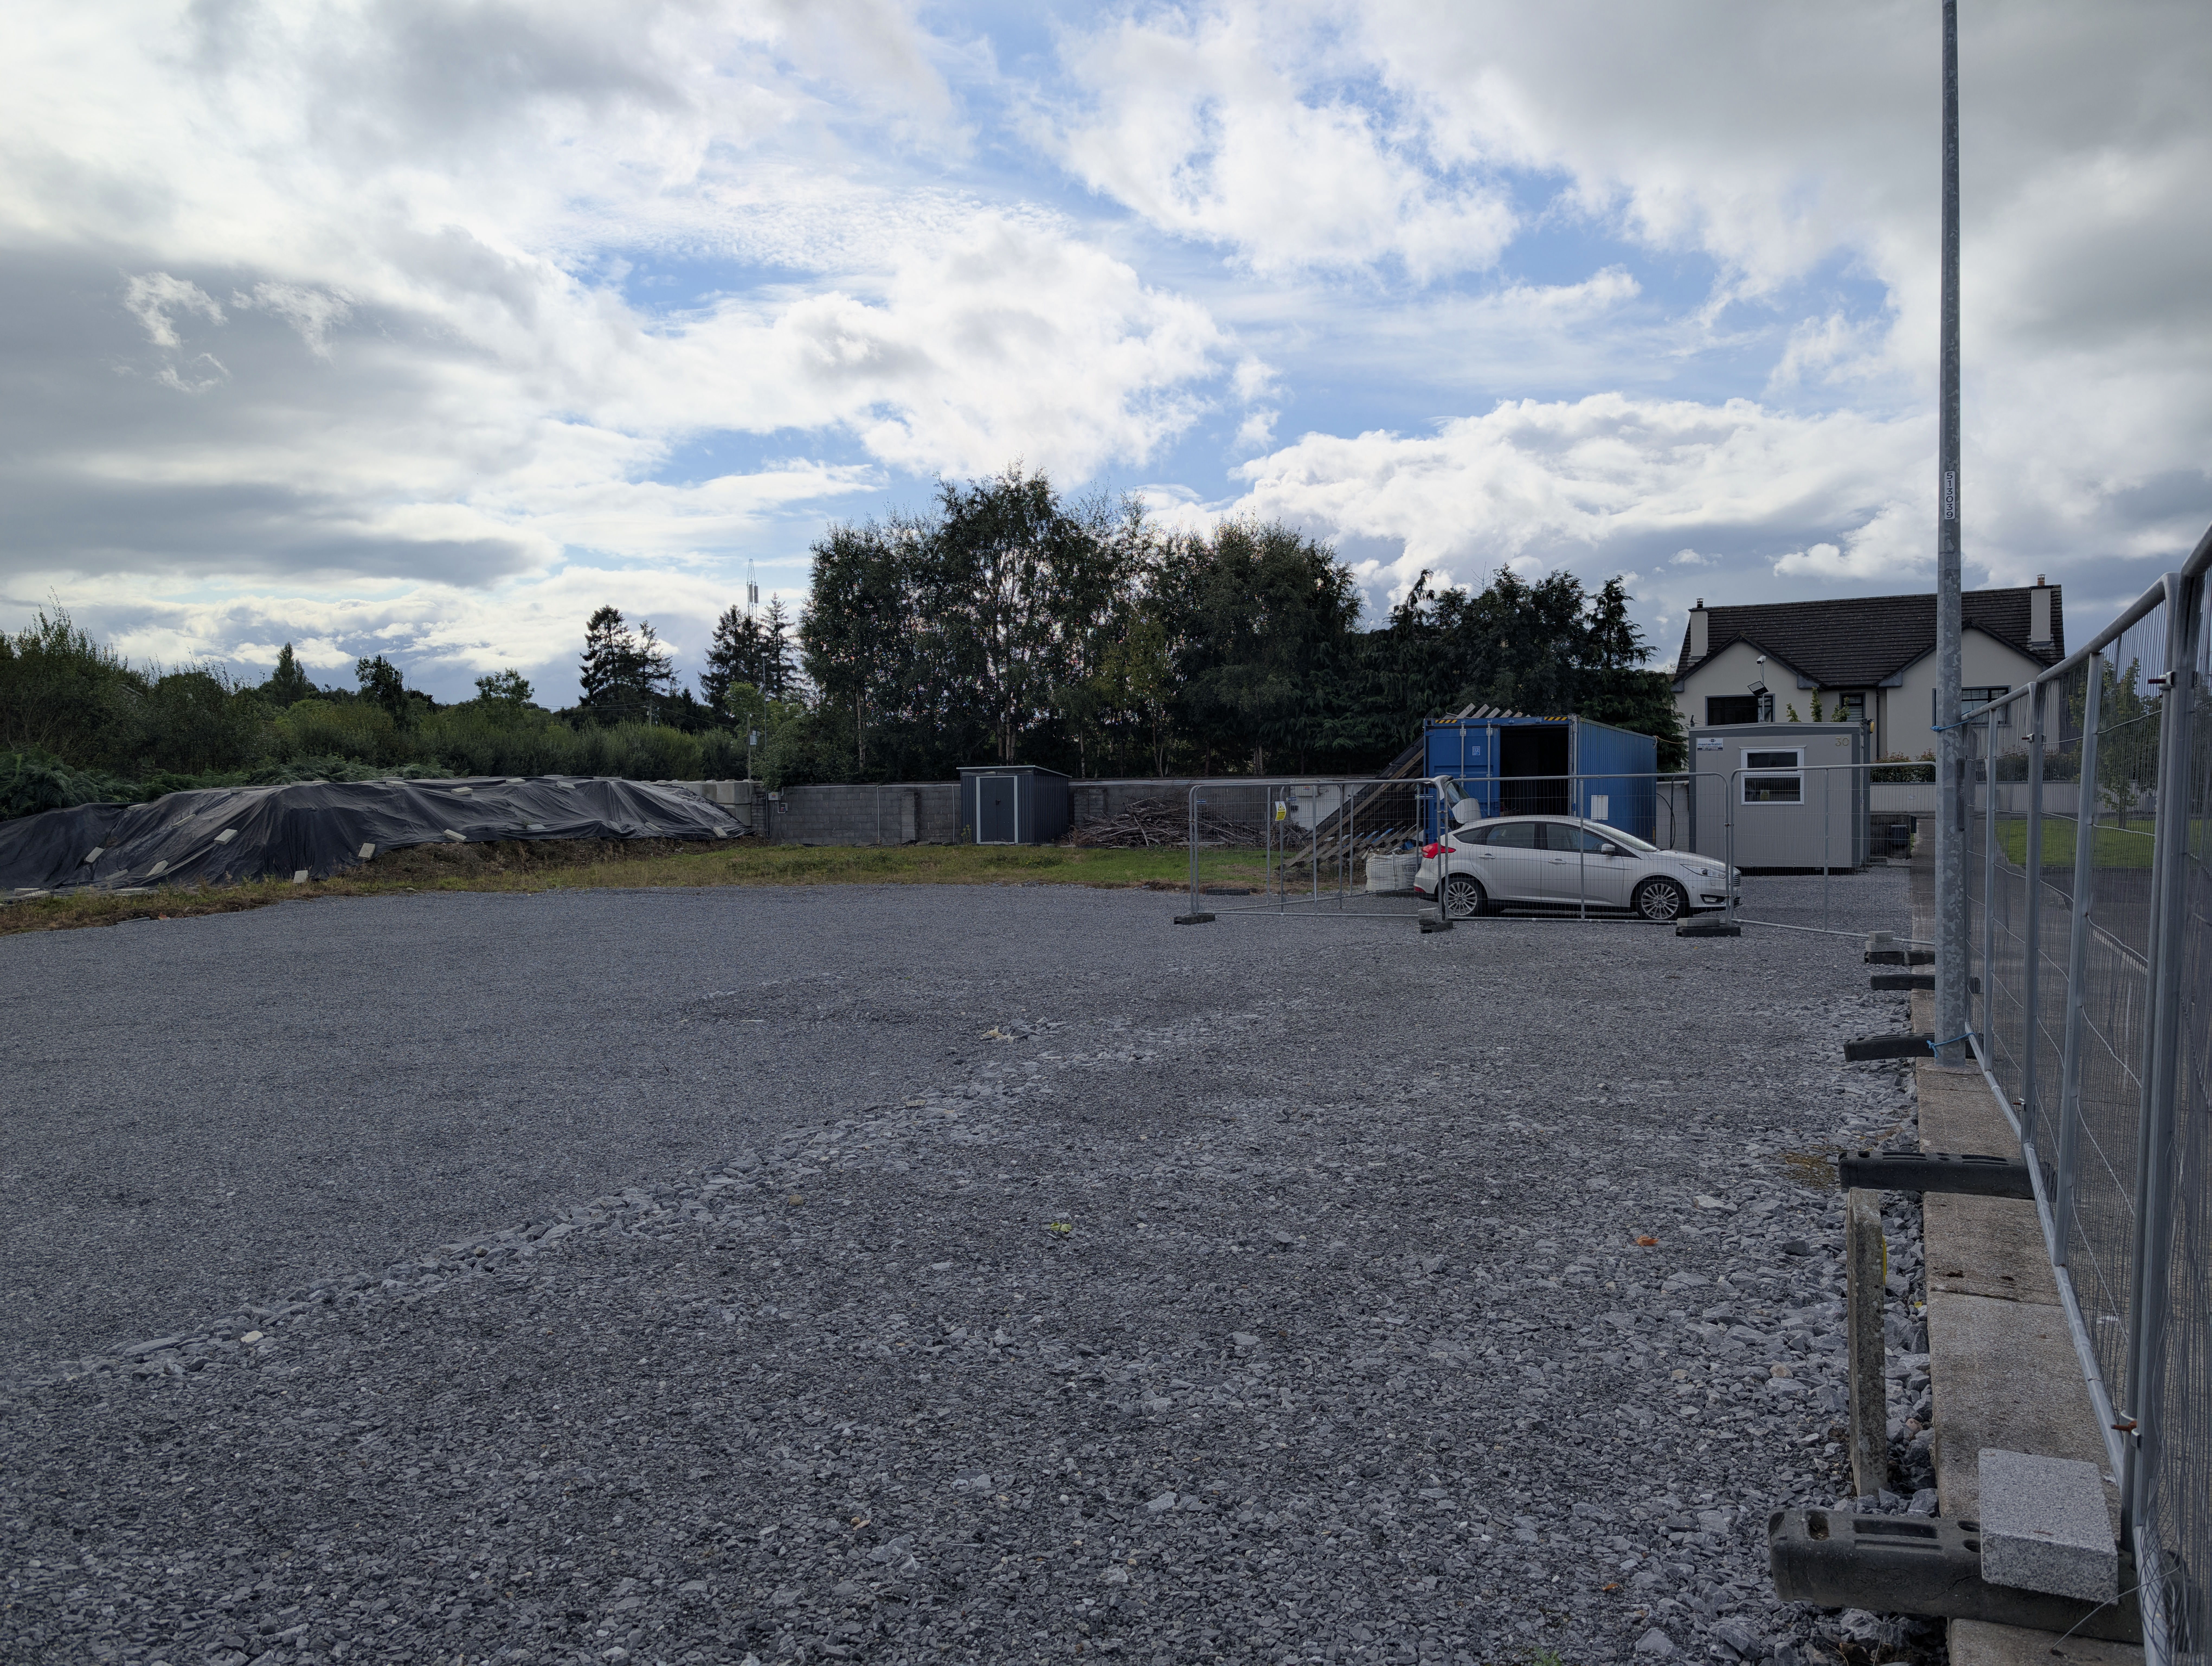
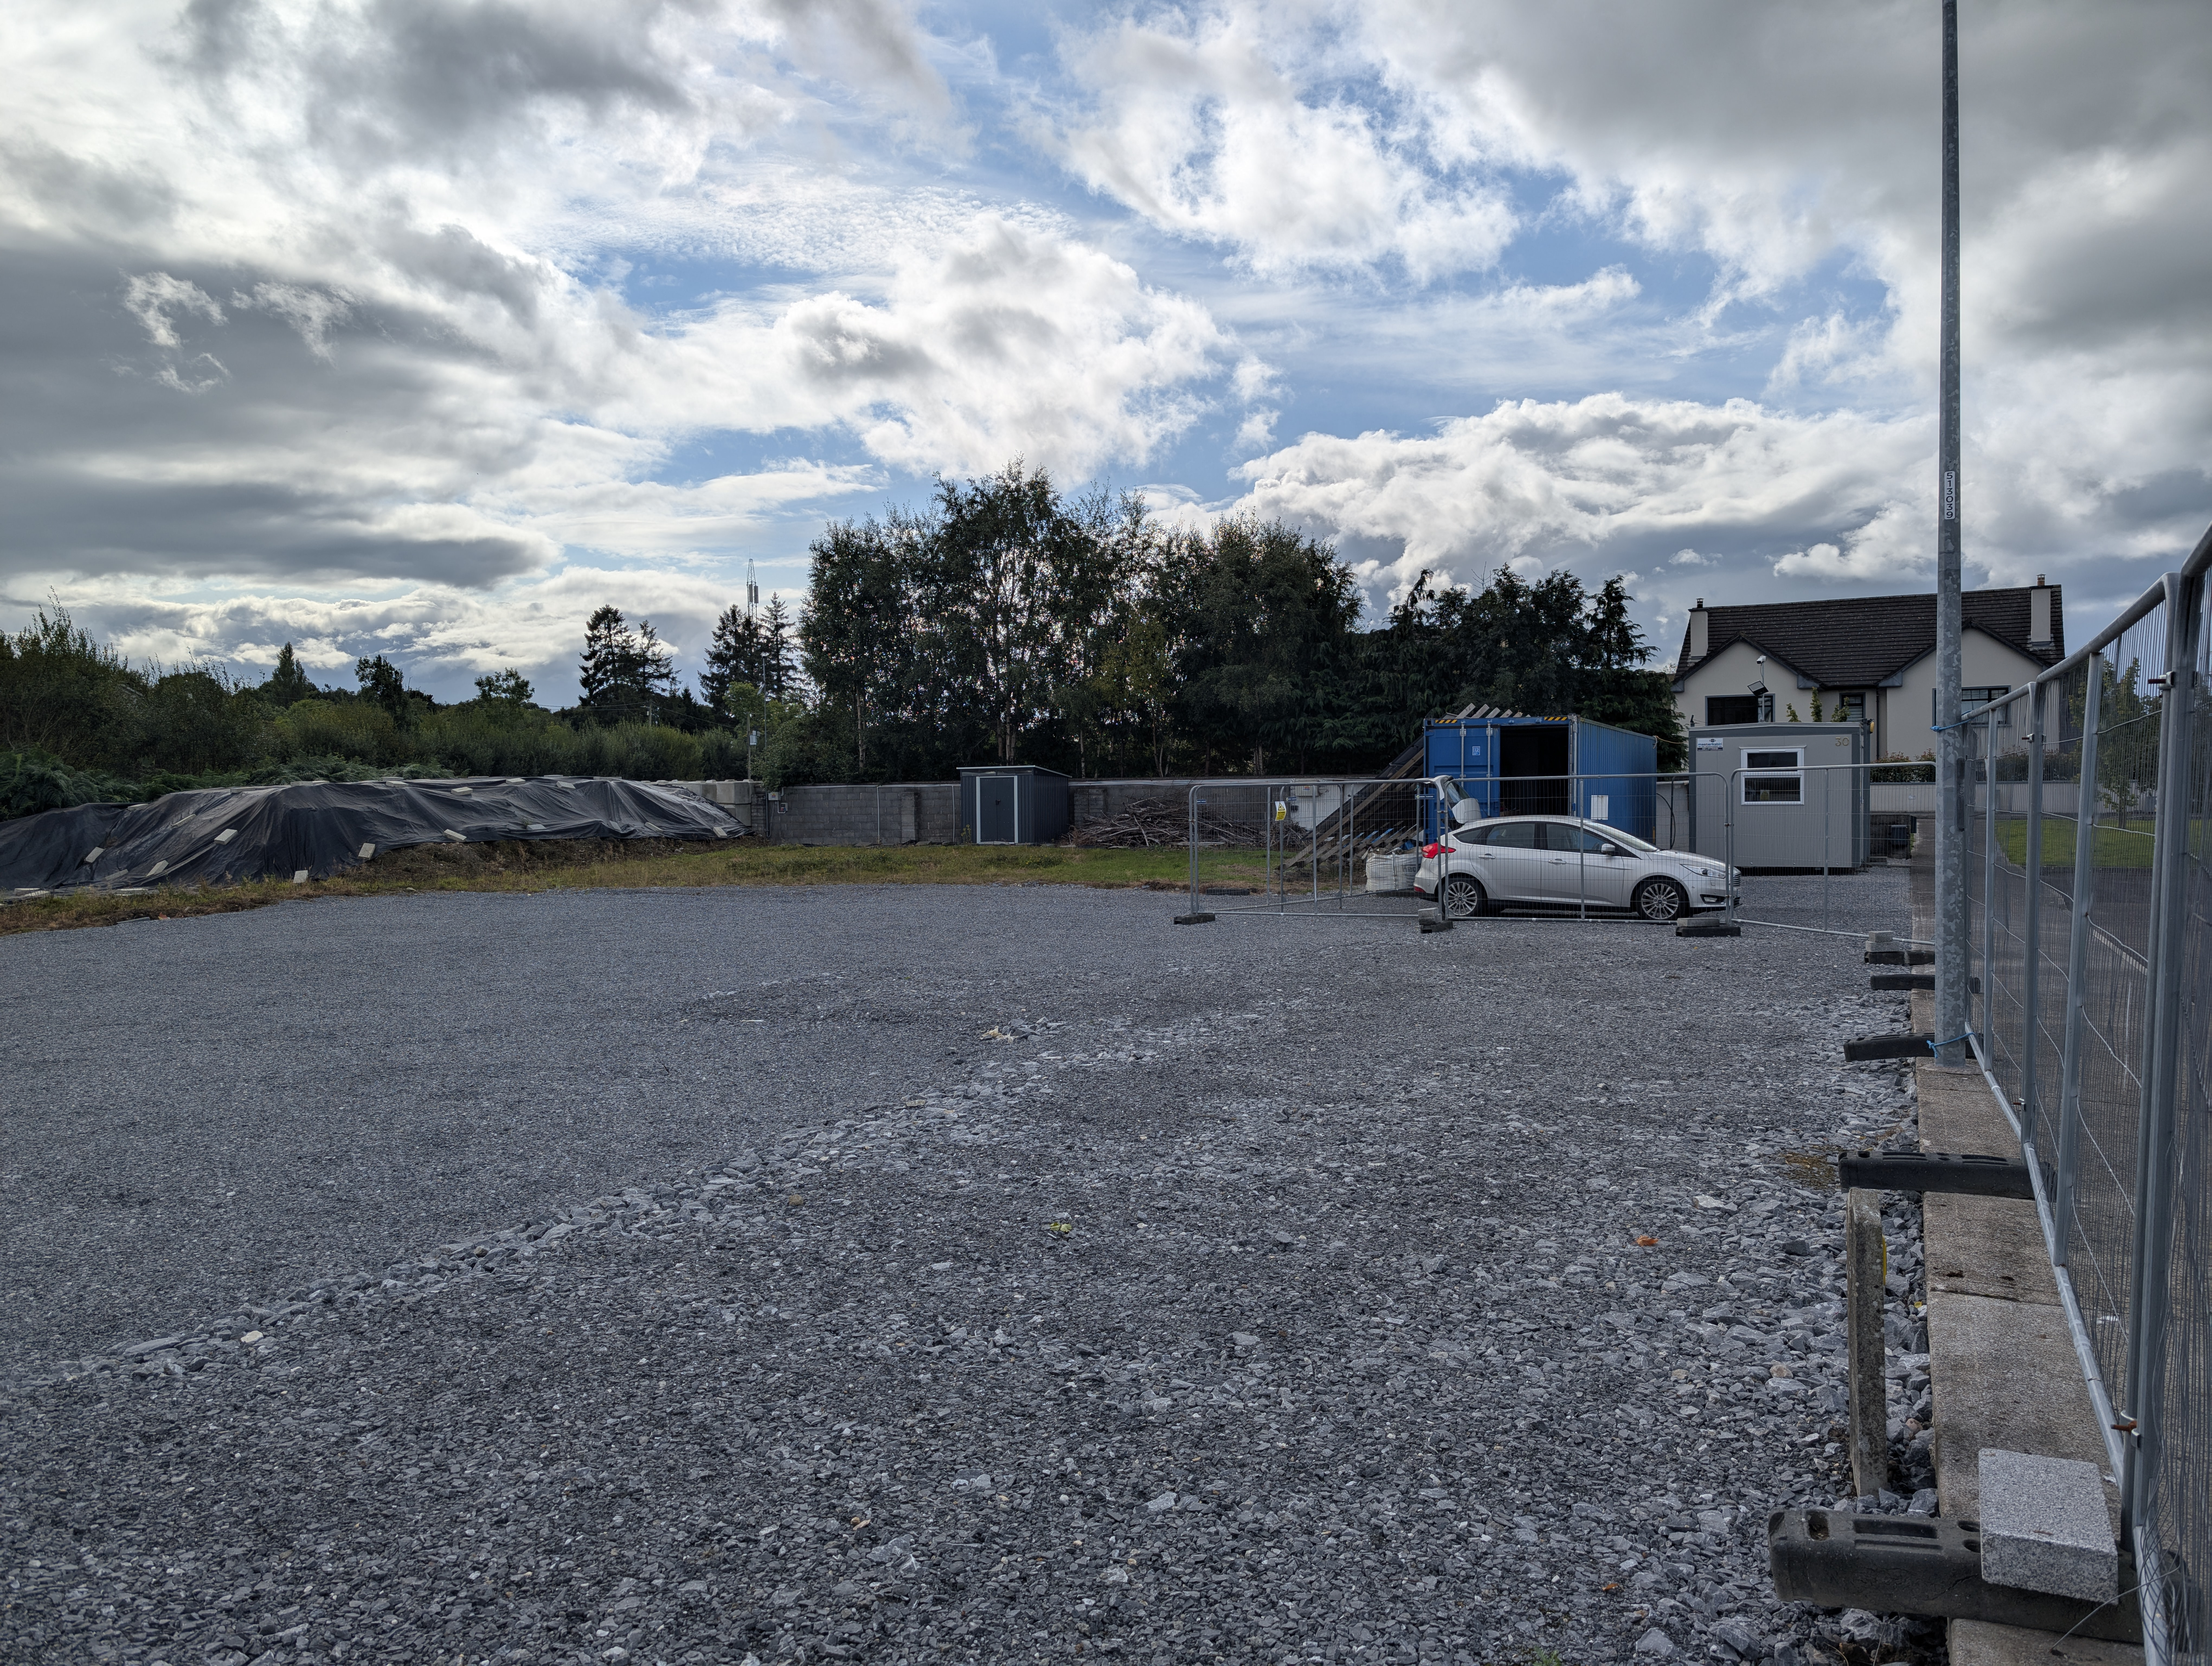
All that took rather more effort to implement than I had originally expected, but now it’s done I am very glad with the results. Web browsers will remain unable to render HDR in CSS for a while yet, though here’s trying the proposed future HDR CSS:
This may have a very bright HDR yellow background!
… and no web browsers currently support HDR CSS, at the time of writing.
When HDR CSS does land, I’m not sure if I rework all the text and background to be HDR aware or not. I guess I’ll cross that bridge when I get to it.
For now, enjoy the new bright shiny photos!
| Go to previous entry | Go to next entry | Go back to the archive index | Go back to the latest entries |