Word count: 2029. Estimated reading time: 10 minutes.
- Summary:
- The custom integration for Home Assistant was finally completed after several weeks of being stuck due to illness. It dynamically configures items in Home Assistant based on the board’s exports and switches to push updates if supported. This approach appears to be unique, making it a valuable contribution to the community.
Sunday 17 October 2021: 23:08.
- Summary:
- The custom integration for Home Assistant was finally completed after several weeks of being stuck due to illness. It dynamically configures items in Home Assistant based on the board’s exports and switches to push updates if supported. This approach appears to be unique, making it a valuable contribution to the community.
Despite feeling crappy yesterday, today I was feeling energetic enough to finish off that custom integration for Home Assistant, and to write this virtual diary entry. The custom integration is a bit different to most Home Assistant integrations in that it asks the board what sensors and knobs it exports, and it then dynamically configures those items in Home Assistant according to whatever the board tells it. The custom integration starts off initially with a polling based update mechanism, but it asks the board for push subscription, and if the board says it supports that then the Home Assistant integration switches to push updates. From everything I can tell from Google, nobody appears to have implemented an entirely dynamic Home Assistant integration like this before, so I intend to properly write it up here and exactly how each bit of it works, for the benefit of everybody else on the internet, because it would save others several very late nights with coffee figuring this stuff out from first principles. Anyway, here’s the custom integration with push notifications in action – the potentiometer simulates a dimming switch, and my custom logic on the Devantech board appropriately dims the overhead LED strip cove lighting, but now ALSO pushes updates to any subscribed client. That, in turn, means Home Assistant is dynamically updated:
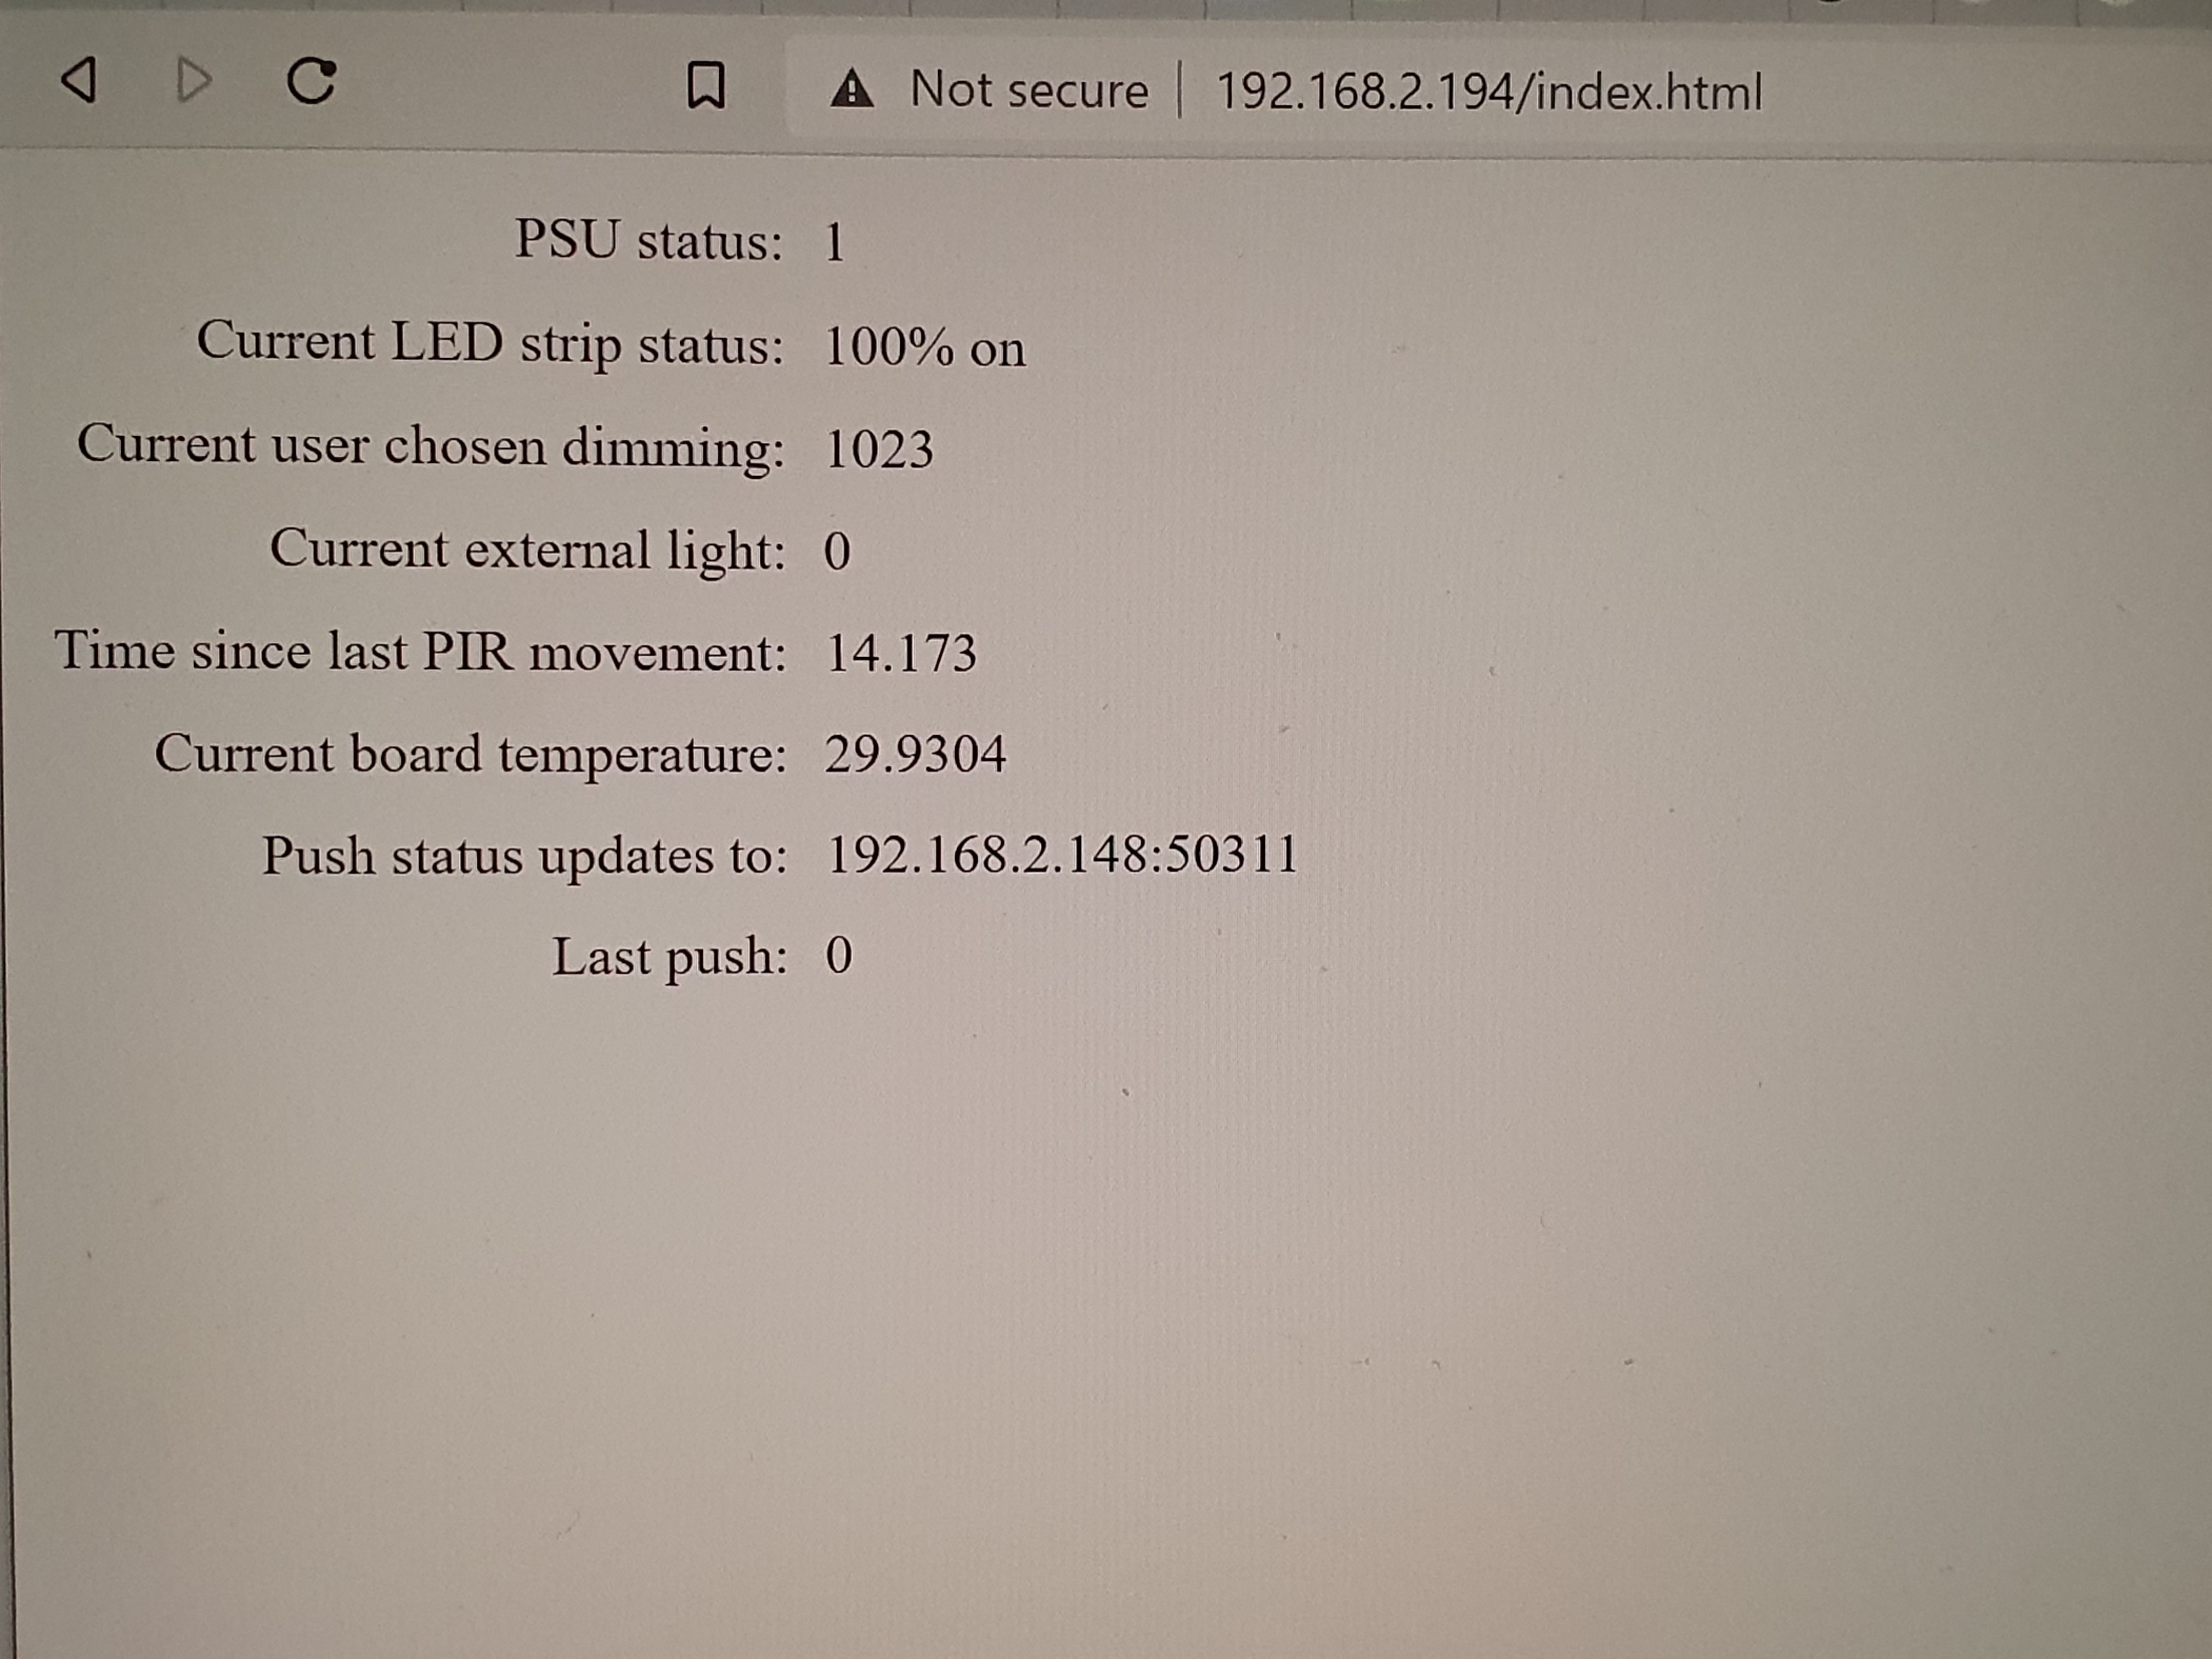
So that’s definitely working quite well then. I also updated the HTML dashboard published by my custom logic on the Devantech board to show push subscription details:
It’ll take me a week or two to write everything up properly, so watch this space!
Incidentally, for the past month the LED cove lighting automated by the Devantech board has become ‘the’ lighting for the main living space. It fades itself in when it gets dark outside, fades itself out when it gets light, automatically turns on when a person enters the room at night, turns off when no movement has been detected for five minutes. Everybody in the family likes the new ‘smart light’ a great deal, especially my son Henry who being a bit short struggled to turn on the light switch downstairs in the morning, and now he walks in and it turns on automatically. He’s very pleased with the improvement.
Last post I did a survey of the market for cheaper home automation with ethernet solutions and I settled upon the STM32F401 + W5500 as my ethernet microcontroller approach for €12 inc VAT each and the Raspberry Pi Zero + USB2 to Fast Ethernet as my ethernet microcomputer approach for €20 inc VAT. I mentioned in that post that the ESP32 is considerably more bang for the buck, if you can put up with its shortcomings in implementation quality. I thought that instead of assuming, I really ought to empirically test my assumptions, so I bought this, or rather, these:
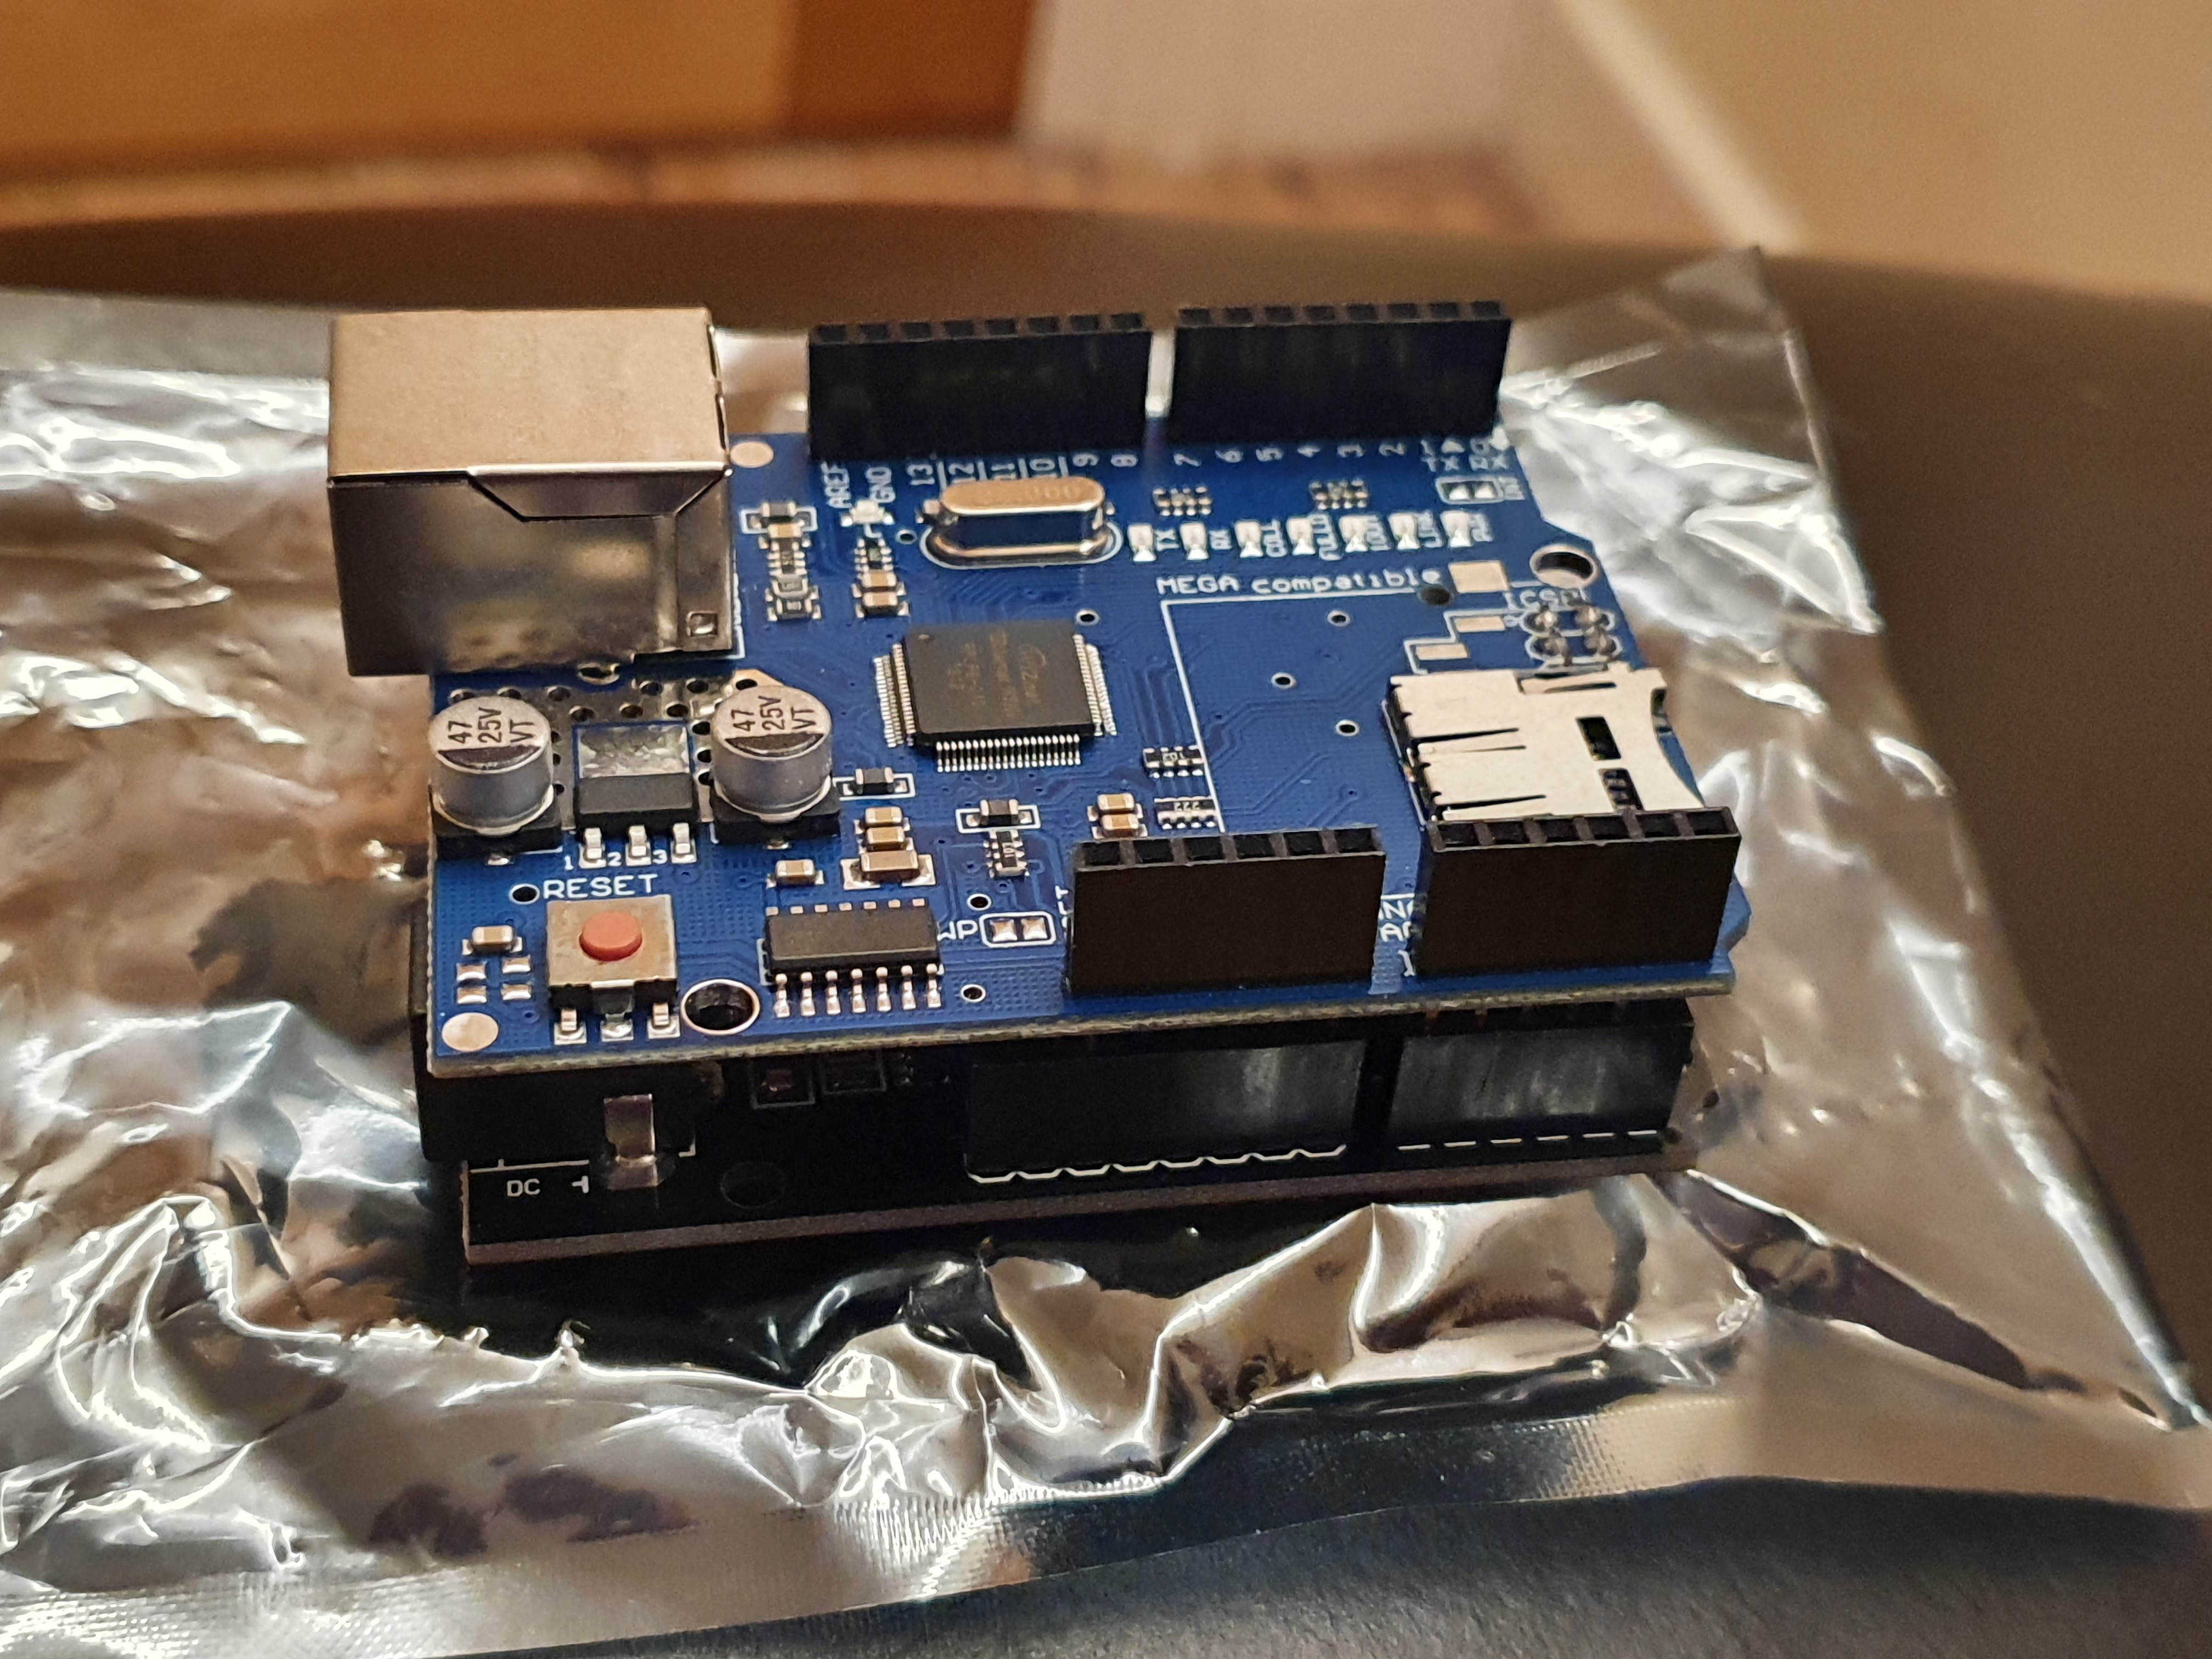
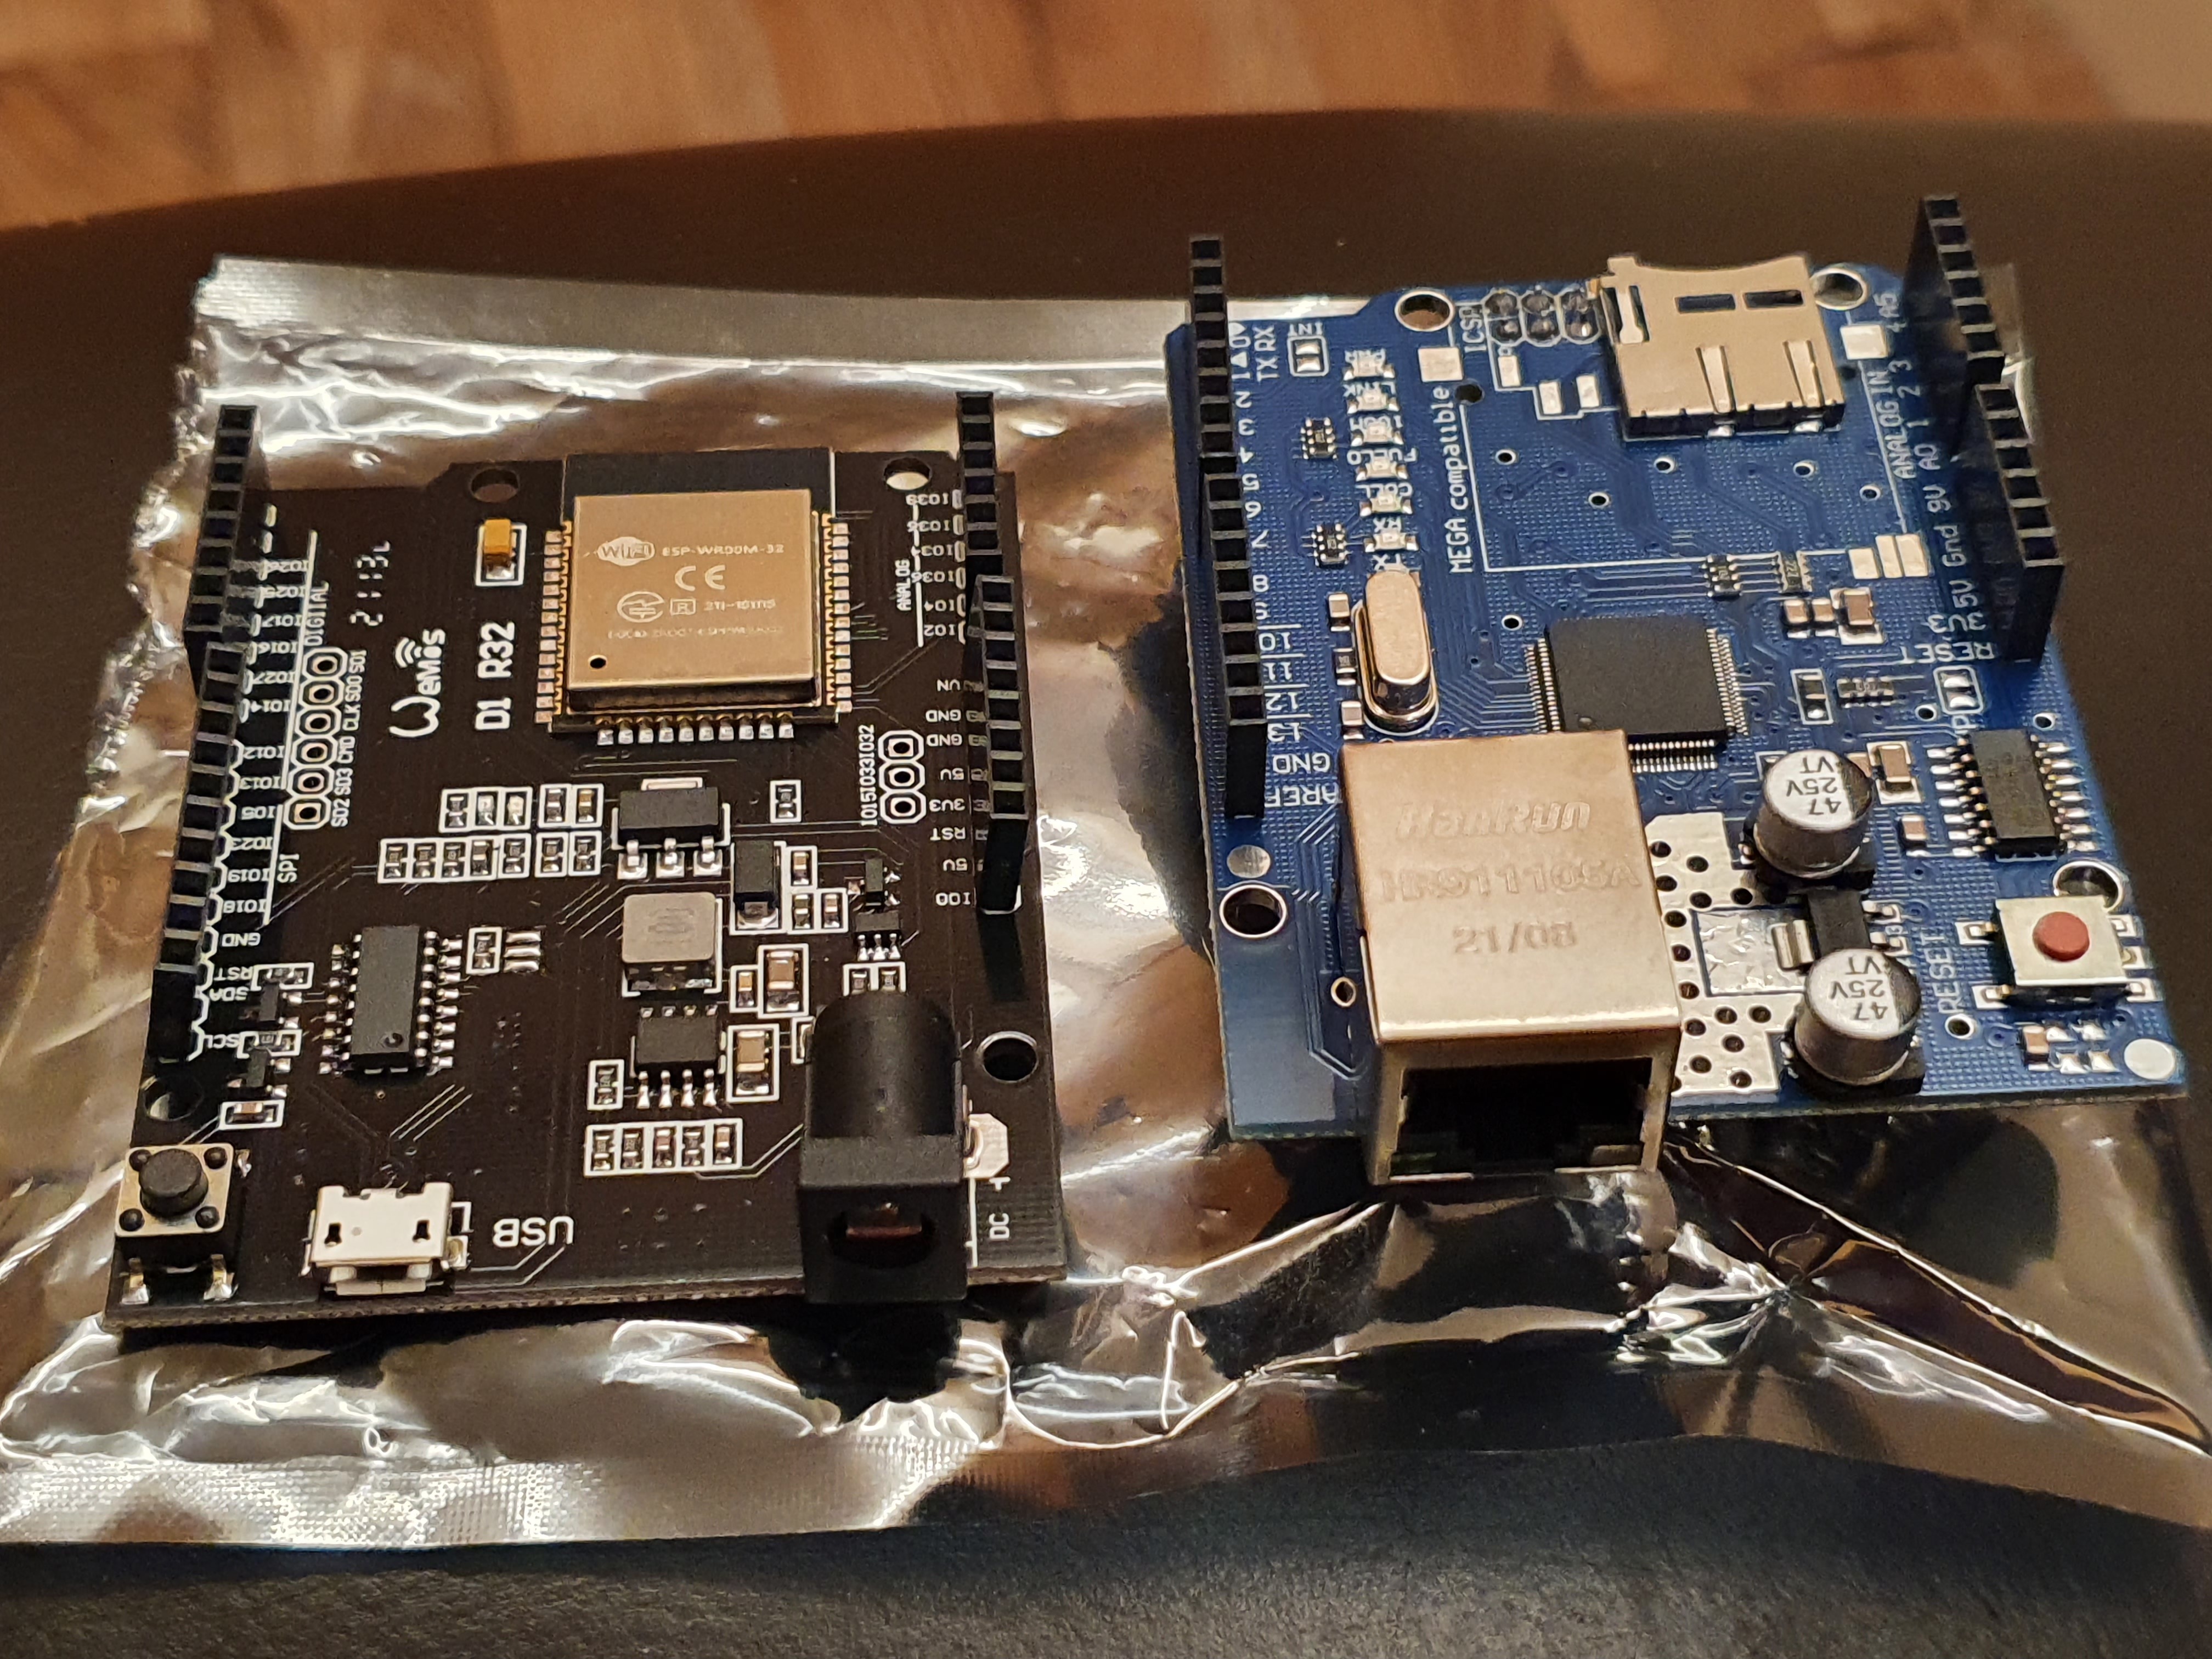
This is an ESP32 wrapped into an Arduino compatible board for a mere €4.55 inc VAT delivered, which is a good bit cheaper than even the STM32F4 clone. Paired with it is a W5100 Ethernet shield for Arduino – or rather, a Chinese clone of the real thing (more later) – costing ~€11.50 inc VAT delivered, so the pair cost me €16 inc VAT. For this money, I get 250Mhz clock speed, 512Kb RAM, 4Mb flash, 11n Wifi, BT 4.2 and lots of flexible i/o, albeit that the Arduino compatible wiring limits me a lot on this. To my knowledge, there is only one prebuilt presoldered ready-to-go board cheaper than this with ethernet: the WT32-ETH01 which can be found for ~€14 inc VAT delivered, and my combination would appear to be better bang for the buck: same microcontroller but with proper power in socket, USB socket, existing Arduino IDE support – surely worth the extra €2 right?
Unfortunately, according to https://reedpaper.wordpress.com/2018/09/17/arduino-ethernet-w5100-how-to-fix-the-wrong-board/, the Chinese clone of the W5100 Arduino Ethernet shield has a wrong sized resistor on the ethernet port – it’s about 10x too big. This substantially weakens the signal on the LAN meaning you can’t use ethernet cables of any length without replacing the resistor. Using the information on that blog post, I have confirmed that my Shield is similarly flawed. So I suspect that apart from maybe a bit of poking at it to see how an ESP32 works in practice, this is probably €16 wasted, which is annoying. Had I known this before ordering, the WT32-ETH01 would have been my choice.
Anyway, I’ve received all the parts I spoke about last diary entry, but I discovered that the camera cable for the Zero is narrower than that for any other Pi board – thanks so much to whomever made that design choice, especially as the Zero board has enough space for the same connector as all the Pi boards. So I had to order special cables which connect the Zero’s narrow camera connector to standard camera connector. Those are still en route from China, and seeing as I’ve not been well anyway, I’ve done very little with all the new hardware yet apart from boot up Raspbian and get the Zero to hardware PWM dim a small LED via a MOSFET (and yeah hardware PWM is orders of magnitude better quality than software PWM, even on a 1Ghz CPU like the Zero’s).
Another thing that I need to do is port the ST time of flight software library to RaspPi, I bought the fancy software defined function ST VL52L3CX ToF sensor which basically returns raw data and you need a fairly substantial CPU plus the ST software library to interpret what the laser can see by doing lots of floating point math. The Raspberry Pi Zero is easily powerful enough, but no port of ST’s library to Linux exists yet as far as I can tell, though from inspection of the source code the port will be trivially easy. Anyway, once working, you should be able to ‘see’ everything within five metres of the sensor’s fifteen degree field of view, which is to say it yields (and I am paraphrasing here) how much of its view is obscured at what distance e.g. 10% of it is blocked at 1.0m, a separate 20% is blocked at 4.0m, and so on. It’s accurate down to the millimetre, and can tell when things have changed in its view i.e. it can take a sample of ‘empty room’, and tell when ‘empty room’ gains a new thing within it which doesn’t belong, and both how far that new thing is from the sensor AND how big it is. In other words, it should be able to tell when a human has entered a room, and whether that human is sitting or standing or lying down. I am hoping to use these instead of cameras for the bedrooms to detect the difference between an occupant sleeping in their bed, sitting up in their bed, and vacated their bed. We’ll see how empirical testing goes.
Finally, you may remember when I installed HEPA filters in multiple rooms throughout the house to improve the air quality in this quite mouldy and damp house with the added benefit of scrubbing the air of virus particles, such that the kids bringing covid home from school might not infect us adults quite as quickly. Those Xiaomi Air Purifier 3C’s which I automated with a Python script have proven themselves to be excellent – still no rattle off them, they are quiet and efficient and judging from the amount of lint they collect, they are plenty effective too.
The kitchen purifier gets by far the worst of it as it regularly has to spin up to maximum to scrub the air of PM2.5 generated by cooking. I noticed the grille on the top where the clean air comes out was getting dirty, so obviously the filter had become spent – unsurprising after eight months of cooking! So I replaced the filter (Xiaomi very helpfully place OEM replacement filters on German Amazon at RRP prices which are cheaper than Aliexpress prices, though they do go out of stock very quickly after new supply arrives), and that left me with a dirty filter heading for the trash.
So I, probably like all of you, was wondering what these Xiaomi filters look like on the inside, and just how dirty is this filter? So I cut it open to have a look:

The first layer after the outer plastic grille is a dense paper-like filter thickly folded in concertina. A brand new filter has dark grey outside and I would assume a clean white inside -- this filter has mottled grey outside and obvious discoloration inside. The concertina folding is held taut by a tensioned rubber string which is actually glue, very clever.
Peeling back the densely woven filter material:

Held in a dispersed lattice after the filter materials are granules of activated carbon arranged with holes in the middle.
As mentioned in the original post, the grey filter is Xiaomi’s highest end filter with a claimed HEPA specification of 99.95% efficiency. Unlike the EPA purple or green filters which have added filtration layers for other pollutants, the grey filter is more like the basic EPA blue filter: just activated carbon and filter, nothing extra. The +29% price difference (€31 inc VAT delivered for the blue filter, I paid ~€40 inc VAT delivered for the grey filter from Amazon Germany) reflects the difference in quality of filter material only, with no difference in feature set apart from claimed 10x better filtration efficiency.
As much as €40 for a filter seems a lot (about half the price of the entire purifier unit itself!), having cut one of these open I was impressed by its heft and quality – in fact, cutting it open took quite a bit more effort than you would think so dense are the materials. The way they’ve arranged the activated carbon granules in that pattern and with cleverly differently sized pores in the multiple layers of plastic mesh aids slow moving air ingressing past the filter material to hang around the activated carbon for a bit longer before getting sucked up and out. I’ve no idea how these filters compare in quality or effectiveness to ‘western’ filters, but in terms of what I think a HEPA filter ought to be these subjectively tick all the boxes. I also like that they’re simple and yet so clever: that’s the mark of good design.
I have four purifier units in total in the house, and I intend to replace their filters around the twelve month mark as they don’t receive anything like the gunk the kitchen purifier receives. As I was remarking to Megan last night, Xiaomi do a really great job of making consumer goods 80%-90% as good as western brands but for 50% of the price. We’ve now got smart watches, robot vacuum cleaners and air purifiers from Xiaomi or its subsiduary brands and we find them all so far to be excellent value for money, and we really like that Xiaomi makes available spare parts AND makes their stuff easily maintainable as a matter of course. Indeed, we only wish that Western manufacturers took more of a leaf from Xiaomi’s book – and if they continue to fleece the Western consumer with unmaintainable, expensive, products with built-in hard coded death times, then Xiaomi is going to supplant and replace them, and rightly so.
| Go to previous entry | Go to next entry | Go back to the archive index | Go back to the latest entries |