Word count: 1111. Estimated reading time: 6 minutes.
- Summary:
- The earth retaining wall was excavated down to 240 cm below the top of the neighbour’s fence pole. A trench was dug using a 90 cm wide bucket, revealing subsoil that was distinctly different in colour from the topsoil. The subsoil was then tamped flat and levelled using a tamper. Crushed rock was poured into the trench and also tamped hard before the ‘lego’ concrete blocks were dropped in on a perfectly level base.
Monday 5 June 2023: 22:42.
- Summary:
- The earth retaining wall was excavated down to 240 cm below the top of the neighbour’s fence pole. A trench was dug using a 90 cm wide bucket, revealing subsoil that was distinctly different in colour from the topsoil. The subsoil was then tamped flat and levelled using a tamper. Crushed rock was poured into the trench and also tamped hard before the ‘lego’ concrete blocks were dropped in on a perfectly level base.
The neighbour was to install 24 metres of the 34 metre length at their expense, and I was to complete the other 10 metres at my expense. This may sound unfair, however my portion was the earth retaining portion and the quotes which came in before we decided this were about equal if we paid others to do it for us. I elected to use these ‘lego’ concrete blocks and install the wall myself instead of paying others, and thus saving myself about six thousand euro.
The neighbour’s contractor had installed the poles for his fence, but left them unfilled so I knew exactly what height my blocks had to reach in order to be flush.
Firstly, I dug a trench using the 90 cm wide bucket down to 240 cm below the top of their fence pole:
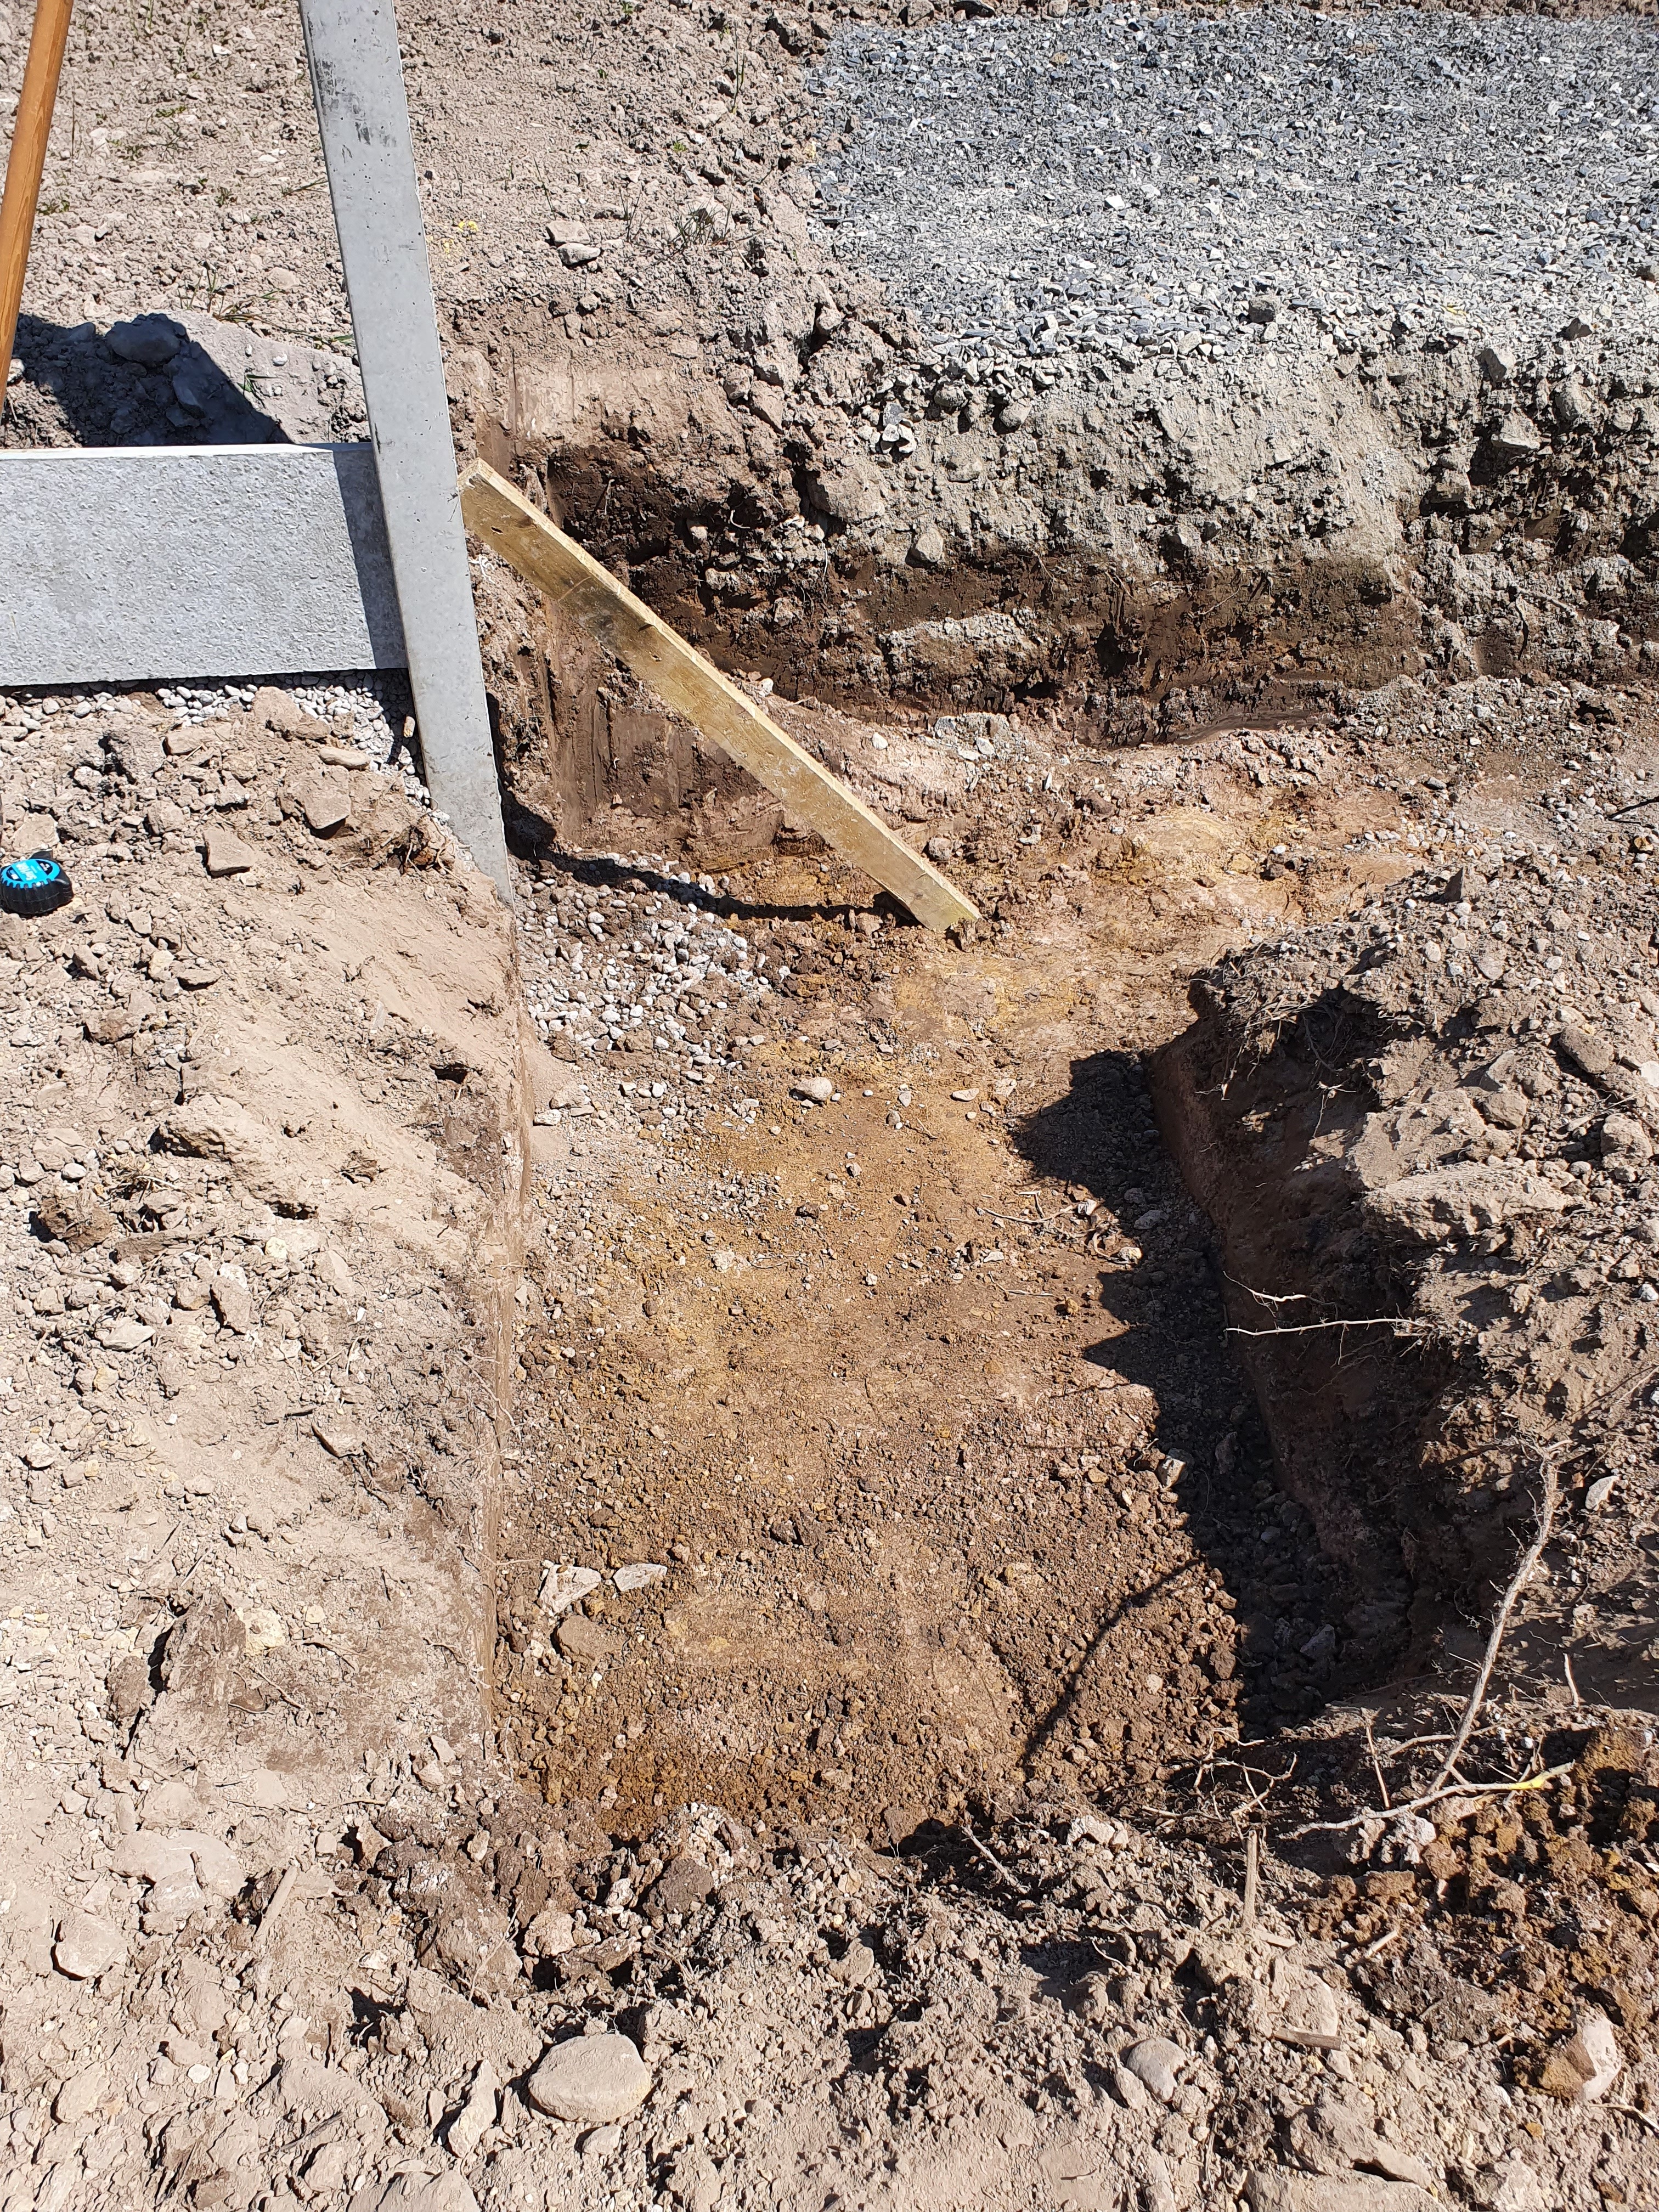
This usefully revealed subsoil, which isn’t noticeable from the photo for some reason. But when you’re there in person, the subsoil is a distinctly different colour from the topsoil, kinda rusty coloured brown instead of darker brown. The different colour really shouts out, you couldn’t miss it if you were there in person.
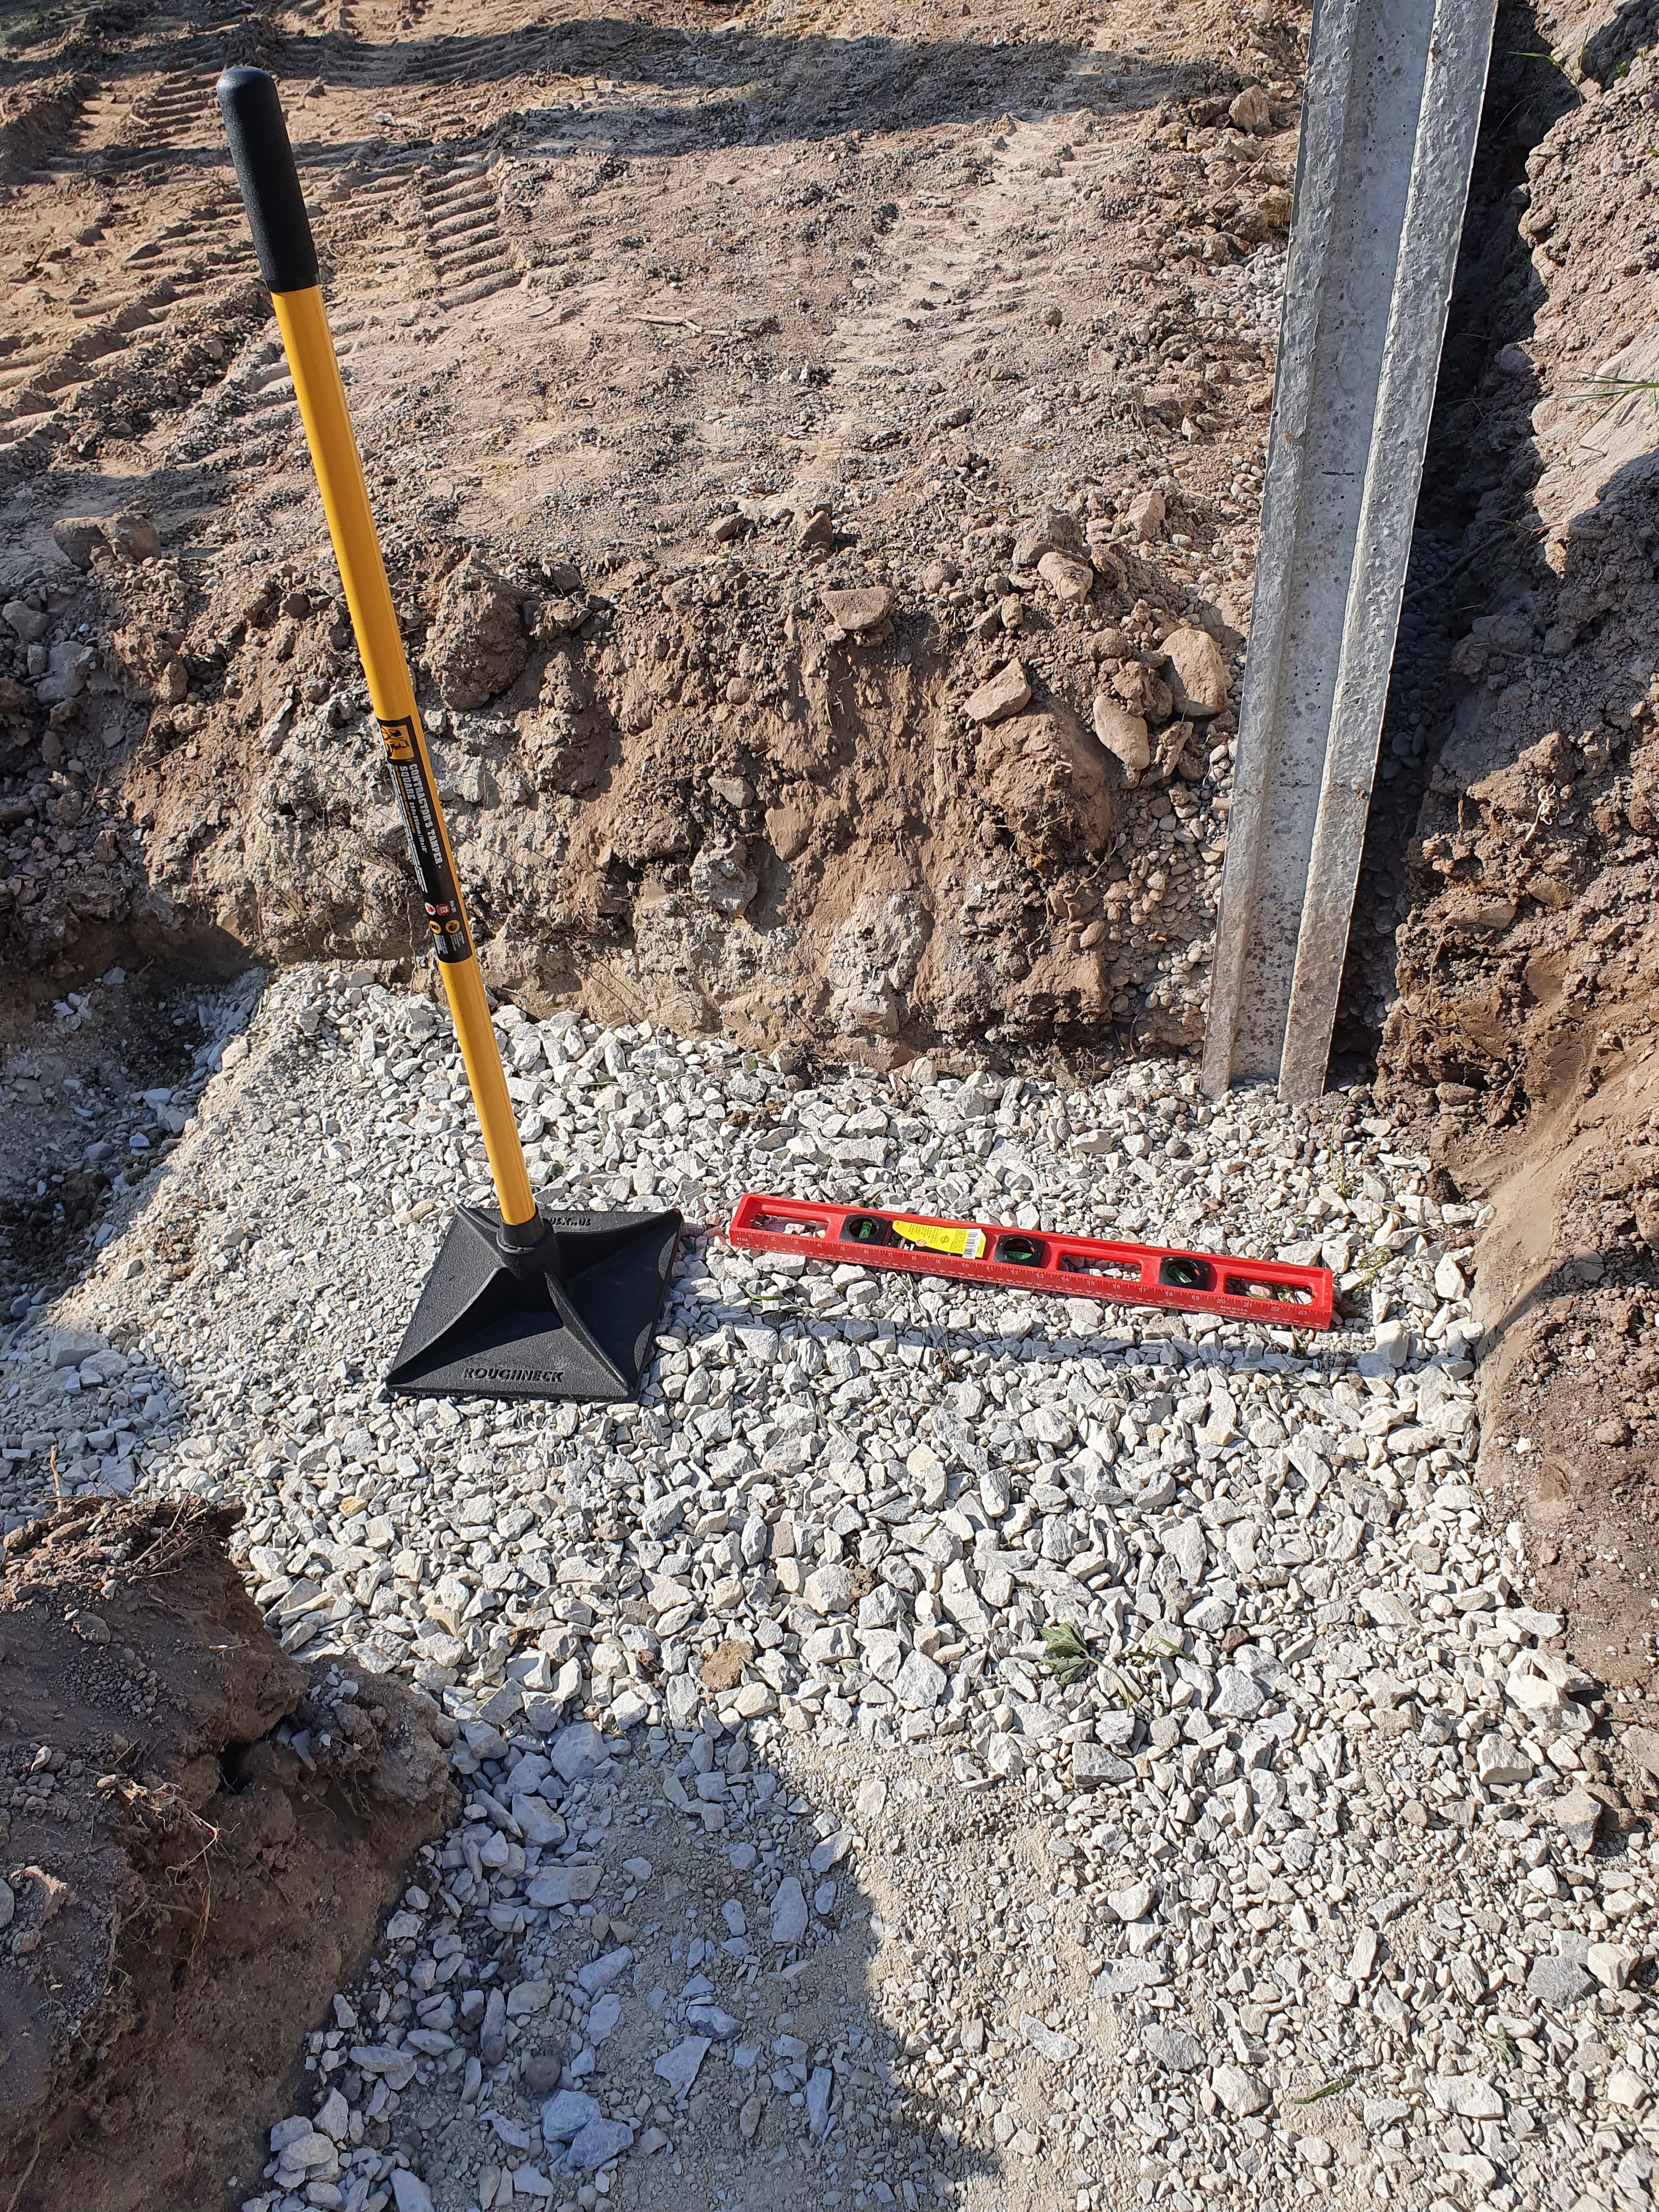
As I was on my own, I couldn’t use a thwacker which is a machine for pounding surfaces hard as it requires two people, so I had to resort to the tool used for at least five thousand years – a tamper. This is quite literally a heavy flat sheet on the end of a stick. You repeatedly whack the ground with it to pound the surface. It is very considerably more effort than the machine, but I can do it alone, and well it’s like an extended gym session, it’s highly fitness inducing.
Anyway, after tamping the subsoil flat and ensuring it was level in all directions using a level meter, I then poured a few wheelbarrows of two inch down crushed rock, got those level, and tamped those hard too:
Now I could drop in the blocks on a perfectly level, well supported base:
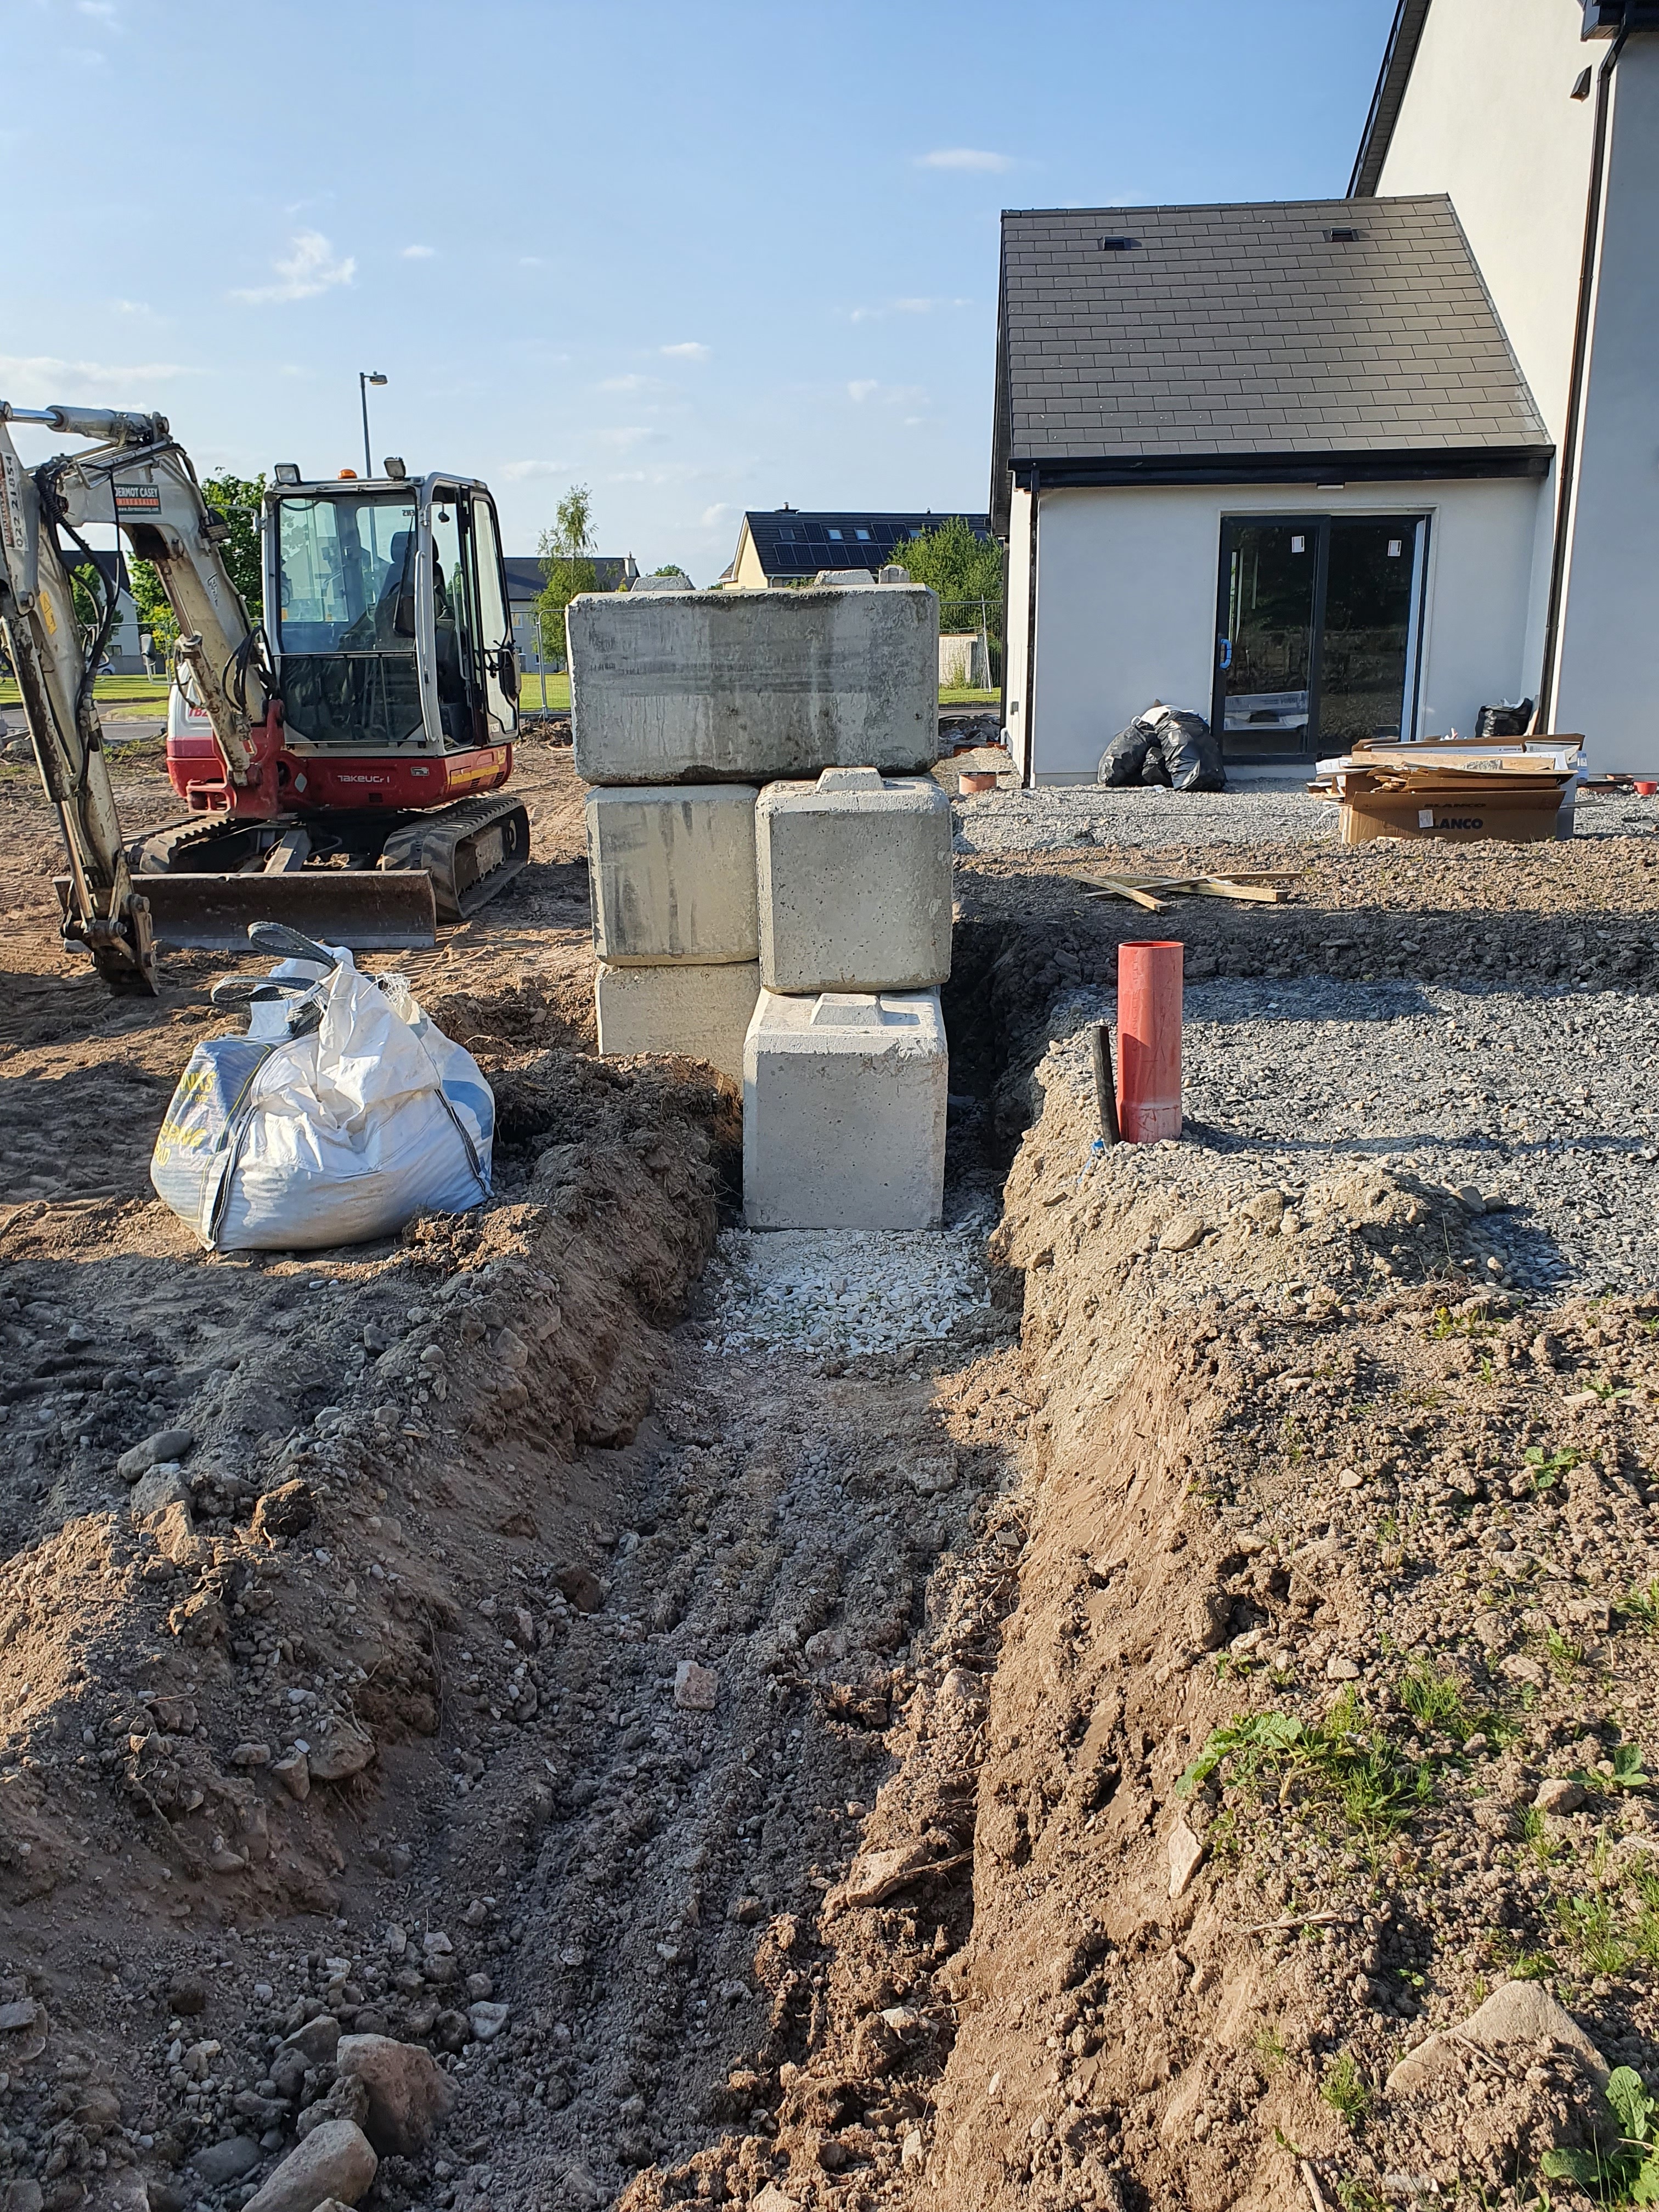
As you can see, I have at the end a support column which cantilevers support into the next ten metre run of the wall. For a normal cavity block wall two metres high, you’d have a support column every five meters or so. The reason that we can get away with one support column every ten metres here is the sheer mass of these blocks making them much more effective at pinning lateral forces, but also the width of the blocks being two thirds of a metre and more than easily wide enough to walk along. You can give this wall a good hard shove from the digger and it realigns, but it does not tumble. And that’s a six tonne digger I was shoving it with!
After that came lots more soil levelling, tamping, crushed rock layering, more tamping. I didn’t do the majority of this, Megan did the bulk whilst I shovelled crushed rock into the wheelbarrow and brought it to her. We had in fairness spectacular weather, only once in every three or four years do you get consecutive back to back sunny days in Ireland for multiple weeks. We were extremely fortunate to be doing this work in one of those rare extended sunny periods for Ireland.
It took two full days of work to lay the bottommost layer of blocks due to all the finicketyness. Laying the next two rows was done in mere hours:
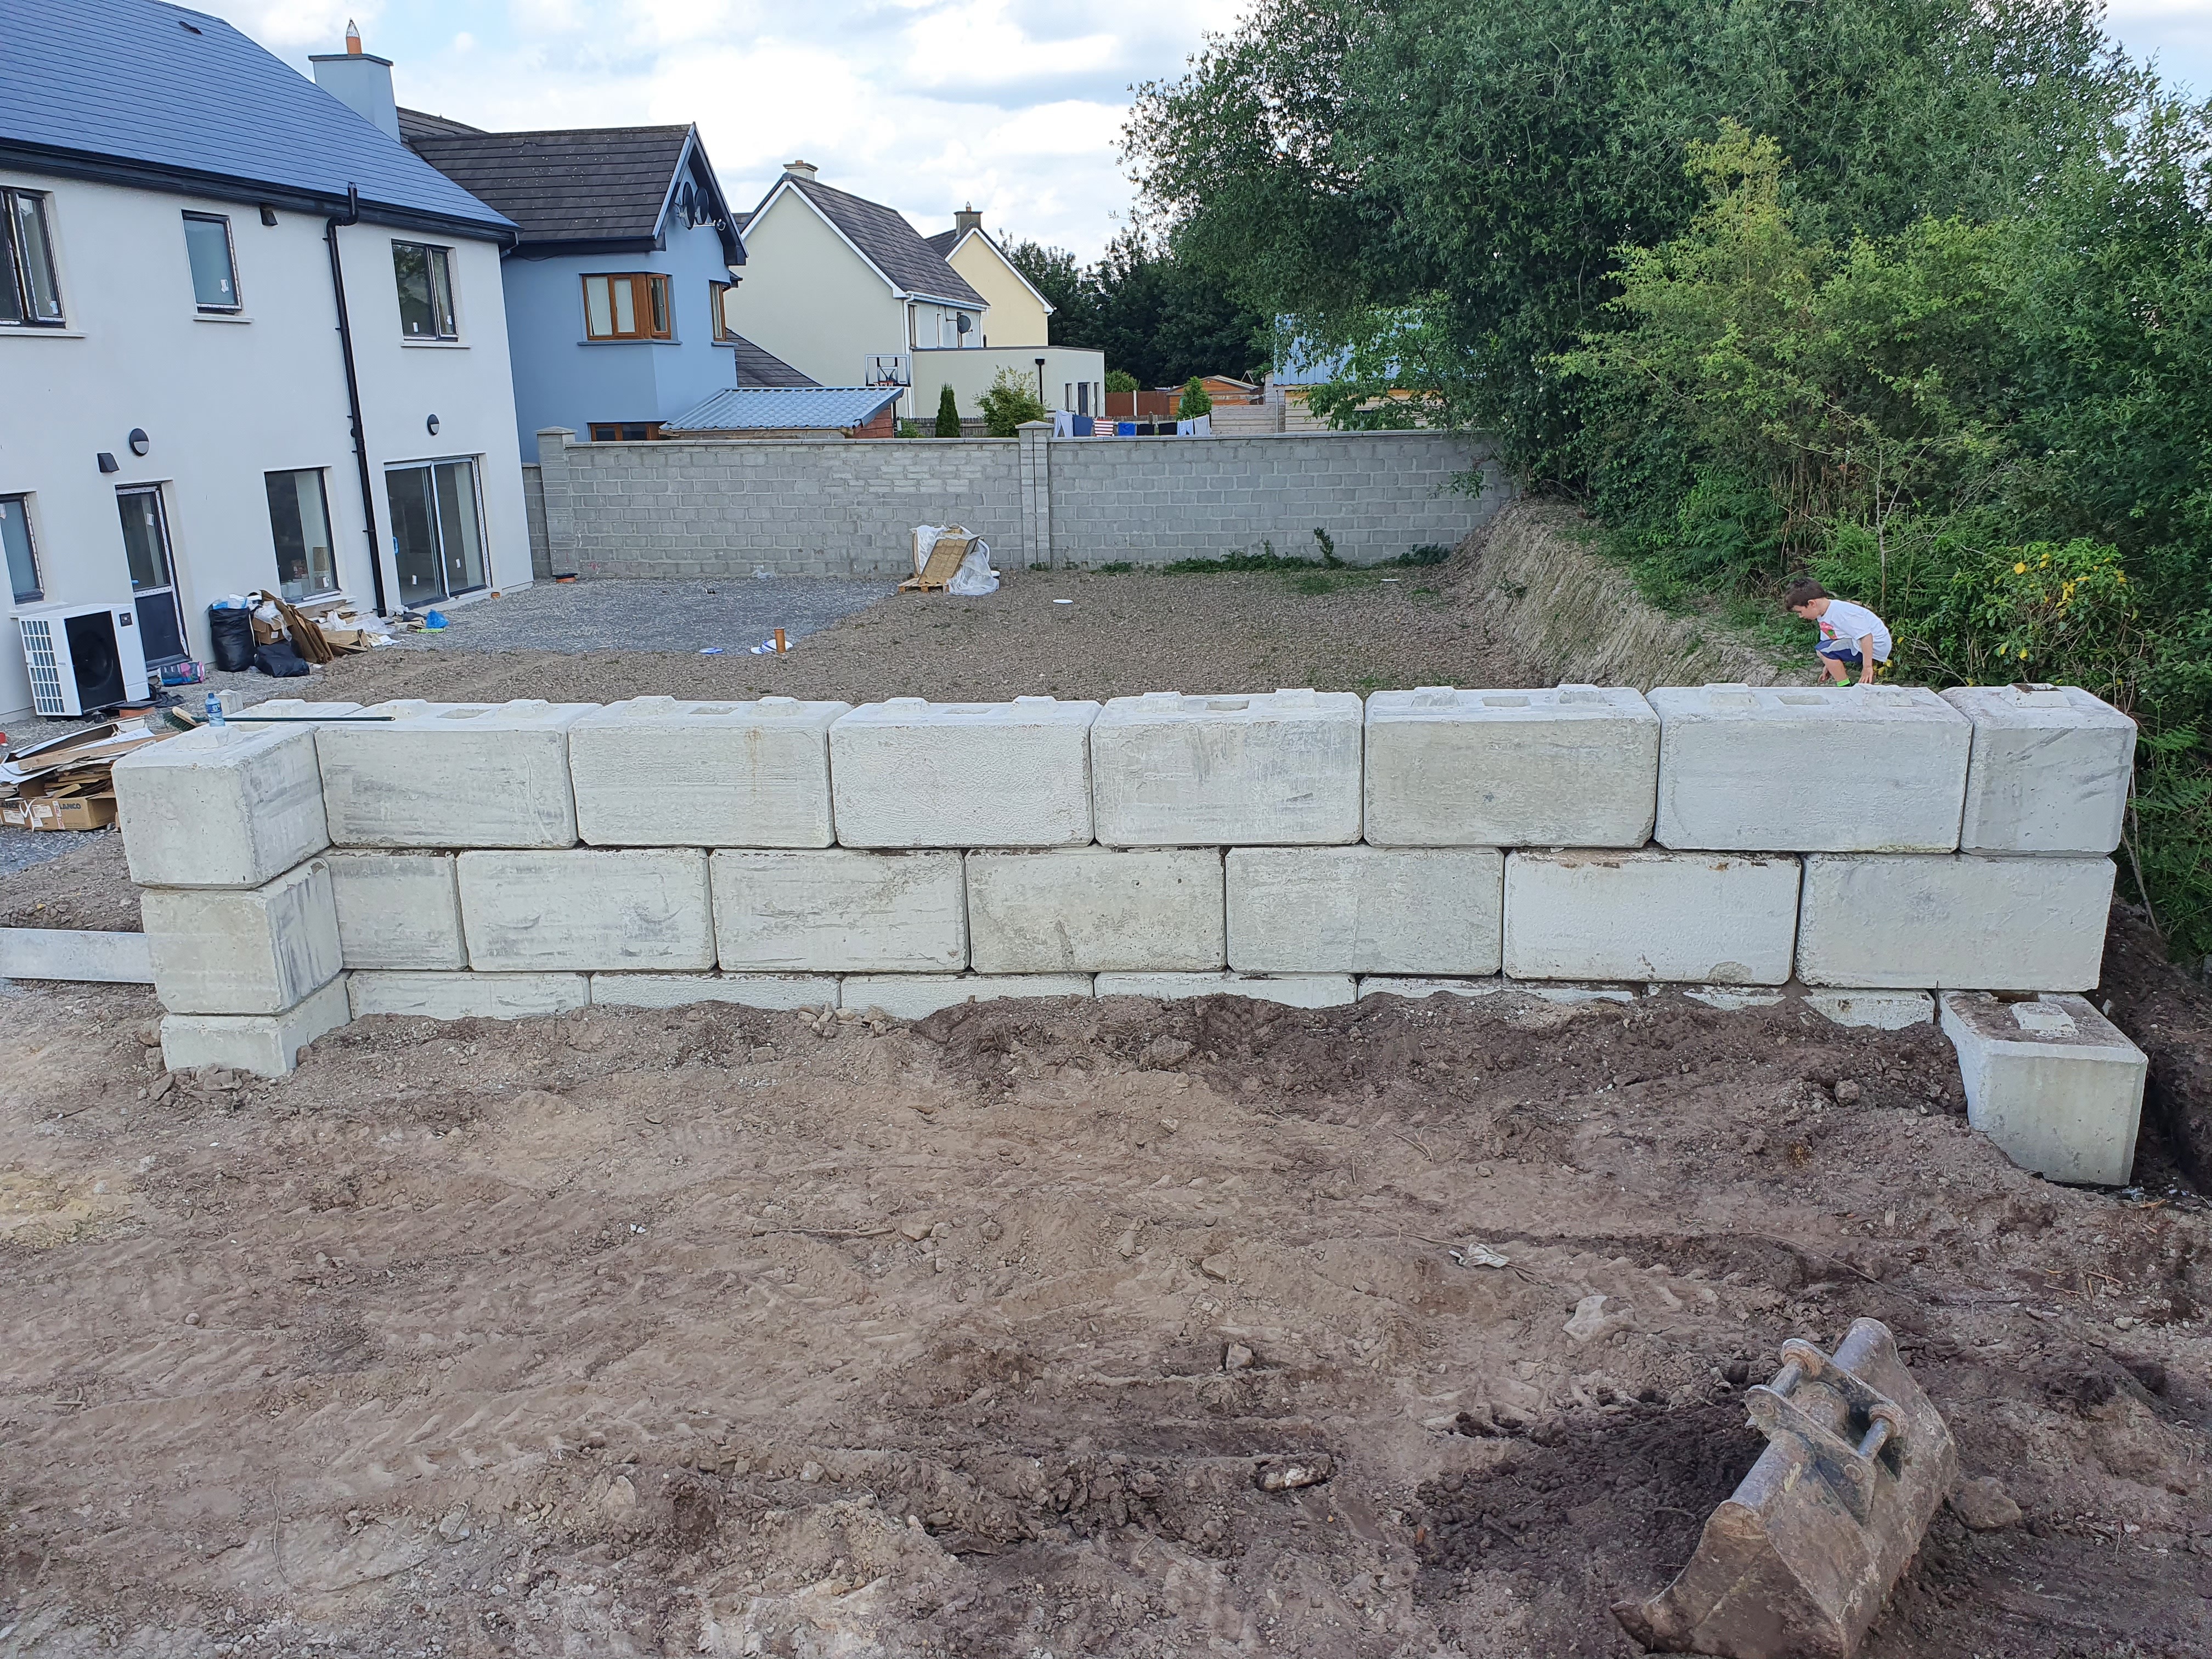
All that attention to detail about ensuring everything was level and firm in the foundation shows its payoff by all the blocks neatly packing together tightly without gaps. If the right side looks unsupported, note that just behind it is a packed earthern mound support made by me with the tamper – you pour in soil recently excavated, and tamp it until it forms the same earthern mound shape at the back of the neighbour’s property. This supports the blocks from the neighbour’s side right up to the third layer of blocks.
Total cost of this was €68.10 inc VAT per block delivered X 24 plus 2 X €385 for six tonne digger rental and its diesel = €2,404 inc VAT. Compared to the quote we got for over eight grand … this has been quite the saving. What we gave up was our time (three days, arguably five if including the sorting and moving these blocks to where they would be used!), and the additional space consumed by the size of the blocks which eats out of our garden.
Equally, you are looking at the first quarter of our future walled garden where in the future a fair chunk of our food calories shall be derived! I expect to mainly grow potatoes and carrots in this walled garden. It will be exactly square, so the 8.4 metre inside you are currently looking at will become 70 m2 of walled garden growing space.
Assuming the typical ten tonnes of potato per acre yield in Ireland, that equals about 172 kg of potatoes per year. Less if also growing carrots, which would yield 112 kg if using the entire walled garden.
To put that in perspective, the average 2023 Irish person would consume about 60 kg in a year, mostly in the form of fries. I chose 70 m2 because it would roughly approximate half the annual potato consumption of five adults, so with carrots and maybe peas thrown in, that’s about one quarter. The idea is that if all our children flee us in years to come, we will rarely have surplus to needs. But if they end up staying because they’ll never be able to afford their own homes as I expect will be the case, then we get a substantial subsidy to our annual food needs.
And also: there is zero comparison between shop bought food and the stuff you grow locally. Our potatoes, carrots and especially peas will be amazingly tasty in a way you can’t get from supermarkets. So there is a qualitative aspect in there too.
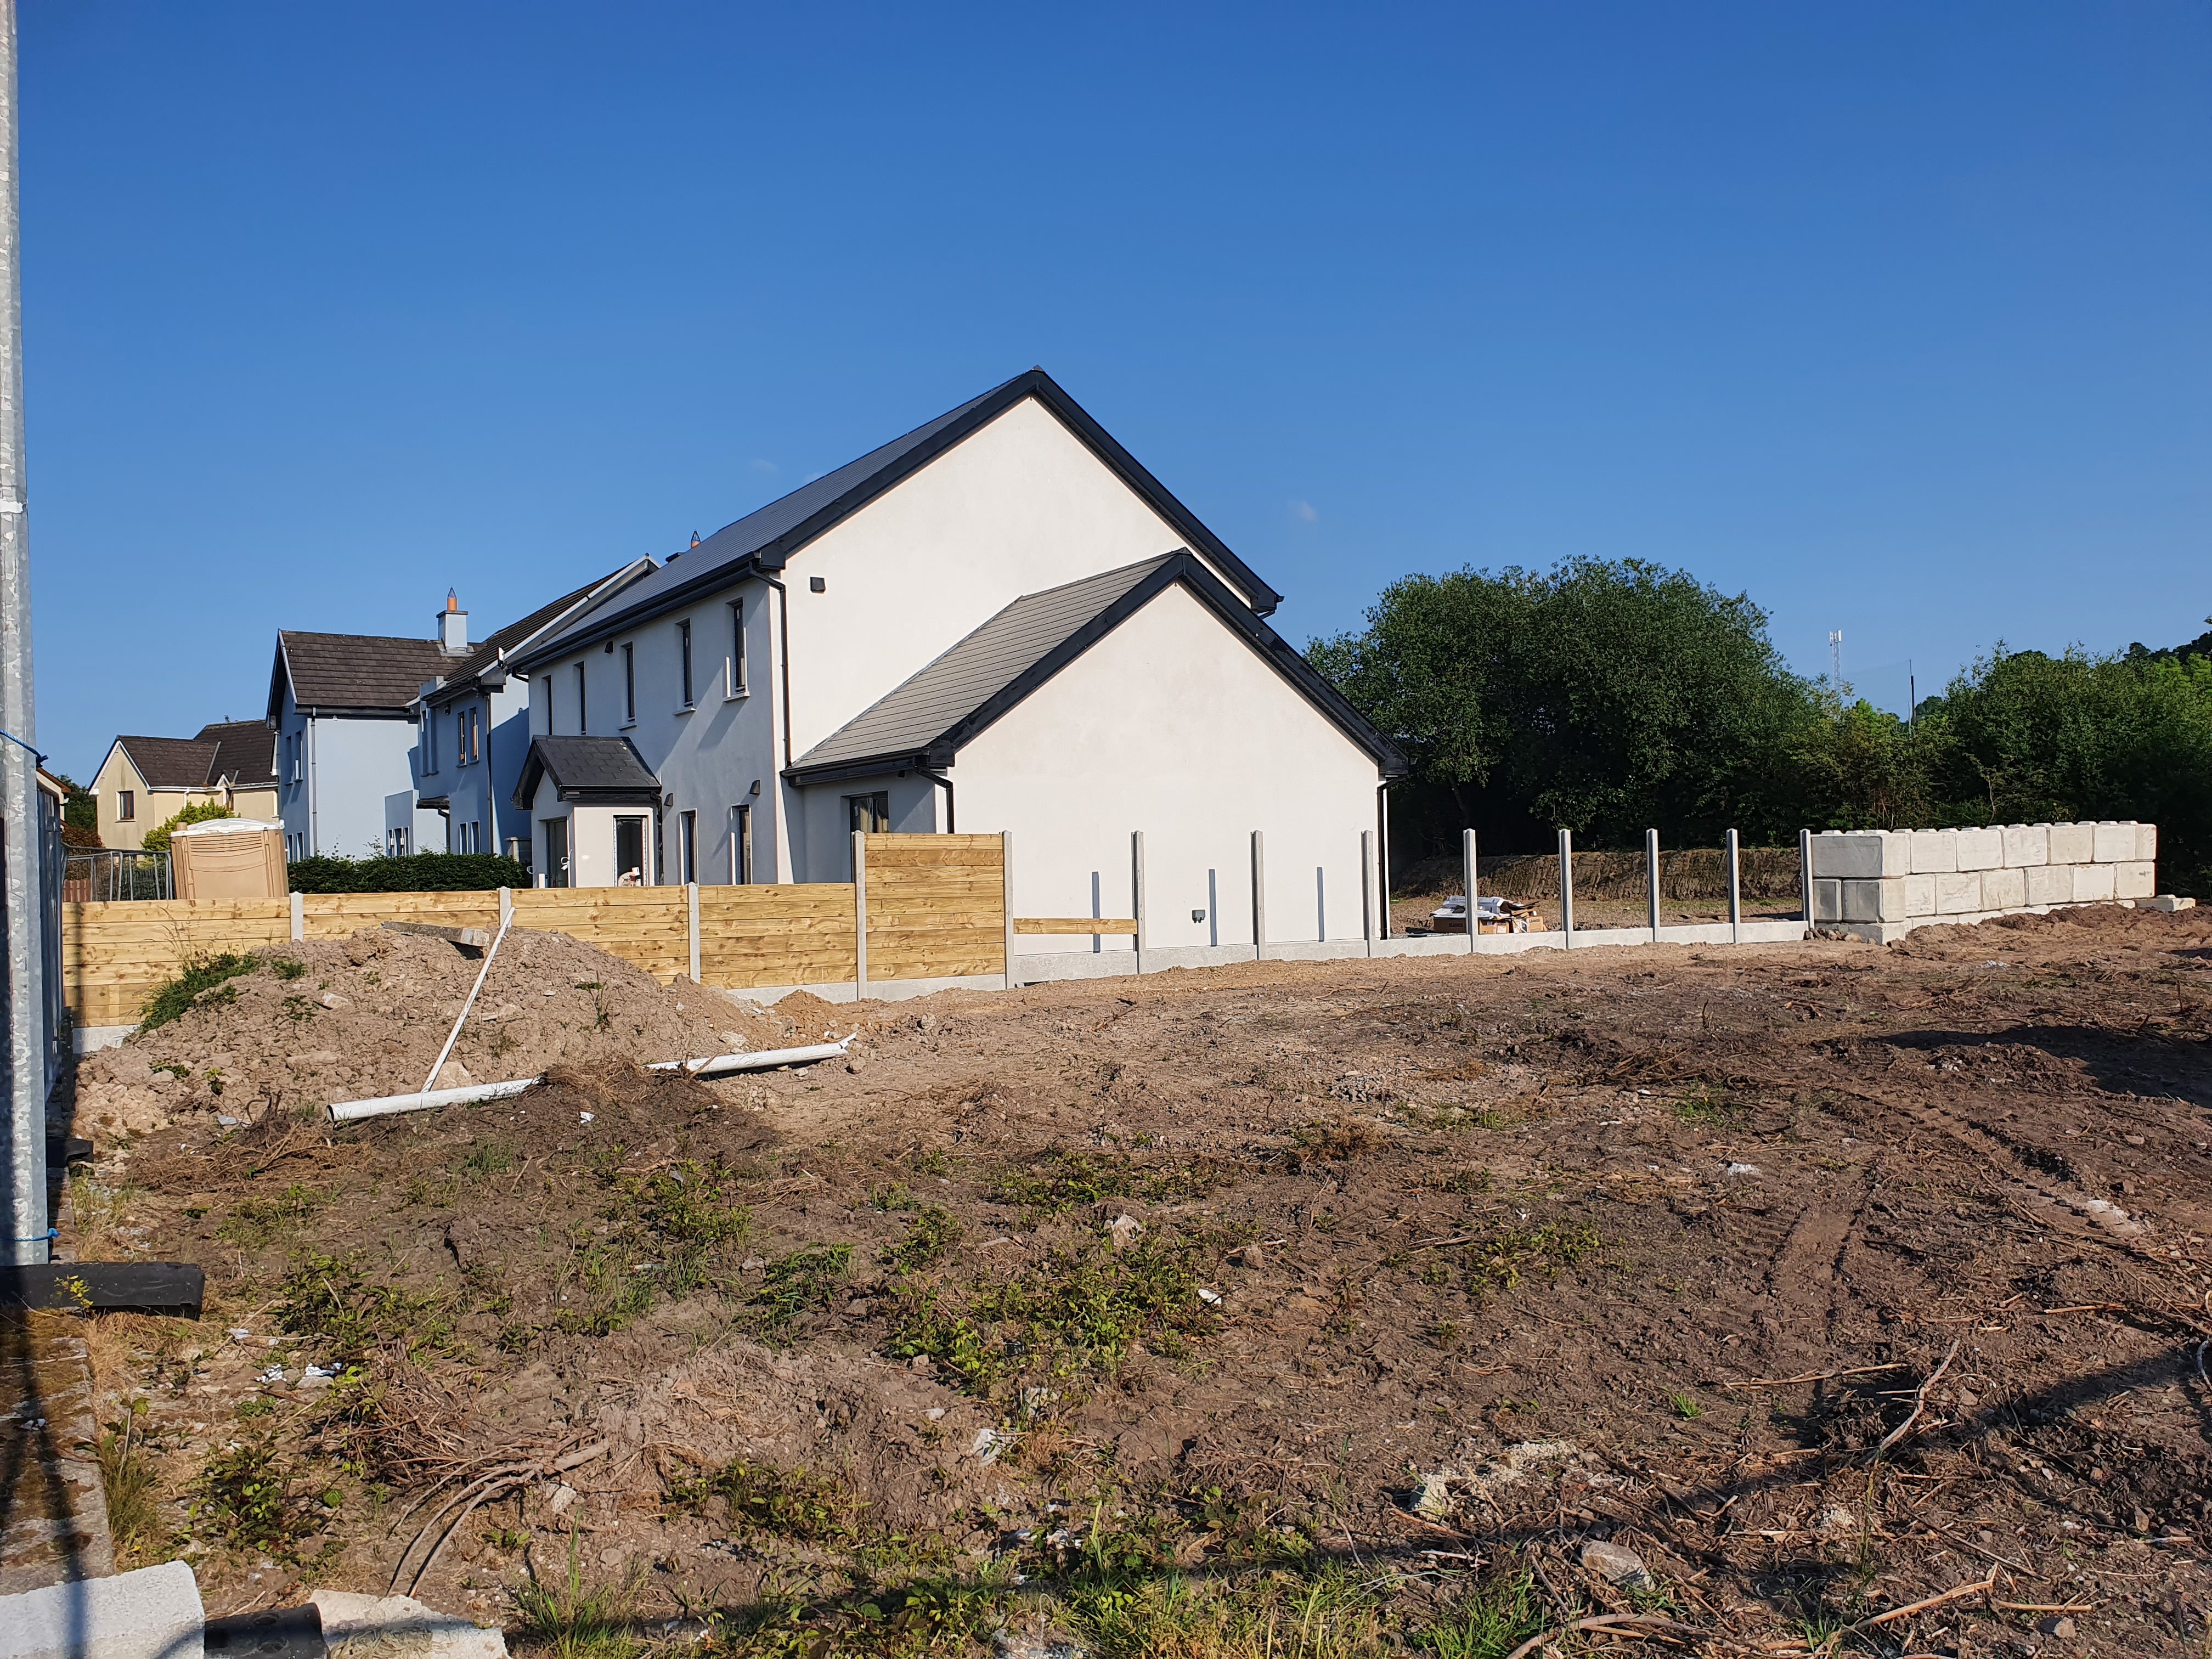
Anyway, I’ll leave you with a wide view photo of the whole boundary fence between our site and the neighbour’s, taken in sunshine just before we departed to get Chinese takeaway:
| Go to previous entry | Go to next entry | Go back to the archive index | Go back to the latest entries |